IAM Policies govern the rights an individual user has in the AWS environment. Policies can be assigned to both groups and individual users. Inline policies are those granted directly to a user account. It is best practice to assign policies to groups and then assign each user to a group.,
Policies consist of:
- Version – mandatory specifies the iteration of the policy.
- ID – optional specifies the identifier of the policy.
- Statements – mandatory specified policy right.
Policy Statement consists of:
- SID – optional specifies the statement identifier.
- Effect – specifies the action of the statement ie(“Allow”,”Deny”)
- Principle – specifies the account, user, role that this policy applies to.
- Action – list of actions this policy allows or denies.
- Resource – list of resources to which the actions are applied to.
- Condition – optional specifies when the policy is in effect.
- The following is required before you create IAM Policies.
- An Active AWS Account.
- An Active email to receive alerts.
- Access to IAM User with administrative rights.
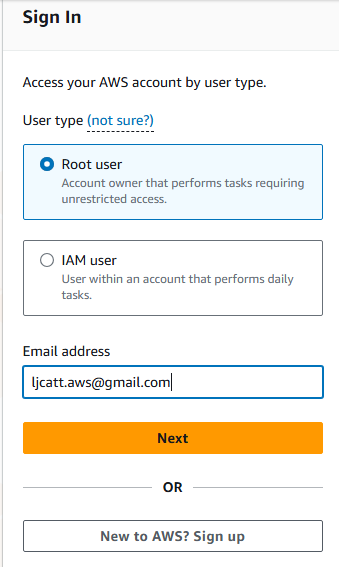
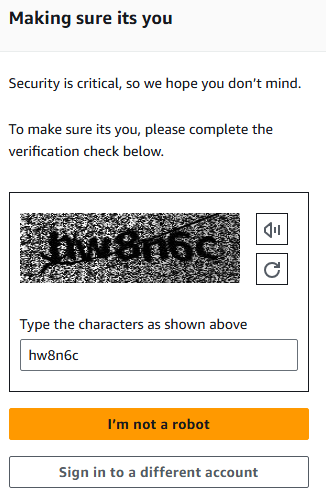
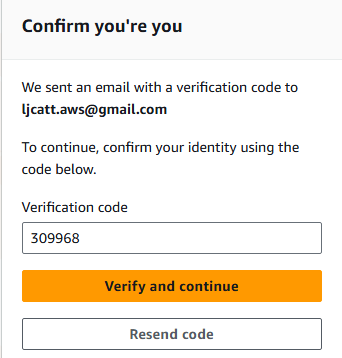
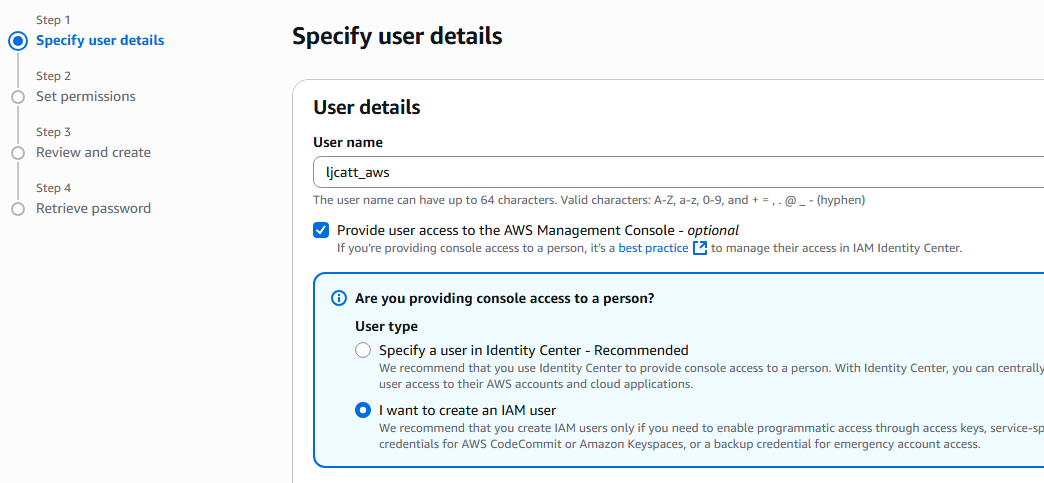
2. Logon to AWS as the IAM user at URL: https://signin.aws.amazon.com/

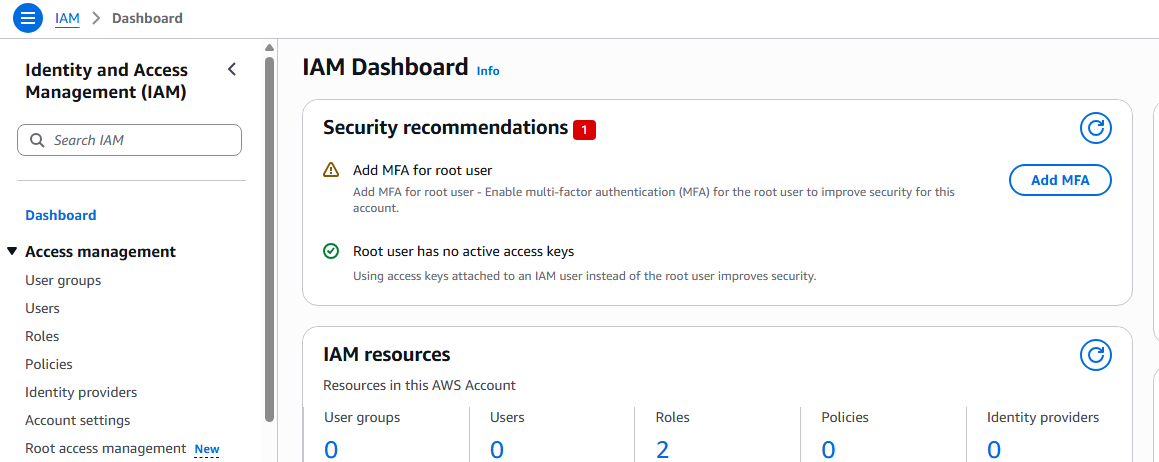
3. In the search bar type IAM, highlight the Star next to IAM (So it will appear on you Console) and select IAM.

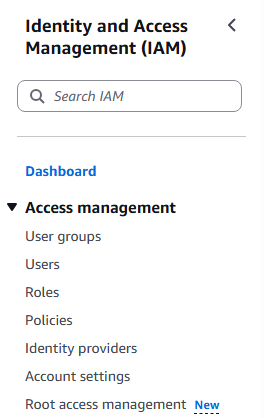
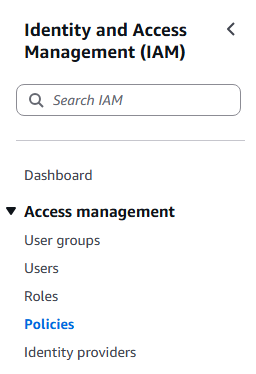
4. On the left hand side of the screen, scroll down and select policies.
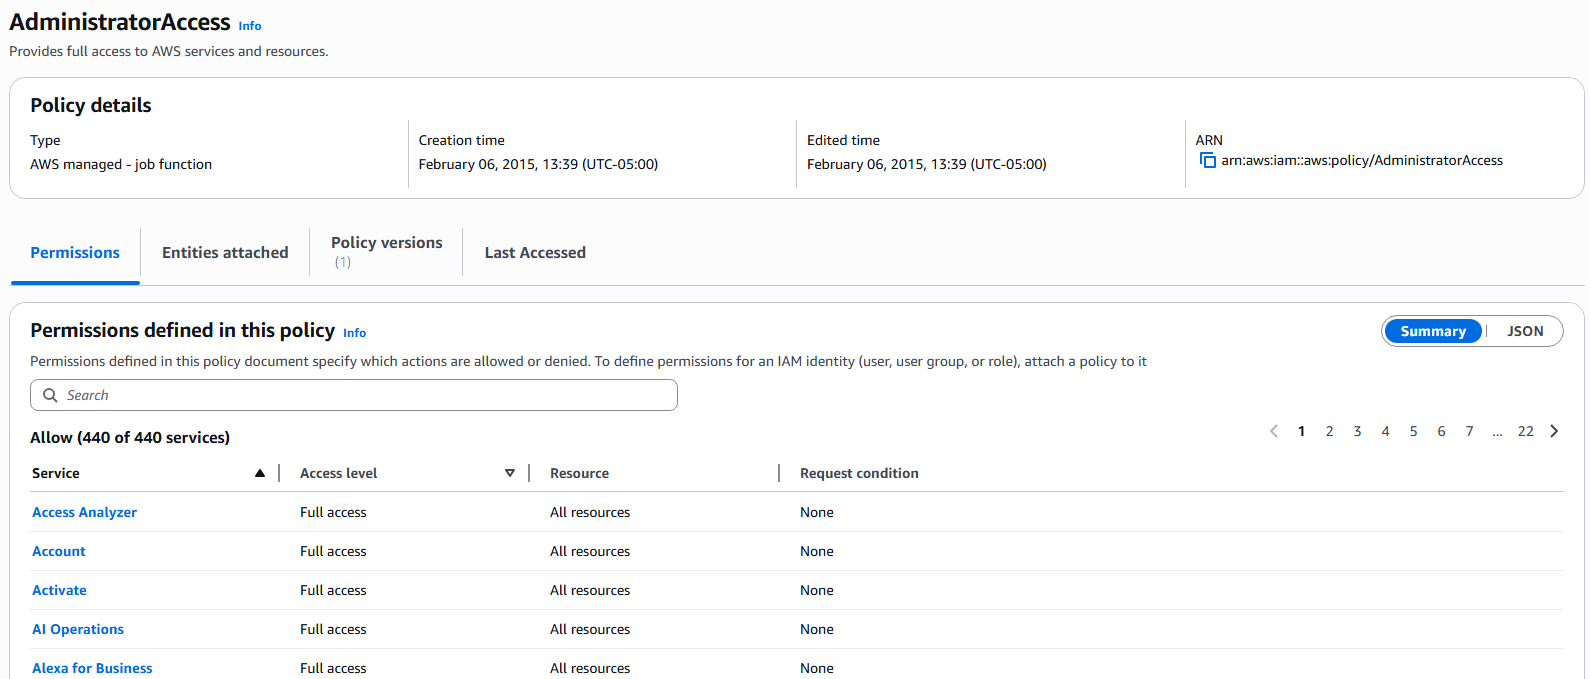
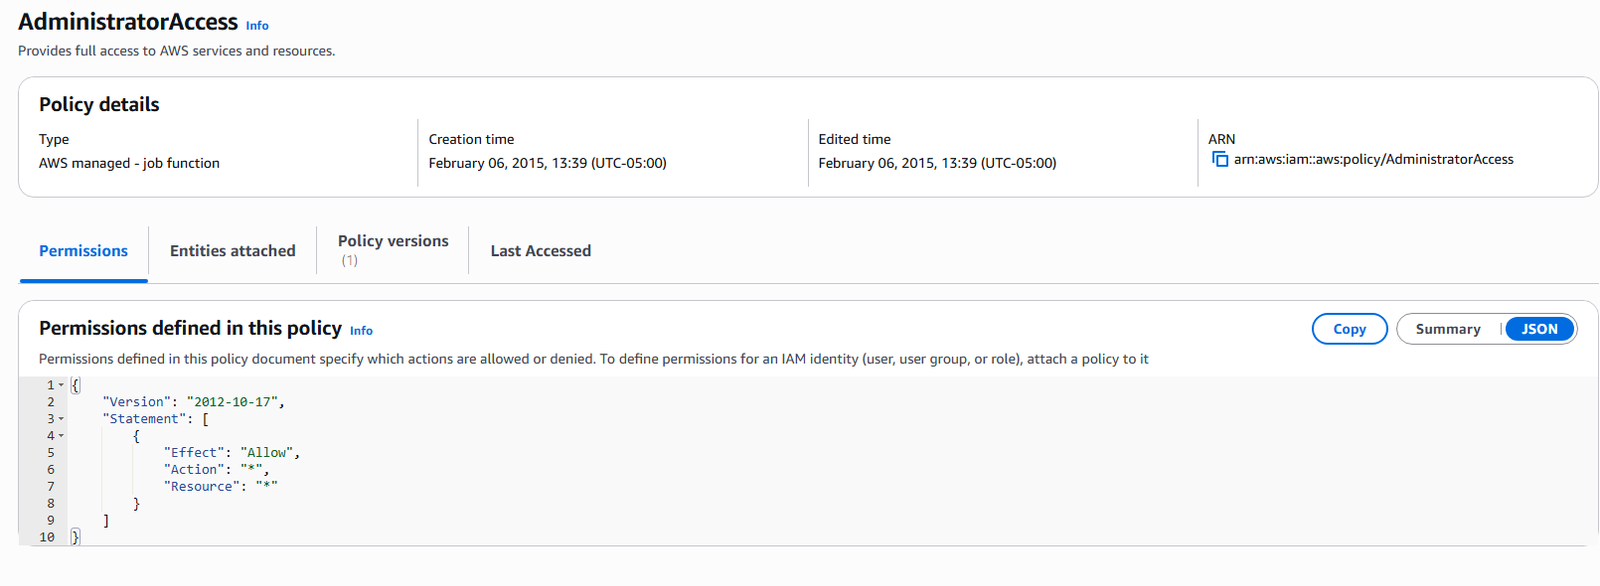
5. All default AWS policies will be presented to you on the screen as well as a button on the right hand side to create a custom policy. First let us view an existing policy definition. Select “AdministratorAccess “ policy

6. On this page you will be presented with all the services contained in the “AdministratorAccess” policy, click on the JSON tab to see the code for this policy.
7. The page displayed is the actual JSON code that governs the “AdministratorAccess” policy. This is key because it allows you to build, edit and assign policies with code outside of the AWS GUI. In future lesson we will learn to deploy various types of code to control your AWS enviornment.
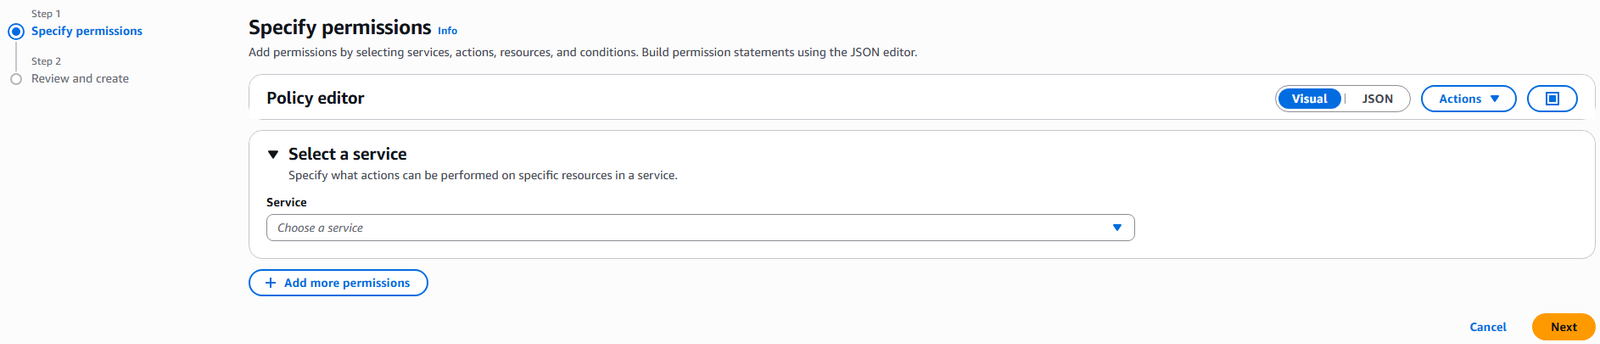
8. From the left hand sidebar select Policies ? Create Policy. You will be presented with a two step process to create a custom policy or you can choose the JSON editor to write you own code.
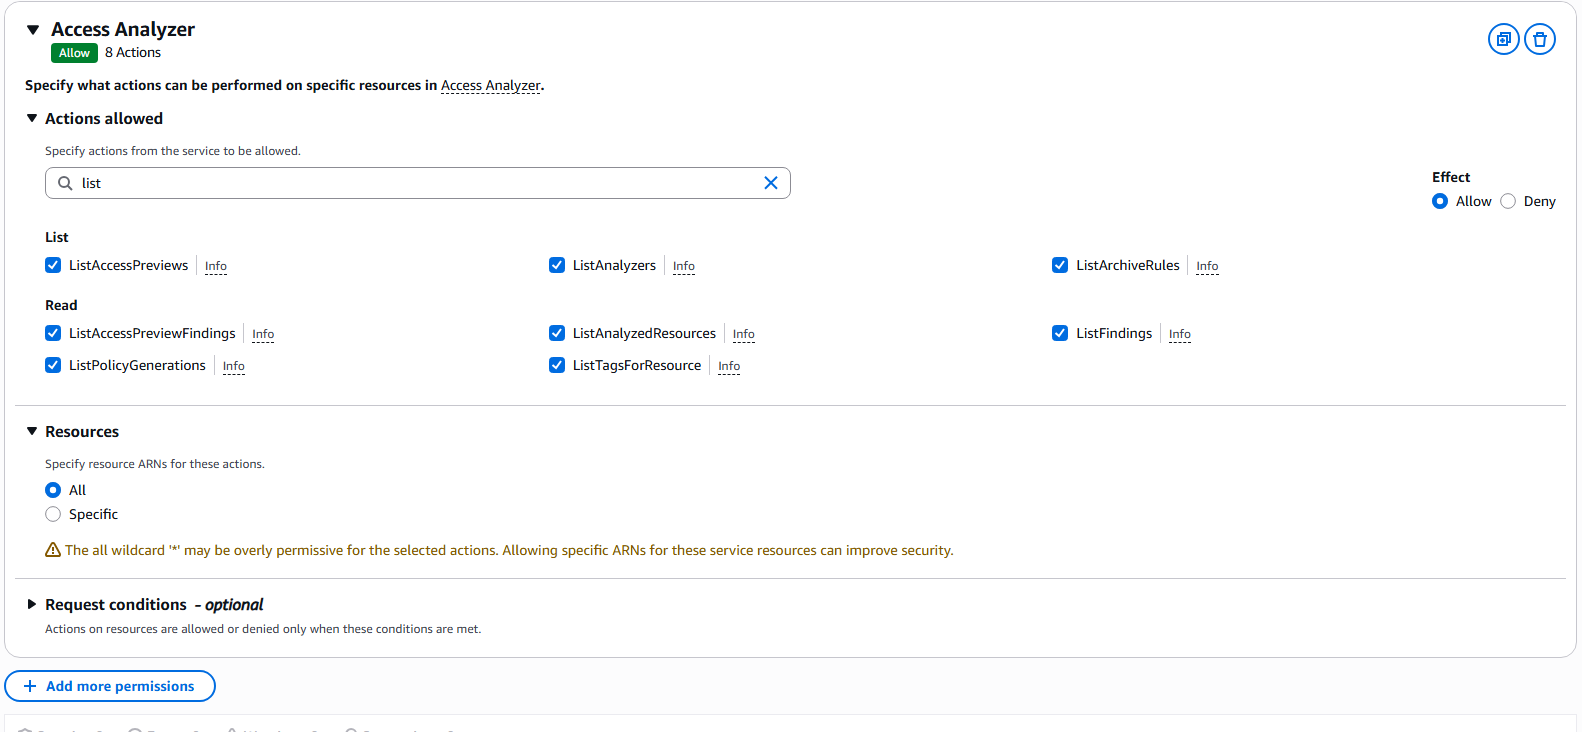
9. We will create a policy for viewing objects. Type list in the actions allowed, Select all the listed options, under resource select ALL, and press the next button.
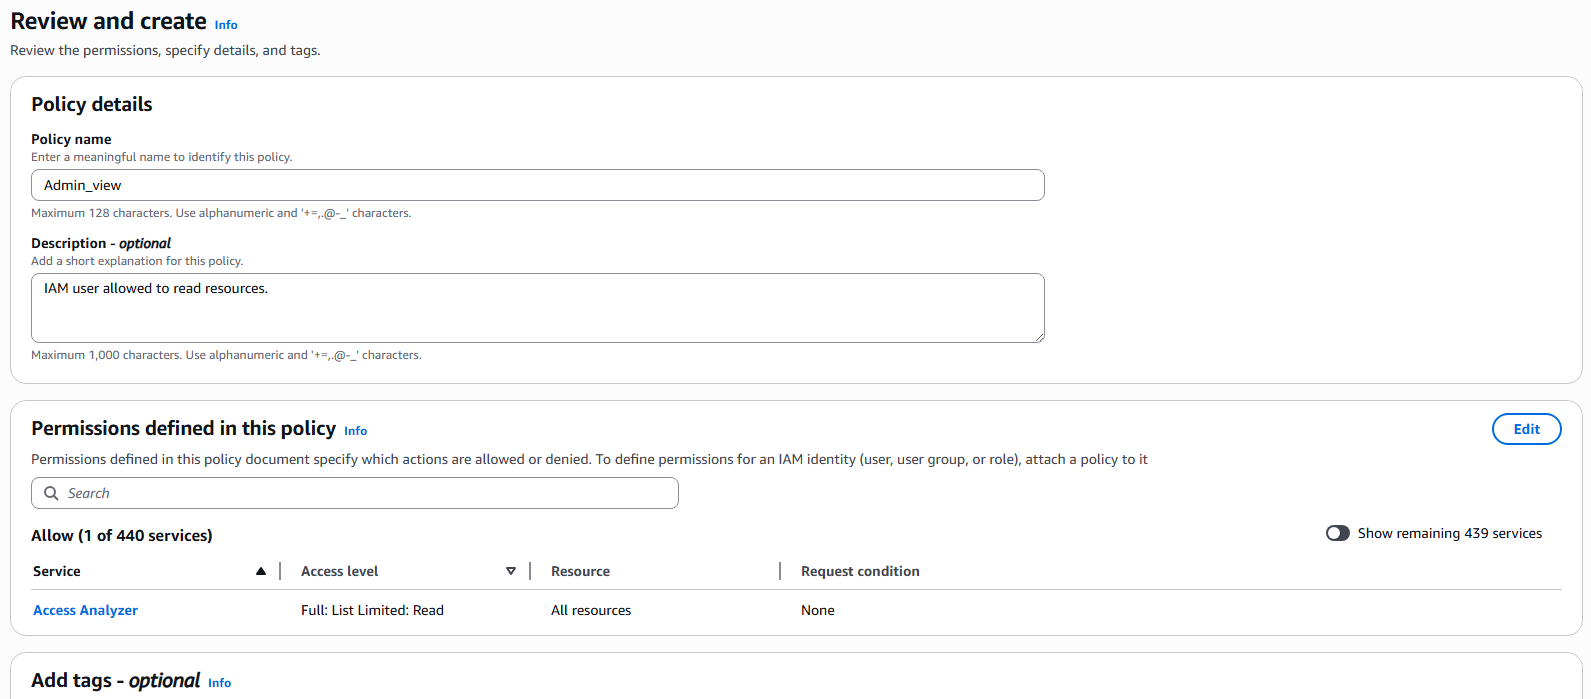
10. In the policy detail section type a Policy name and description. The policy Access Analyzer is already selected and press Create policy.
11. You will be brought back to the policy list page and can see your newly created policy. Select the newly created policy ? JSON tab to view the code.
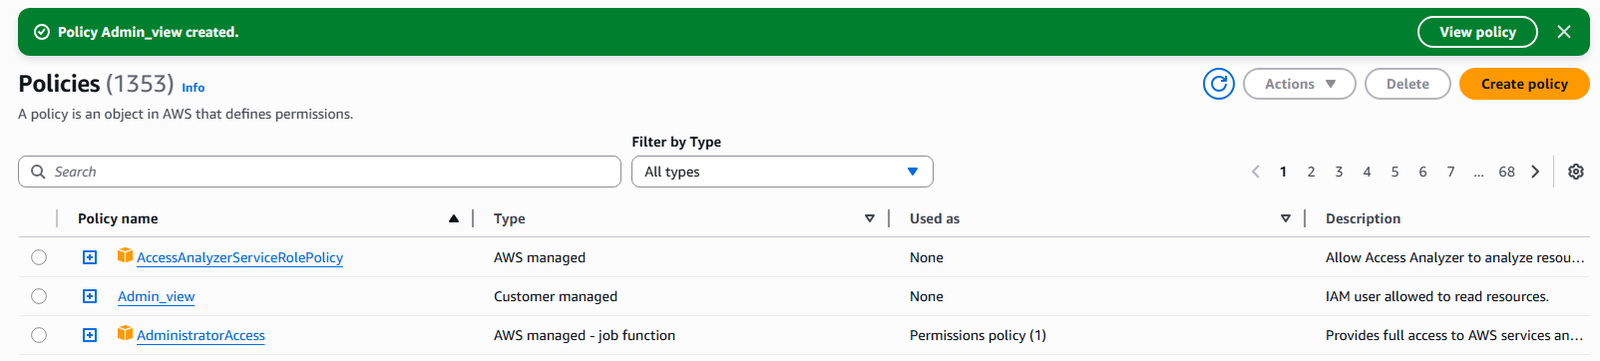
12. Code for policy. Admin_view will be displayed.

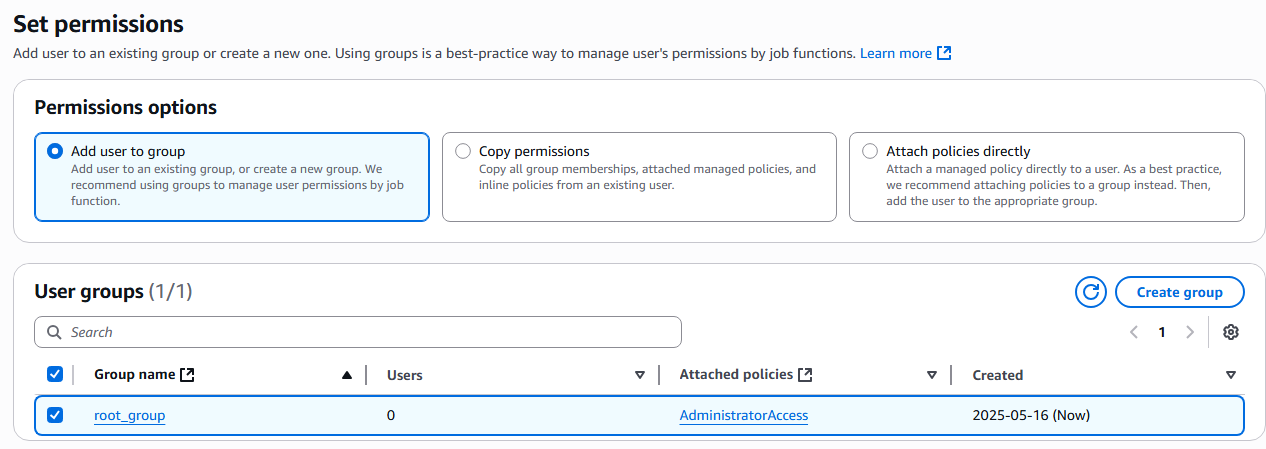
13. Now we will create a new group with the policy of Admin_view. On the left hand side of IAM menus select User Groups.
14. Select Create group.

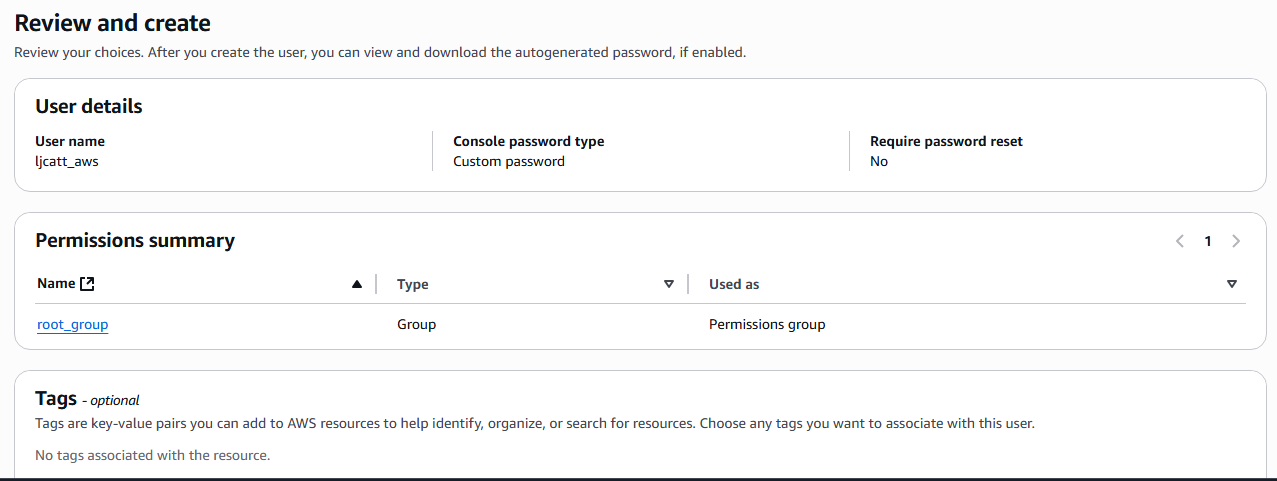
15. On the create group page we are going to name the group “AdministrativeViewGroup”, select user “ljcatt_aws”, and policy “Admin_view”. Than select button Create user group.

16. Now we have a new policy Admin_view in the group of AdministrativeViewGroup assigned to the user ljcatt_aws.