AWS Elastic Network Interfaces (ENI)

Elastic Network Inferfaces are logical components in your AWS Virtual Private Cloud which present Virtual Network Cards.  ENI can be created independently of EC2 Instances and can be assigned at any time on the fly and moved from one instance to another.  Each ENI has the options of:

        1.  One primary private IPv4 address and can have one or more secondary private IPv4 addresses

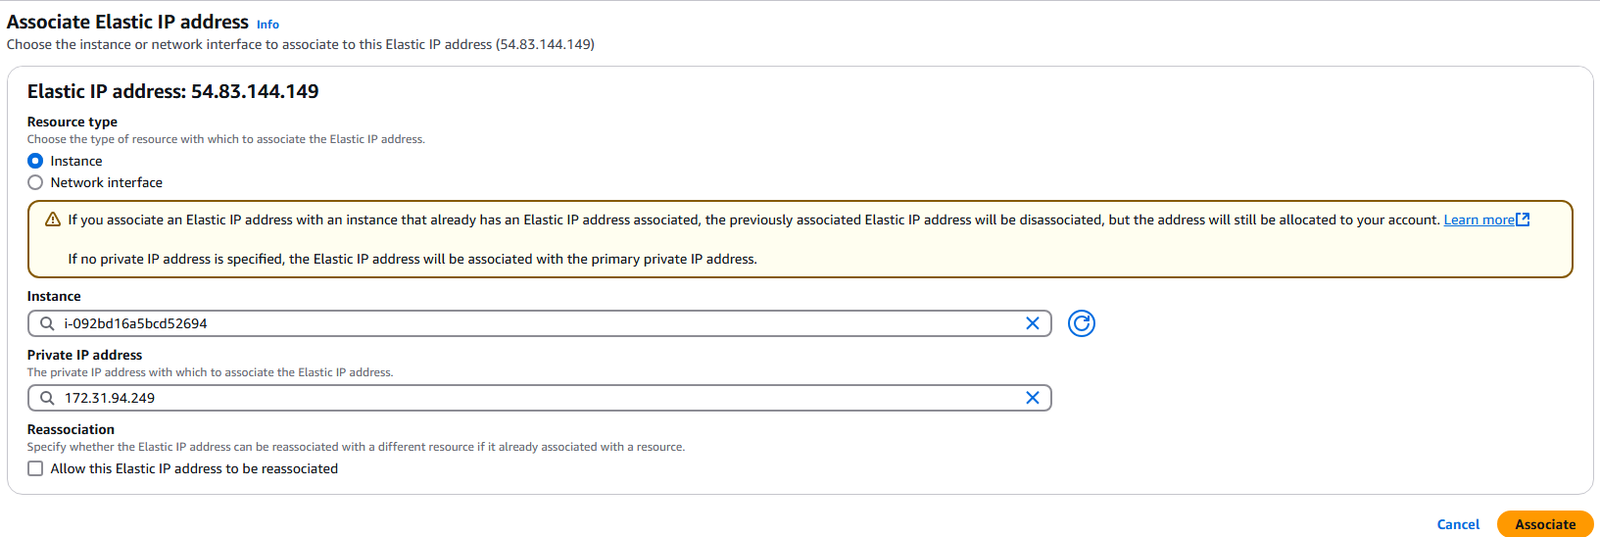
        2.  One Elastic IP address per private IPv4.

        3.  One Public IPv4 address

        4.  One or more security groups

        5.  A MAC address

        6.  ENI are bound to one availability zone.

______________________________________________________________________________________________________________________________________________________________

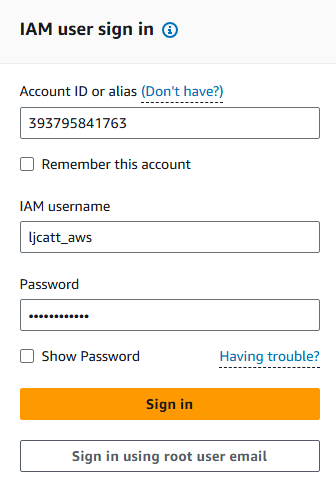
1.  Logon to AWS as an IAM user at URL:  https://signin.aws.amazon.com/

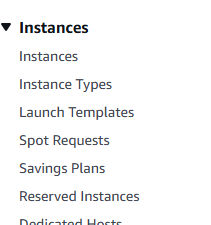
2.  From the Home Console type EC2 in the search bar, select the star next to EC2, and select EC2

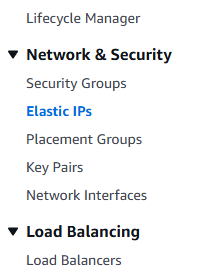
3.  On the let hand menu bar select Network Interfaces.

4.  The page will display all currently existing ENI, we currently have created two EC2 Instances and AWS created two ENI for them by default.   Select Create network interface.

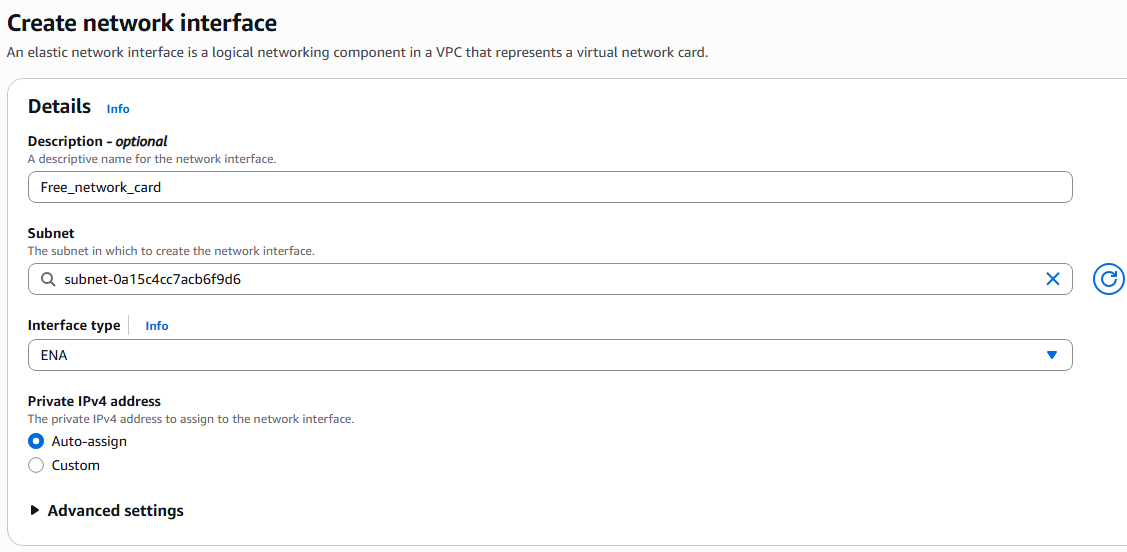
5.  Under details, enter the description of your network card, the subnet, Interface type, and Auto-assign of IP address.

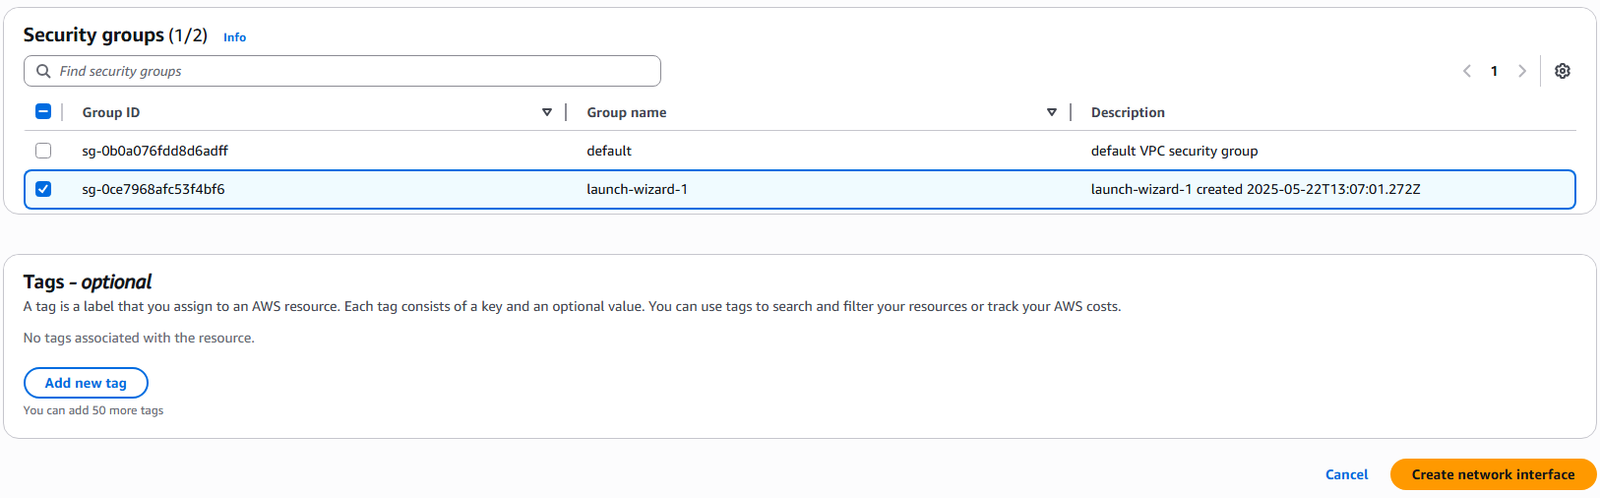
6.  In the security groups section, select an existing group and enter a Tag if desired.  Click the Crete network interface to proceed.

7.  The creation will be confirmed on the next page.

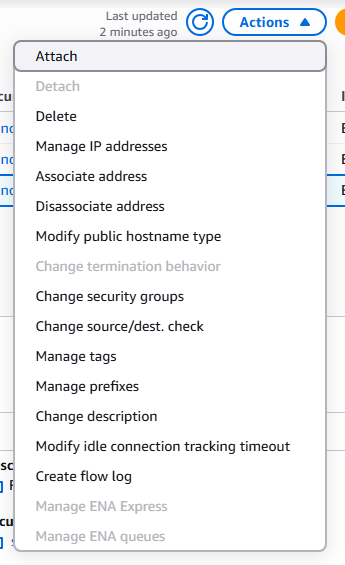
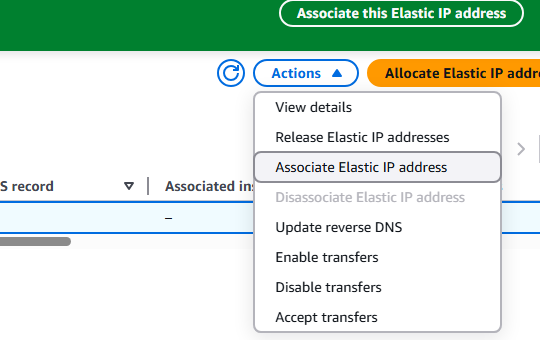
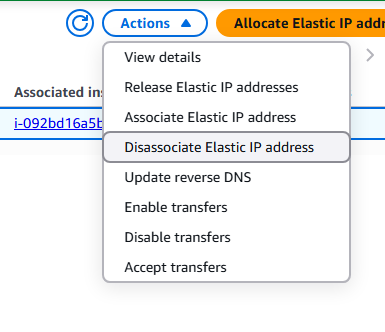
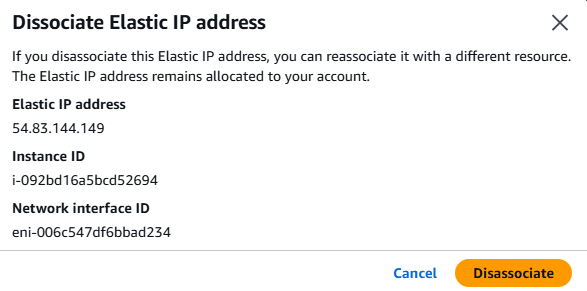
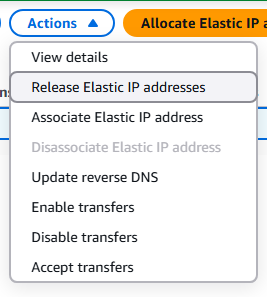
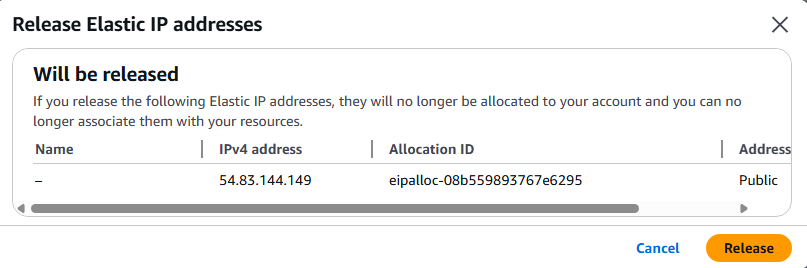
8.  You can modify, associate, or delete the ENI by clicking on the ENI of choice and select Actions.

AWS Placement Groups

AWS placement groups allow you to have control over EC2 Instance physical layout in relationship to each other.   A good example of this would be a Cluster configuration were you are attempting to share the workload among multiple EC2 Instance.  Placement groups can be designed in one of three ways:

Cluster – Configured into low-latency group within a single Availability Zone.

        1.  Great network performance, but if AZ fails all fails

        2.  Big Data jobs, Applications requiring extremely low latency are examples

Spread – Spreads Instance across underlying hardware.  This is limited to 7 Instance per Placement Group per Availability Zone.    It is intended for Critical applications.

        1.  Minimize loss – Very low risk of failure.

        2.  Can span multiple AZ and EC2 Instances are on different physical hardware

        3.  Limited growth – only 7 Instances

        4.  Maximum availability of applications and Critical Applications where you need failures to   be isolated.

Partition – Spreads Instances across many partitions on different sets of rack within one Availability Zone.  Can Scale to 100s of EC instance per placement group.

1, Spread across multiple partitions – each partition is a rack.

              2.  Up to 7 partitions per AZ and can be spread across multiple AZ

              3.  Supports 100s of EC2 Instances

              4.  EC2 Instance in partition do not share partition with other EC2 Instances.

              5.  Partition failure can affect many EC2 instances but not other partitions.

              6.  Big Data operations is a good example of use.

      1.  The following is required before you create IAM user for your AWS Free Tier Account.

         -An Active AWS Account with admin level permissions.

                      -Multiple EC2 Instances

      2.  Logon to AWS as an IAM user at URL:  https://signin.aws.amazon.com/

      3.  From the Home Console type EC2 in the search bar, select the star next to EC2, and select EC2

      4.  On the left hand menu bar select Placement Groups.

      5.  Currently we have no placement groups, select Create placement group

      6.  On the Name the placement group, select Cluster, Spread, or Partition, and spread level or number of partition options you desire.  Press Create group to proceed.

      7.  During the creation of EC2 Instances you can select the partition group as an option for deployment of new EC2 Instances.

      AWS Elastic IP configuration

      AWS offers Elastic IP which are owned by the customer and can be assigned to any EC2 Instance the customer desires.   A single Elastic IP can only be assigned to a single EC2 Instance at any given time, it will be owned by a single customer until deleted regardless of use.  This instruction set will run through the creation of an Elastic IP in your AWS environment and assigning it to a single EC2 Instance.

      1.  The following is required before you create IAM user for your AWS Free Tier Account.

        -An Active AWS Account with admin level permissions.

        -Active EC2 Instance

      2.  Logon to AWS as an IAM user at URL:  https://signin.aws.amazon.com/

      3.  From the Home Console type EC2 in the search bar, select the star next to EC2, and select EC2

      4.  On the right hand menu bar select Elastic IPs.

      5.  Currently we have no Elastic IP address allocated to our AWS account, select Allocate Elastic IP address on the right hand side of the screen.

      6.  You have 4 choices for allocating a Elastic IP address in AWS.

      • From a pool of AWS public IP (cost is approx. $0.005 per hour regardless of use).
      • Public IP address you are bring to AWS.
      • Pool of public IP addresses you have already brought to AWS
      • IP address using IMAP (Normally disabled for EC2)

      7.  Select the Network border group closes to the EC2 Instance you desire to assign the IP to.  In this example us-east-1.   Leave Create accelerator alone and add optional tag to your Elastic IP. Next click Allocate.

      8.  You will see the new IP allocated to your AWS account.

      9.  To assign your Elastic IP address to an EC2 Instance,  Select the Elastic IP address with a checkmark on the far left hand side ? Click Actions ? Associate Elastic IP Address

       10.  Select Instance for association, enter the Instance ID and Private IP for the Instance and select Associate.

      11.  Now select Instances from your left hand menu bar.

      12.  Select the instance you choose above for the Elastic IP and you will see that it is allocated to the instance, even though the instance is currently stopped.

      13.  You can disassociate the Elastic IP by going back to Elastic Ips screen Selecting the IP ? Actions-? Disassociate Elastic IP address.

      14.  Confirm the Disassociation of the IP from the EC2 Instance by clicking Disassociate.

      15.   You can remove, delete or terminate an Elastic IP from your account by selecting the Elastic IP from the list with a check mark ? Actions ? Release Elastic IP Address.

      16.   Confirm the Release, by selecting the Release button

      17.   You will see a confirmation of the released Elastic IP and it will be removed from the available list.

      18.   This completes the Creation, Allocation, Reallocation, and Deletion of Elastic IPs in AWS.