AWS EBS are great and cheap option for storage, however it is network storage device so will not provide the same latency as storage directly connected to your physical hardware. An AWS EC2 Instance Store is actual storage directly connected to the hardware running your EC2 Instance and provide superior performance over the EBS. Instance Store is ephemeral storage type and if you stop the EC2 Instance you will lose the storage. Thus, Instance Store is not suitable for long term storage but excellent for buffer, cache, temporary storage solutions. Instance Store is also only physically connected to your single physical device and loss of the device would result in loss of data. Backup and replication of Instance Store is the AWS customers responsibility and not guaranteed by AWS.
Monthly Archives: April 2025
AWS AMI – Amazon Machine Image
AMI (Amazon Machine Image) is the starting point of OS Image provided by AWS and include various Linux releases, Windows, and Mac OS. You can customize an AMI with your own software, configurations, operating system kernel, and monitoring tools, but starting with an AWS AMI reduce the overall deployment time. AMIs are build for specific region and can be copied across different regions. An EC2 Instance have the option of:
1. Using a Public AMI provided by AWS.
2. Build your own AMI
3. Purchase an AMI on the AWS Marketplace by third party companies.
The process of AMI processing for EC2 Instances is as followes.
1. Start an EC2 Instance from standard AMI and customize it.
2. Stop the EC2 Instance – to insure data integrity
3. Build an AMI from your EC2 Instance which also creates EBS snapshot
4. Launch new EC2 Instance from your new AMI.
===============================================
Here we will walk though building an AMI from existing EC2 Instance.
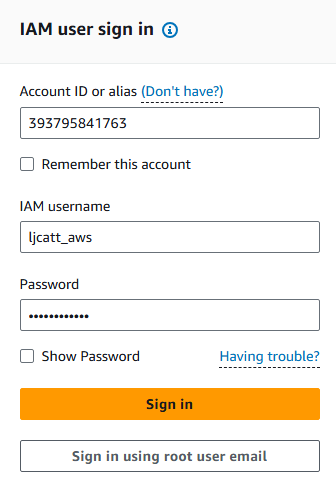
1. Logon to AWS as an IAM user at URL: https://signin.aws.amazon.com/

2. From the Home Console type EC2 in the search bar, select the star next to EC2, and select EC2

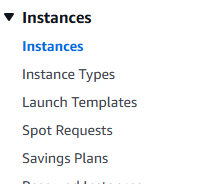
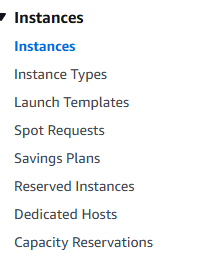
3. On the left hand menu bar select Instances.
4. Select the instance you would like to create a custom AMI out of, we are duplicating our MySQL server image. NOTE: It is not required, but best practice to ensure the Instance is stopped.

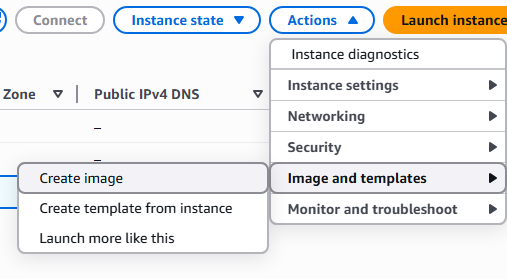
5. Click on Actions drop down and select Image and templates.
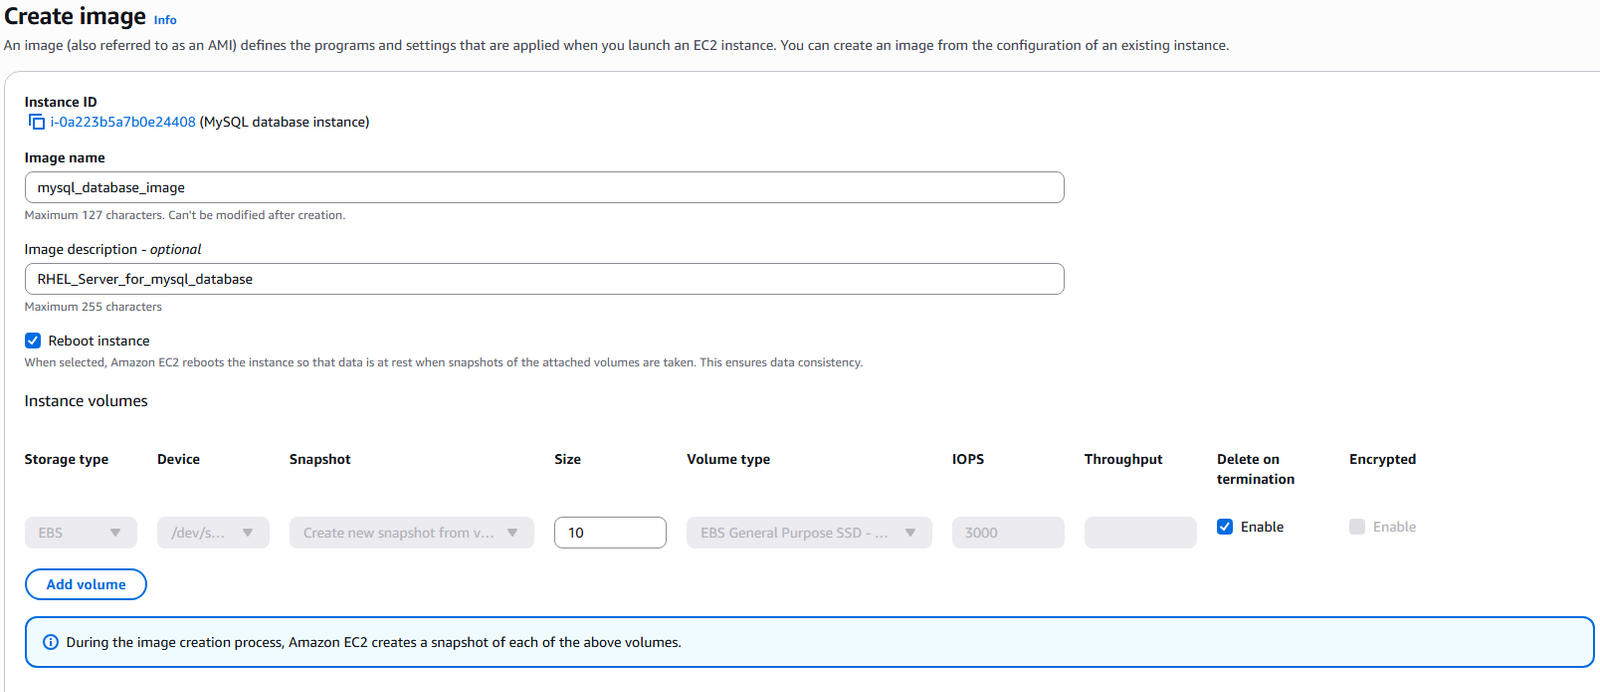
6. Enter the name and description of the AMI you are creating and click Create image.
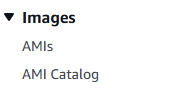
7. On the left hand menu bar you can select Images and AMIs to see your newly create image.
8. You will see you customized AMI listed

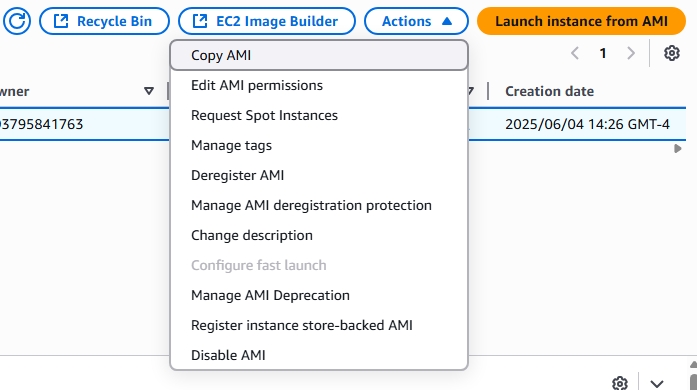
9. By selecting the AMI you wish to use you will be able to copy, edit, create EC2 Instances, disable, and delete the imaged.
AWS EBS Snapshots
EBS Snapshots are backup of the network storage device of a given point in time and it is recommended that the EBS is detached from an instance but not required. Snapshots can be copied across AZ or Regions, allowing you to move your data around the AWS system. Key features of EBS Snapshots are:
1. Snapshot Archive tier allows you to save up to 75%
2. Snapshot movement between AZ and Regions can take 24 to 72 hours to complete.
3. A Recycle bin can be setup to store deleted snapshots and allows retention from 1 day to 1 year.
4. FSR Fast Snapshot Restore to same AZ has extremely low latency but is expensive.
======================================================
1. Logon to AWS as an IAM user at URL: https://signin.aws.amazon.com/

2. From the Home Console type EC2 in the search bar, select the star next to EC2, and select EC2

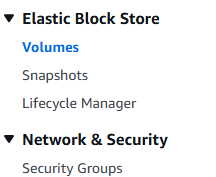
3. On the left hand menu bar select Elastic Block Store ? Volumes.

4. Under the Volumes page you will see the current EBS associated with your account, select one of the drives and the Actions button.
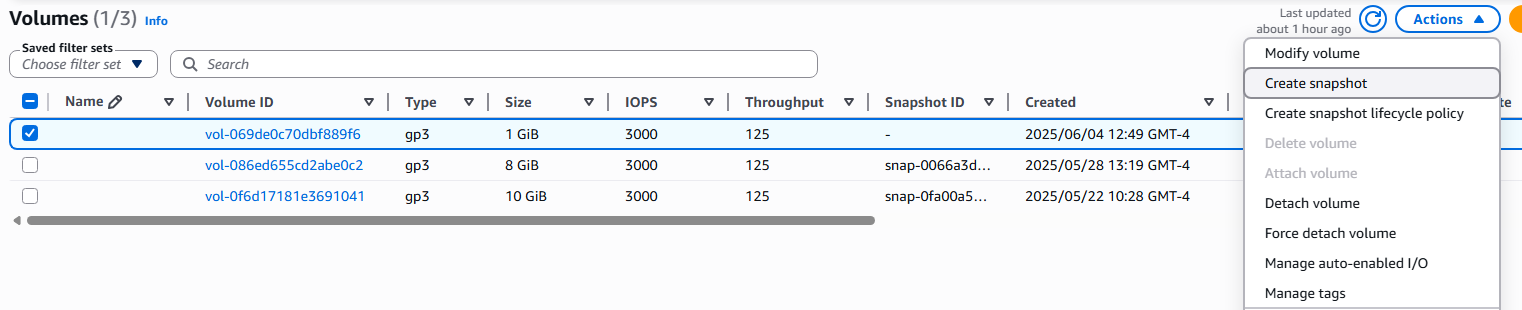
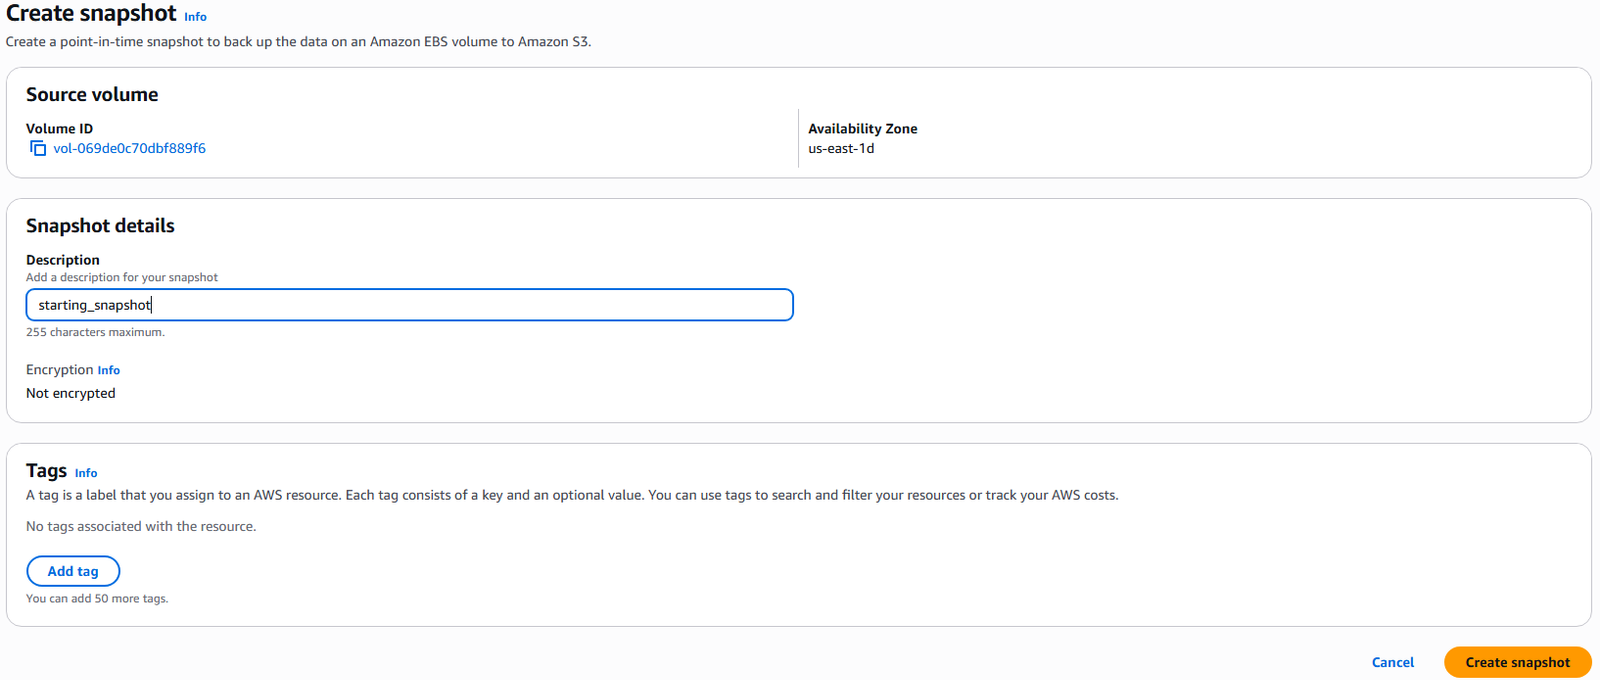
5. On the Create snapshot page, add a descript of the snapshot and click Create snapshot.
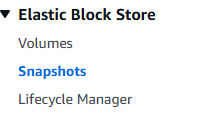
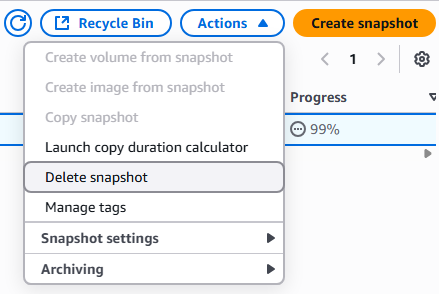
6. On the left hand menu bar under Elastic Block Storage, select snapshots.
7. You will see all current snapshots within your system.

8. From this page you can select Recycle Bin to move to recovery deletion area or select Actions to perform Copy, Deletion, or Archiving of snapshot.
AWS EBS
EBS (Elastic Block Store) is a network storage volume that is separate from you instances. Allowing for a persistent data storage without an instance and can be mount to any instance within a specific availability zone. EBS are not shared storage and can only be attached to a single instance at a time, but you can have multiple EBSs connected to a single instance. In the free tier you can have up to 30GB of free EBS SSD or Magnetic storage per month. Note: EBS are network attached storage so it will cost the network latency for communication with EBS storage. Non-root EBS storage device by default need to be removed separately from the instance they are attached to, root EBS storage is by default deleted with instances. Here we will walk through the creation of a non-root EBS storage device.
1. Logon to AWS as an IAM user at URL: https://signin.aws.amazon.com/

2. From the Home Console type EC2 in the search bar, select the star next to EC2, and select EC2
3. On the left hand menu bar select Elastic Block Store ? Volumes.
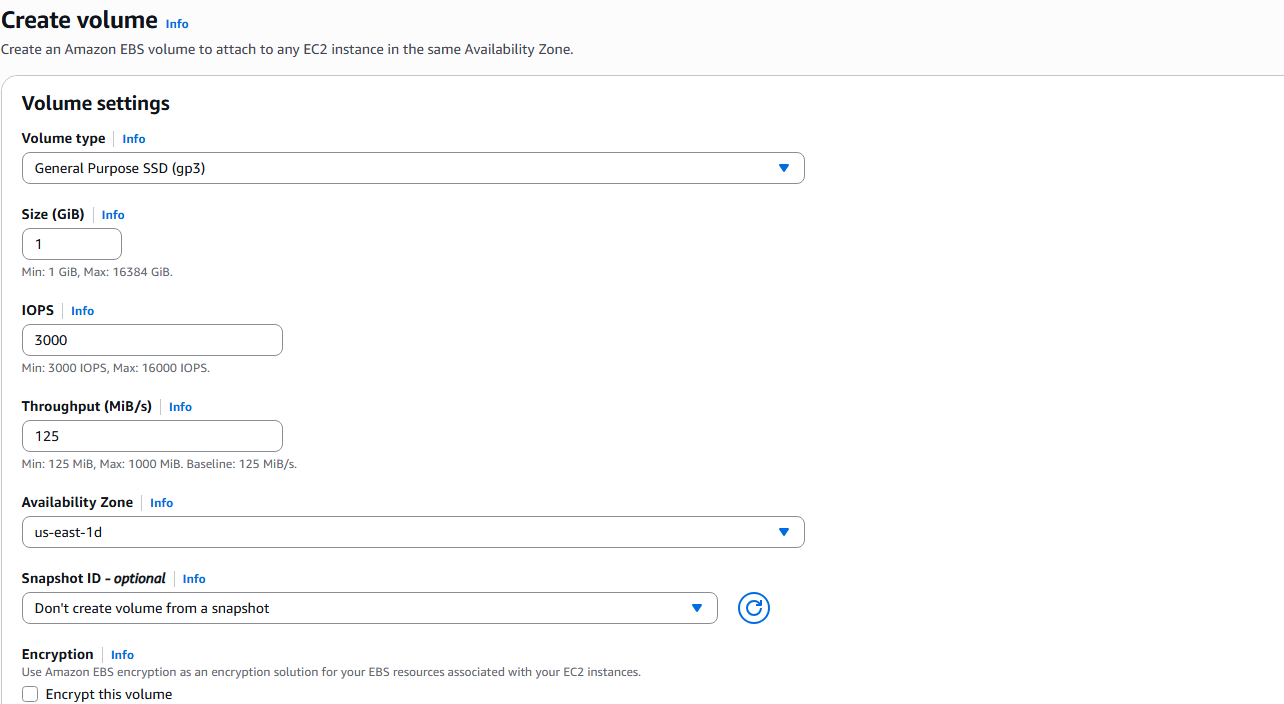
4. Under the Volumes page you will see the current EBS associated with your account, most of this will probably be root EBS drives from the creation of EC2 Instances. Select Create volume button to create a non-root EBS.

5. On the Create EBS page, pay attention of the size to prevent additional charges, ensure that the Availability Zone is correct for where you want to use the storage, and select encrypted option if you want to use in hibernate instance. Press the Create volume button to build your EBS.
6. You will see a confirmation of the creation and can refresh the page until state is Available.

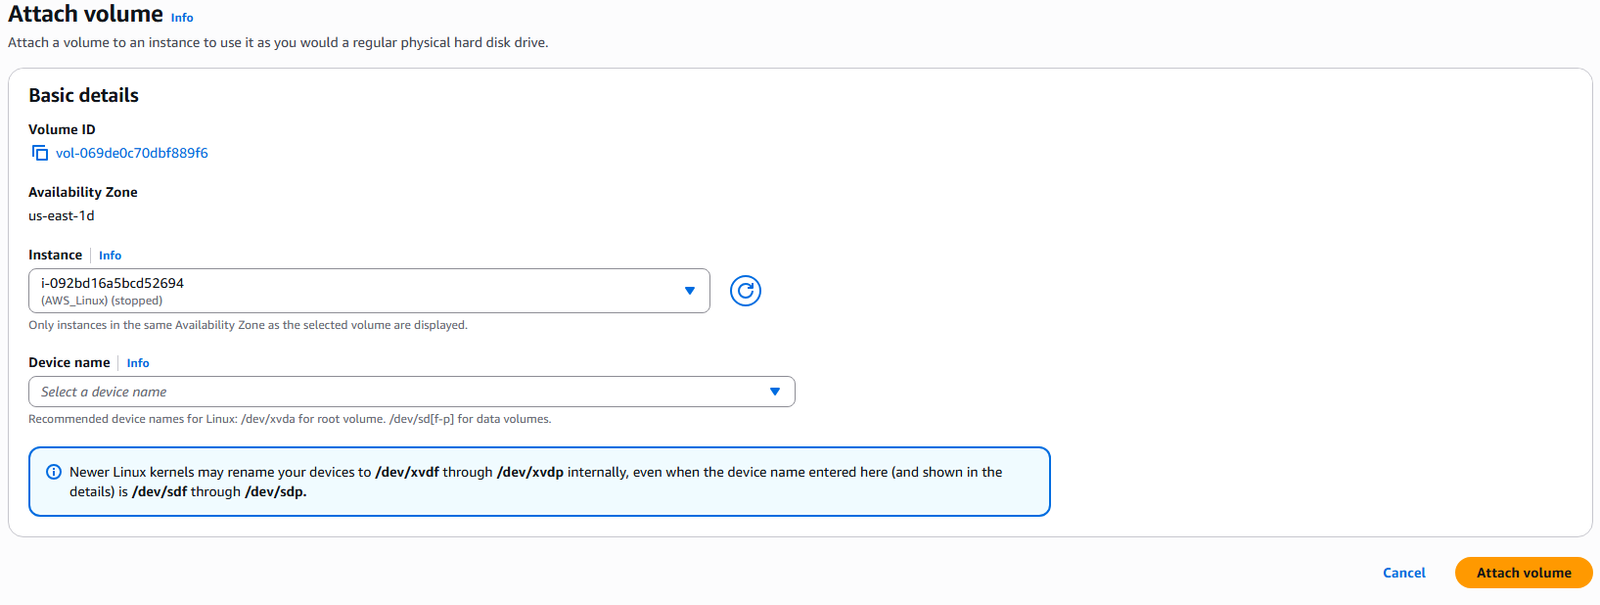
7. Check mark you new EBS and select Actions? Attach volume

8. Select the instance you wish to attach the storage to and click the Attach volume button. NOTE: if no instance appear, verify that you selected the correct Availability Zone during volume creation. The volume and instance must be in the same Availability Zone.
9. You can detach or attach volumes from the volume page or CLI, but the volume can only be attached to one instance at a time.
AWS EC2 Hibernate
AWS gives you the ability to startup and shutdown an EC2 Instance at any give time. However, starting of an EC2 Instance is extremely close to starting up a physical server and requires time to read the system parameters, allocate resources, and start all processes necessary for the instance to become useful to end users. AWS has a third option for maintaining EC2 Instances in a stopped state which severally reduces the time required for instance startup. This is called EC2 Hibernate state.
Hibernate has the following characteristics:
1. In-memory data is preserved in a encrypted file under root EBS volume
2. Is brought from file back to RAM during restart with all services running.
3. Decreases overall startup time.
Hibernate has the following restrictions:
1. Supported by most Instance family but not bar metal.
2. RAM must be under 150GB and encrypted EBS volume.
3. AMI Support LINUX and Windows
4. 60 day time limit on hibernate state.
==================================================
1. Logon to AWS as an IAM user at URL: https://signin.aws.amazon.com/
2. From the Home Console type EC2 in the search bar, select the star next to EC2, and select EC2

3. On the left hand menu bar select Instances.
4. Select the instance which has the encrypted storage and hibernate options selected and click Instance state button.

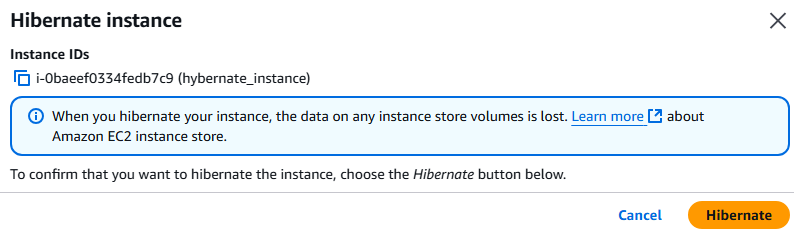
5. Select hibernate instance.

6. Verify that you do want to hibernate the instance by clicking Hibernate.
7. The Instance will now report as stopped with a confirmation of hibernate, select Instance state again and start instance option.
