AMI (Amazon Machine Image) is the starting point of OS Image provided by AWS and include various Linux releases, Windows, and Mac OS. You can customize an AMI with your own software, configurations, operating system kernel, and monitoring tools, but starting with an AWS AMI reduce the overall deployment time. AMIs are build for specific region and can be copied across different regions. An EC2 Instance have the option of:
1. Using a Public AMI provided by AWS.
2. Build your own AMI
3. Purchase an AMI on the AWS Marketplace by third party companies.
The process of AMI processing for EC2 Instances is as followes.
1. Start an EC2 Instance from standard AMI and customize it.
2. Stop the EC2 Instance – to insure data integrity
3. Build an AMI from your EC2 Instance which also creates EBS snapshot
4. Launch new EC2 Instance from your new AMI.
===============================================
Here we will walk though building an AMI from existing EC2 Instance.
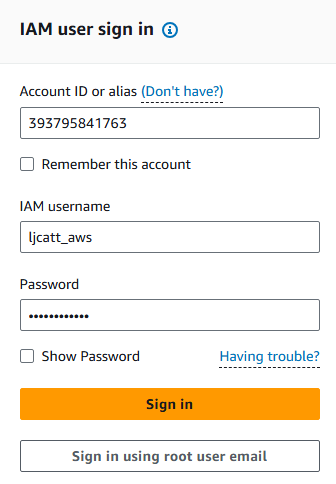
1. Logon to AWS as an IAM user at URL: https://signin.aws.amazon.com/
2. From the Home Console type EC2 in the search bar, select the star next to EC2, and select EC2

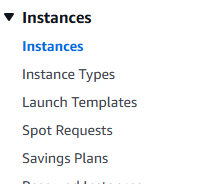
3. On the left hand menu bar select Instances.
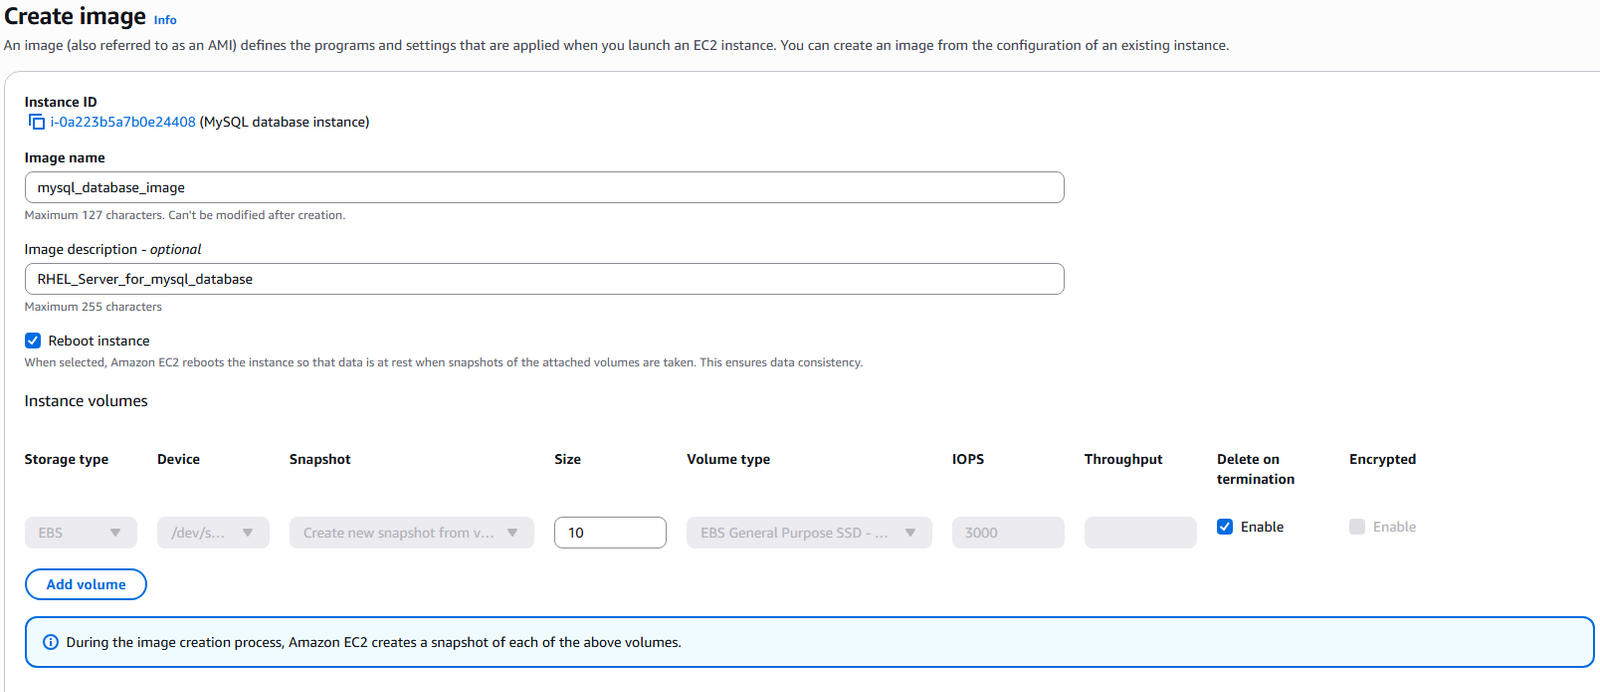
4. Select the instance you would like to create a custom AMI out of, we are duplicating our MySQL server image. NOTE: It is not required, but best practice to ensure the Instance is stopped.

5. Click on Actions drop down and select Image and templates.
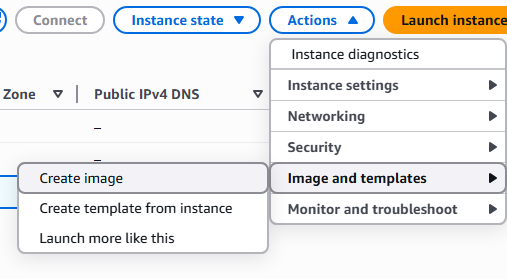
6. Enter the name and description of the AMI you are creating and click Create image.
7. On the left hand menu bar you can select Images and AMIs to see your newly create image.
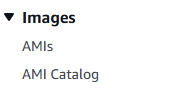
8. You will see you customized AMI listed

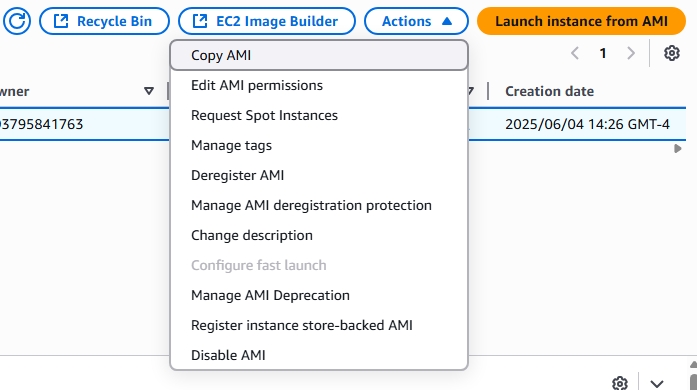
9. By selecting the AMI you wish to use you will be able to copy, edit, create EC2 Instances, disable, and delete the imaged.