AWS offers multiple balancers to address the needs of a client AWS environment and produce the necessary resources to accomplish their IT solution with minimal latency. This include: Elastic, Application, Network, and Gateway load balancers. In this article we will address the user and application of Gateway Load Balancing in an AWS environment.
A load balancer’s main purpose is spread the workload of a given task among many different resources, thus avoiding queue waits for process. In the IT realm, this is normally a server which forwards request to other servers in an attempt to spread the work evenly among them.
Characteristics of Gateway Load Balancer:
1. Used to Deploy, Scale, and Manage fleet of 3rd party network virtual appliances.
2. Examples of use: Firewalls, Intrusion Detection/Prevention, and Deep packet inspection.
3. Operates at Layer 3 (Network Layer) IP Packets.
4. Operation is transparent to Application being accessed.
5. Functions
1. Transparent Network Gateway – Single entry/exit for all traffic.
2. Load Balancer – Spreads work across virtual appliances.
6. Uses GENEVE protocol on port 6081
7. Target groups for GLB can be EC2 Instance or IP Addresses (Private IPs only)
Flow of Gateway Load Balancer Traffic
End User —->
Gateway Load Balancer —->
Target Groups for Analysis of Traffic (Here either dropped or forwards back to Gateway Load Balancer) —->
AWS offers multiple balancers to address the needs of a client AWS environment and produce the necessary resources to accomplish their IT solution with minimal latency. This include: Elastic, Application, Network, and Gateway load balancers. In this article we will address the user and application of Network Load Balancing in an AWS environment.
A load balancer’s main purpose is spread the workload of a given task among many different resources, thus avoiding queue waits for process. In the IT realm, this is normally a server which forwards request to other servers in an attempt to spread the work evenly among them.
Characteristics of Network Load Balancer
1. NLB is a layer 4 load balancer.
2. Forwards TCP and UDP traffic to instances.
3. Very high performance and ultra-low latency, millions of requests per second.
4. NLB have one static IP per AZ and supports Elastic IP assignment.
5. NLB not included in AWS free tier offerings.
6. NLB can forward to EC2 Instances or Private IP on AWS.
7. NLB can forward to ALB, giving you fixed IP and rules around access.
8. NLB health checks are TCP, HTTP and HTTPS protocols
2. From the Home Console type EC2 in the search bar, select the star next to EC2, and select EC2
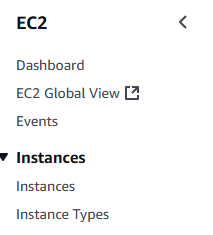
3. On the left hand menu bar select Instances.
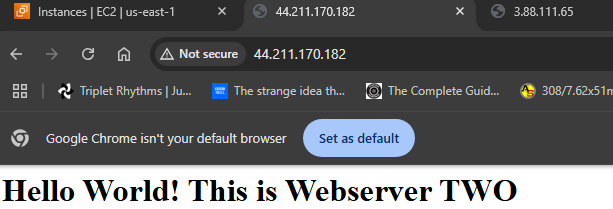
4. On the instance page you will see two instance we will be using web1 and web2, retrieve the public IP address and open two web browser or tables to verify that they resolve.
5. Web1 display.
6. Web2 display.
7. Scroll down the left hand side menu bar and select Load Balancers.
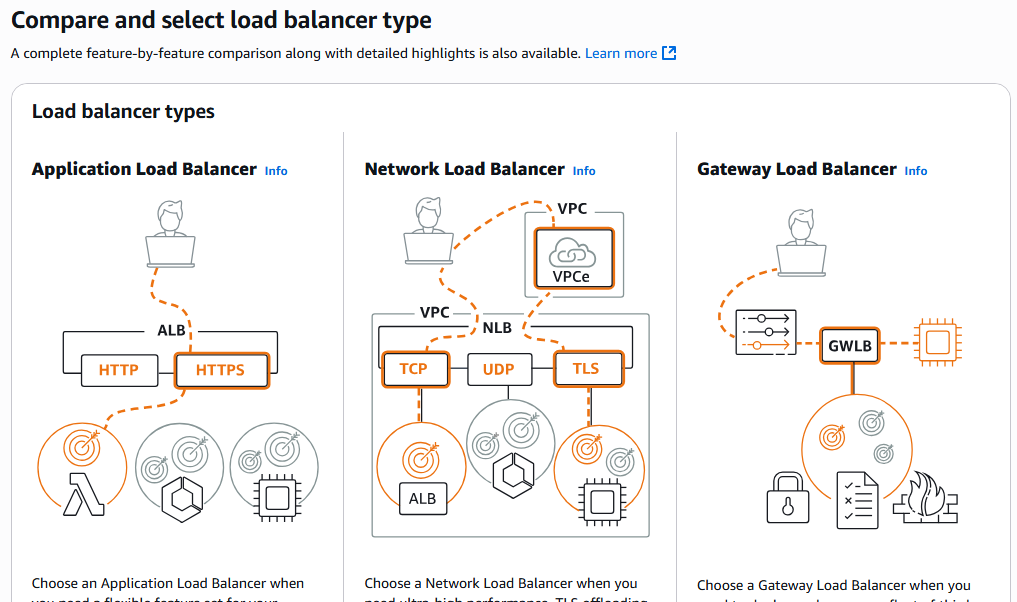
8. Select Create load balancer on the right hand side of the screen.
9. Select the create button at the bottom of Network Load Balancer.
10. Name the load balancer, select Internet-facing, and IP address type IPv4.
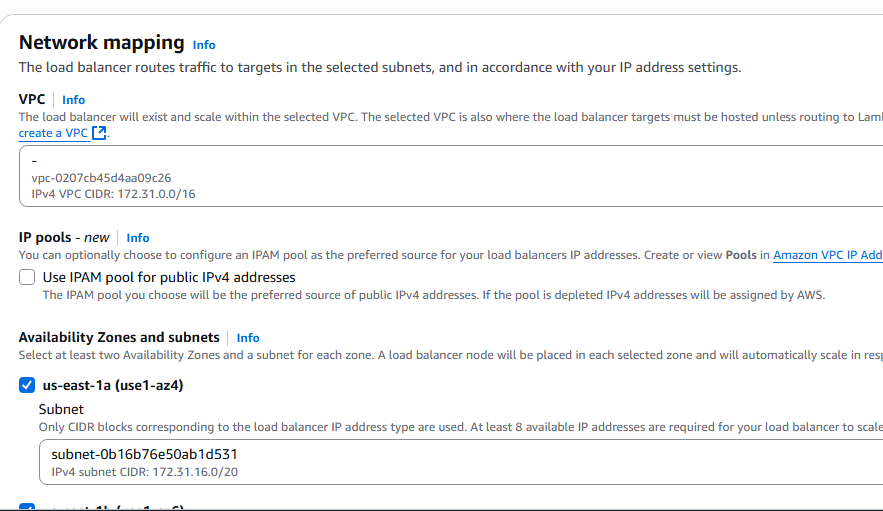
11. Under Network mapping, select all Availability Zones presented.
12. Under the Security groups section, click create a new security group.
13. Name the security group, add description and click the Add rules button under Inbound rules.
14. Add TCP inbound from any source and select create security group button.
15. Back on the Load Balancer create screen, select your new load balancer security group.
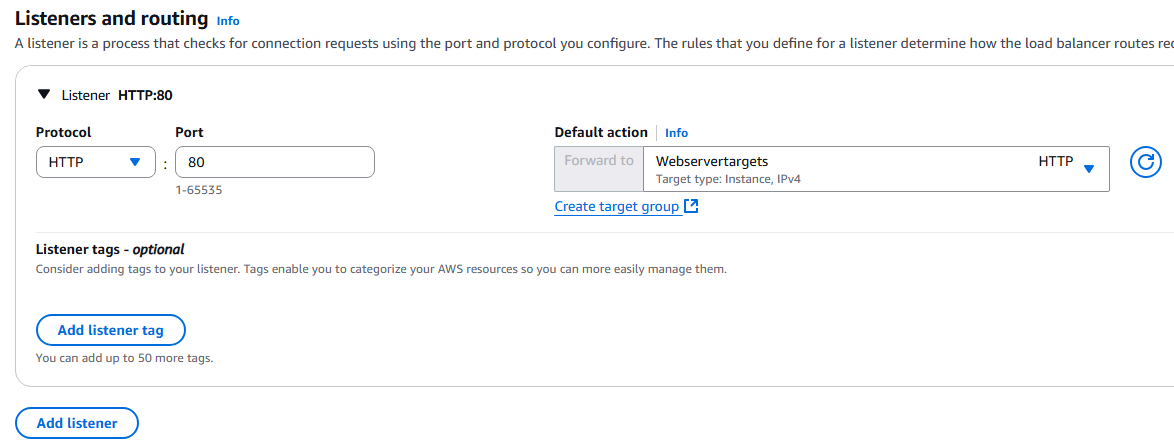
16. Under Listeners and routing, select Create target group. NOTE: You will choose TCP as the Listener not HTTP.
17. Ensure Instances is select under Basic configuration.
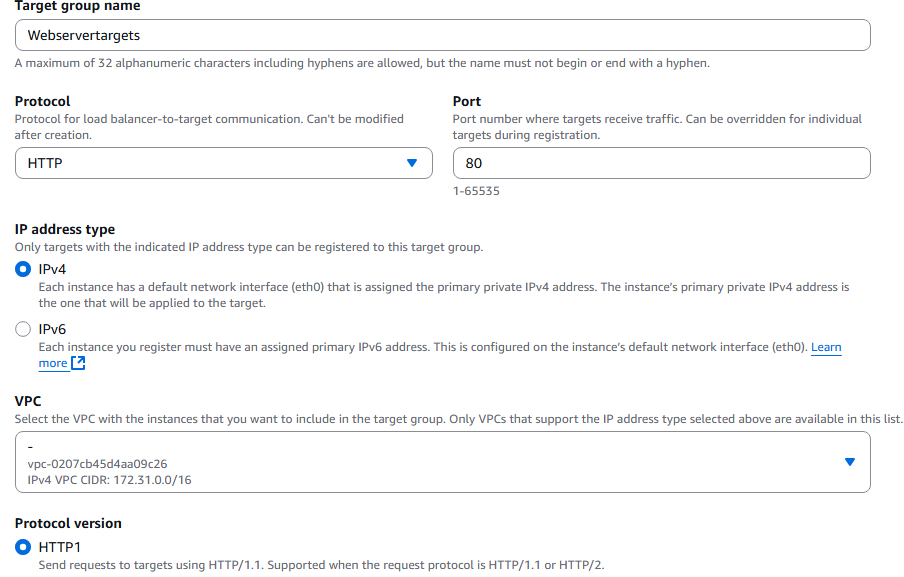
18. Enter a name for your target group, ensure the protocol is HTTP, and IPv4 is selected, protocol version is HTTP1, and health check is HTTP. Present the Next button at the bottom.
19. Select the target for the load balancer. Click the Include as pending below button. Click the Create target group button at the bottom.
20. Back on the load balancer page, select the target group you just created. You may have to refresh the list of target groups.
21. Next click the Create load balancer button.
22. Page will present with successful creation of your load balancer.
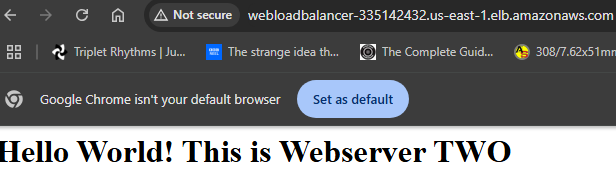
23. Copy the DNS given in the bottom of load balancer page. Open a separate browser tab and enter the DNS.
24. Keep refreshing you webpage until it switches to Webserver One. And you can see the load balancer is working.
AWS offers multiple balancers to address the needs of a client AWS environment and produce the necessary resources to accomplish their IT solution with minimal latency. This include: Classic, Application, Network, and Gateway load balancers. In this article we will address the user and application of Application Load Balancing in an AWS environment.
A load balancer’s main purpose is spread the workload of a given task among many different resources, thus avoiding queue waits for process. In the IT realm, this is normally a server which forwards request to other servers in an attempt to spread the work evenly among them.
The Characteristics of AWS Application Load Balancer (ALB) are:
1. Network Layer 7 HTTP
2. Can use Target Grouping(set of instance) for multiple HTTP application.
3. Can use Containers (single instance) for multiple HTTP application.
4. Support HTTP/2 and WebSocket.
5. Support redirect (HTTP to HTTPS)
6. Routing tables can be used to different target groups
1. Based on URL
2. Based on host name in URL
3. Based on Query string in header.
7. ALB load balancing is great for micro services and container based application.
8. ALB can use port mapping to redirect to dynamic ports on ECS
9. ALB can replace multiple Classic Load Balancers per application
2. From the Home Console type EC2 in the search bar, select the star next to EC2, and select EC2
3. On the left hand menu bar select Instances.
4. On the instance page you will see two instance we will be using web1 and web2, retrieve the public IP address and open two web browser or tables to verify that they resolve.
5. Web1 display.
6. Web2 display.
7. Scroll down the left hand side menu bar and select Load Balancers.
8. Select Create load balancer on the right hand side of the screen.
9. Select the create button at the bottom of Application Load Balancer.
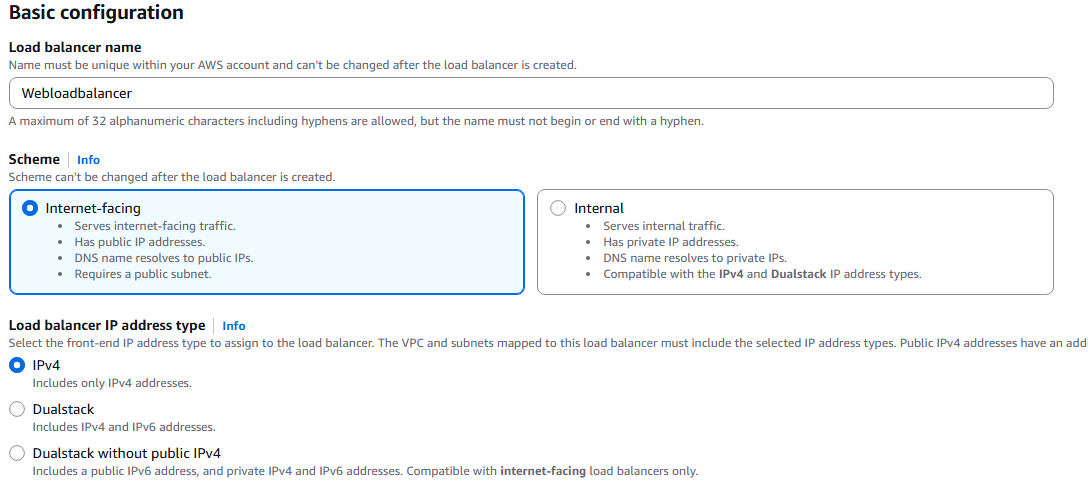
10. Name the load balancer, select Internet-facing, and IP address type IPv4.
11. Under Network mapping, select all Availability Zones presented.
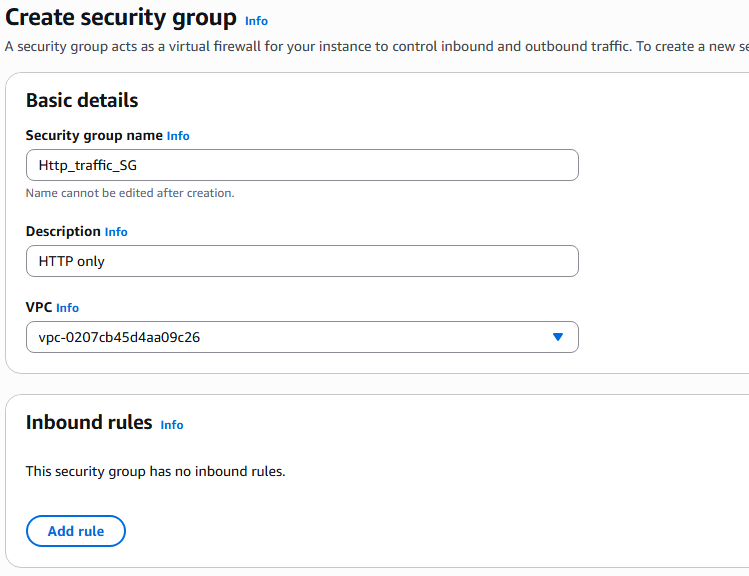
12. Under the Security groups section, click create a new security group.
13. Name the security group, add description and click the Add rules button under Inbound rules.
14. Add HTTP inbound from any source and select create security group button.
15. Back on the Load Balancer create screen, select your new load balancer security group.
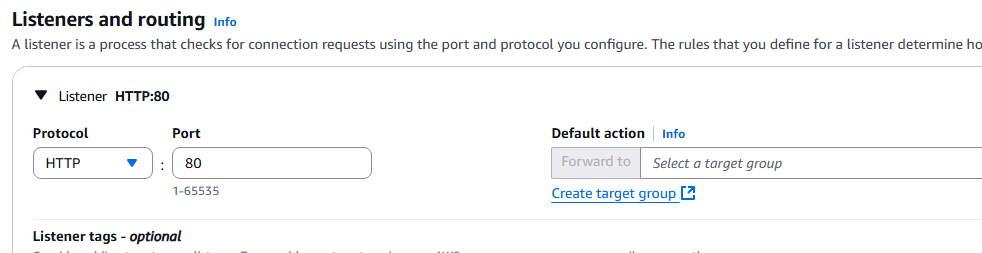
16. Under Listeners and routing, select Create target group.
17. Ensure Instances is select under Basic configuration.
18. Enter a name for your target group, ensure the protocol is HTTP, and IPv4 is selected, protocol version is HTTP1, and health check is HTTP. Present the Next button at the bottom.
19. Select the target for the load balancer. Click the Include as pending below button. Click the Create target group button at the bottom.
20. Back on the load balancer page, select the target group you just created. You may have to refresh the list of target groups.
21. Next click the Create load balancer button.
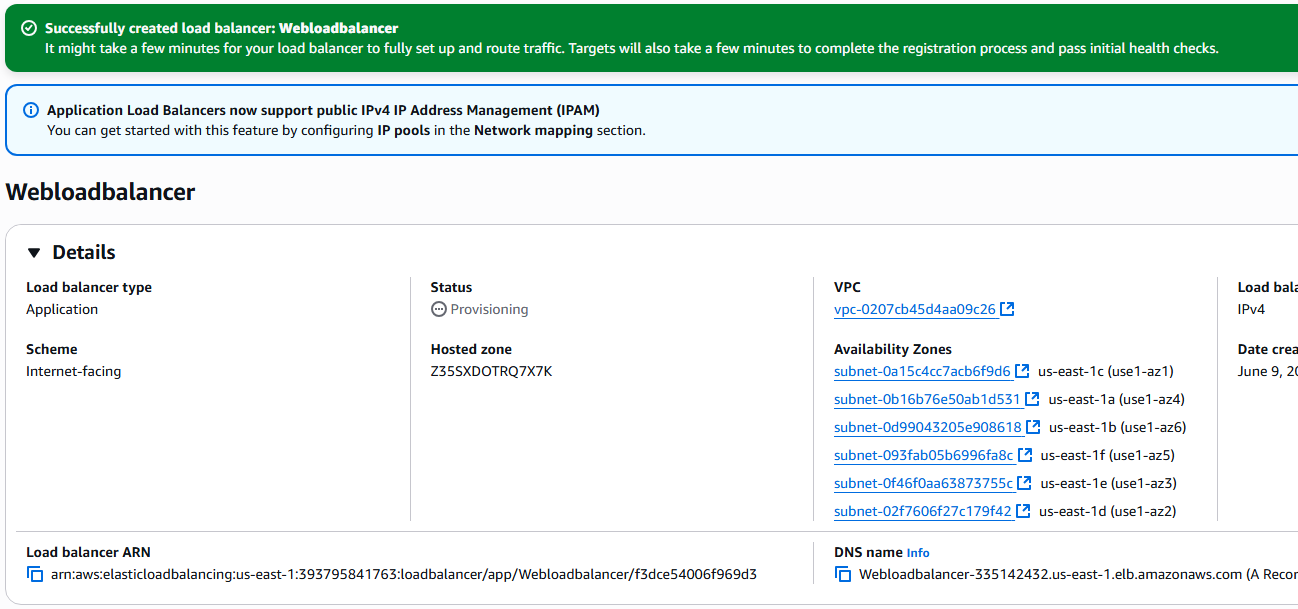
22. Page will present with successful creation of your load balancer.
23. Copy the DNS given in the bottom of load balancer page. Open a separate browser tab and enter the DNS.
24. Keep refreshing you webpage until it switches to Webserver One. And you can see the load balancer is working.
A load balancer’s main purpose is spread the workload of a given task among many different resources, thus avoiding queue waits for process. In the IT realm, this is normally a server which forwards request to other servers in an attempt to spread the work evenly among them. An Elastic Load Balancer is an AWS service that provides a classical example of a load balancer. NOTE: It is not required to user any load balancing service from AWS and you can implement your own load balancing service.
Benefits of Load Balancing:
1. Spreads work load across multiple downstream instances.
2. Provides single point of access to server resources.
3. Handles loss of downstream instances by not sending work to them.
4. Performs regular health checks on downstream instances.
5. Provides SSL end point for webservers using HTTPS
6. Enforces stickness of cookies
7. Provides High availability
8. Can separate public traffic from private traffic.
Characteristics of Elastic Load Balancer
1. ELB are managed load balancers by AWS which guarantees them working, takes care of all upgrade, maintenance, high availability, and provides a few custom configuration options.
2. It is cheaper to create your own load balancers but cause considerable more resources.
3. ELB is integrated into EC2, Scaling groups, ECS, ACM, CloudWatch, Route 53, WAF, and Global Accelerator.
3. From the Home Console type EC2 in the search bar, select the star next to EC2, and select EC2
4. On the right hand menu bar select Instance.
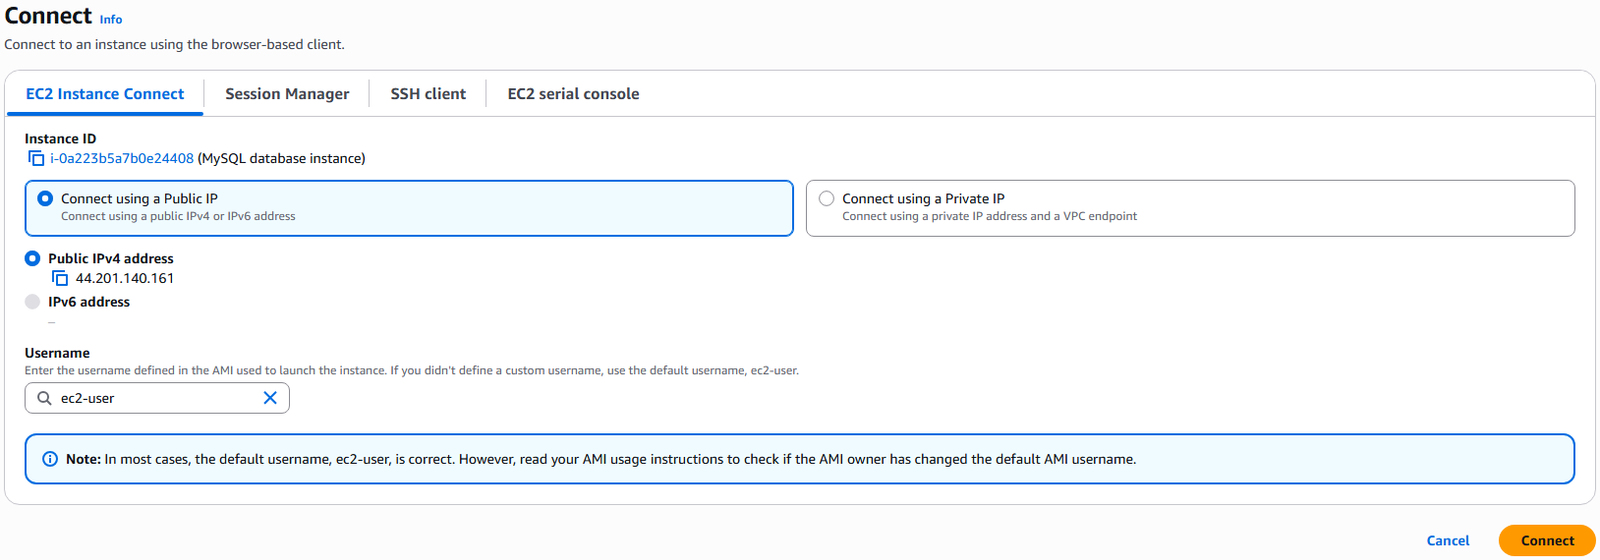
5. We currently have one EC2 Instances built out, select your instance with a check mark and press the Connect button.
6. By default you are already in the EC2 Instance Connect tab, it defaults uses the default ec2-user session. Select Connect.
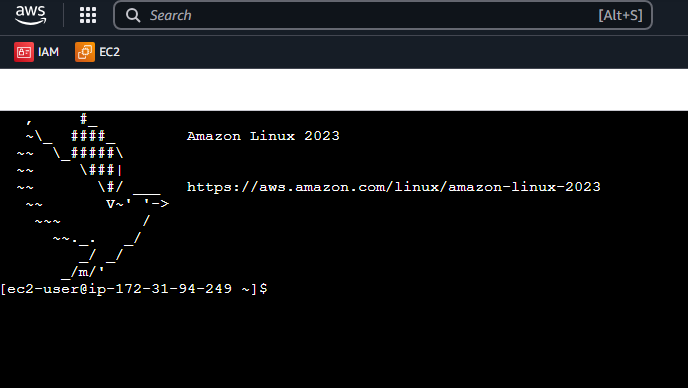
7. The Instance Connect terminal will startup.
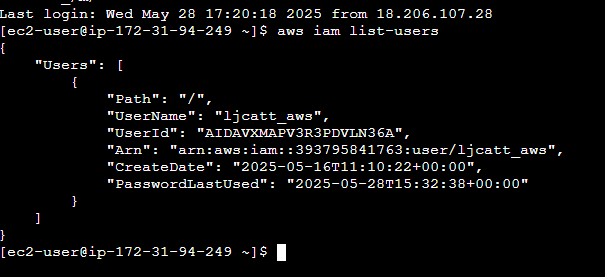
8. The first thing we will attempt to do is list the IAM users with command: aws iam list-users
9. NOTE: Currently we are connected inside of the EC2 Instance but we have no permissions to do anything. To resolve this issue we will add roles to the EC2 instance directly.
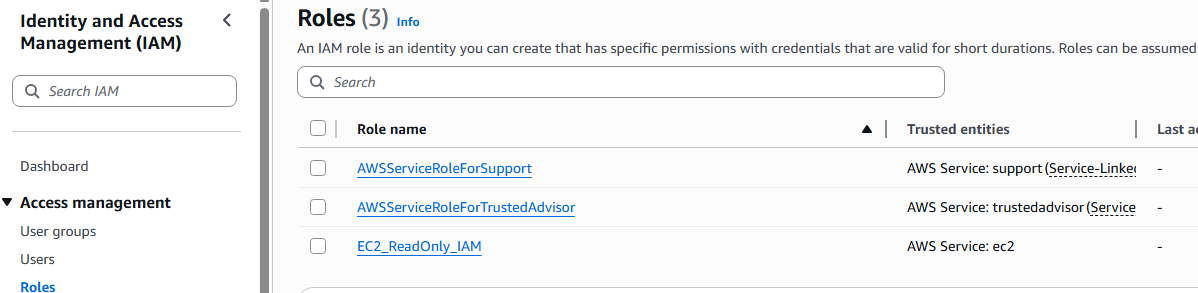
10. Open the IAM console and scroll down the left hand side menu bar to roles. NOTE: We already have a role EC2_ReadOnly_IAM.
11. Go back to your EC2 Instance and click on the Instance ID ? Actions ? Security ? Modify IAM role.
12. Select the EC2_ReadOnly_IAM role from the drop down box and press Update IAM role.
13. Now relaunch Instance connect and attempt your command. Now you have the appropriate permissions to view the IAM.
Amazon EFS is AWS version of Managed NFS (network file system) and can be mounted on multiple EC2 instance to provide shared storage. Additionally EFS can work with EC2 Instance in multiple Availability Zones. It provides for high availability and is scalable but it is 3x more expensive than a gp2 storage. We will show the process to create an EFS device.
2. From the Home Console type EFS in the search bar, select the star next to EFS, and select EFS
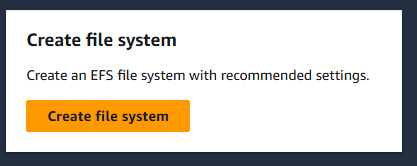
3. Click the Create file systems button to begin.
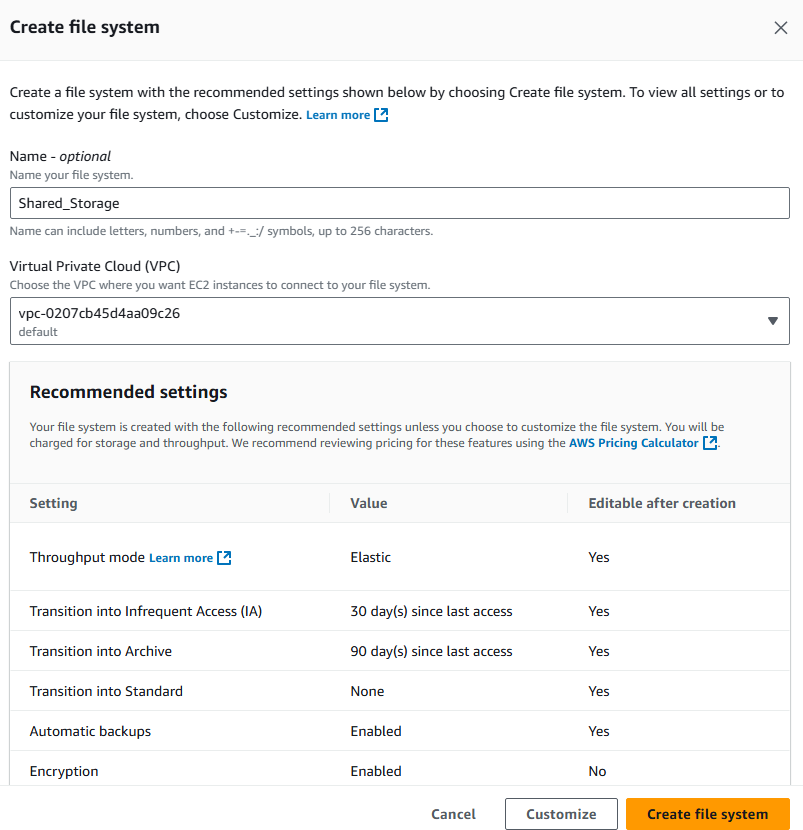
4. Give your EFS drive a name for easy reference and select your default VPC and click the customized button. NOTE: You can create an EFS by simply clicking the Create file system button, but this would result in a shared EFS with standard options.
5. On the next page select One Zone which will restrict the EFS to a single AZ, which is fine for us because our two instance both reside in AZ us-east-1d. Transition to Archive is not available in One Zone EFS. Ensure the automatic backup and encryption are enabled.
6. Notes on Regional EFS: we will have to define a security group to control access to the EFS if implementing Regional and you will have a separate disk created in each of the AZ which the EFS is accessible from.
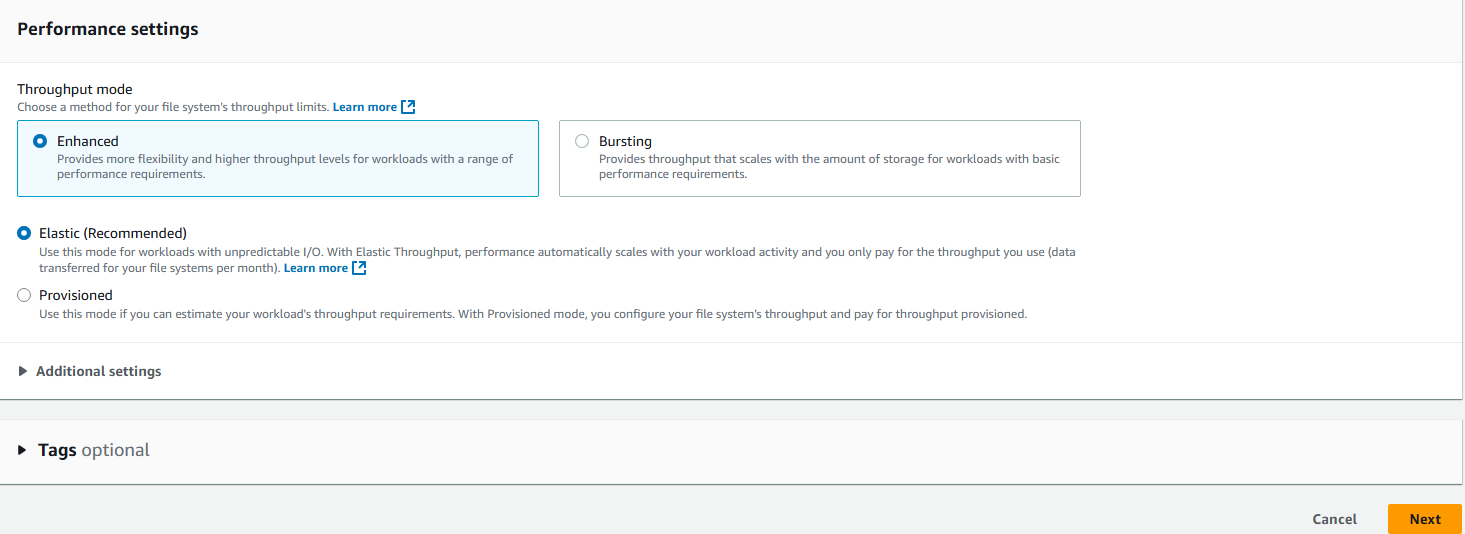
7. Under the Performance settings, Select Enhanced and Elastic. Click the Next button.
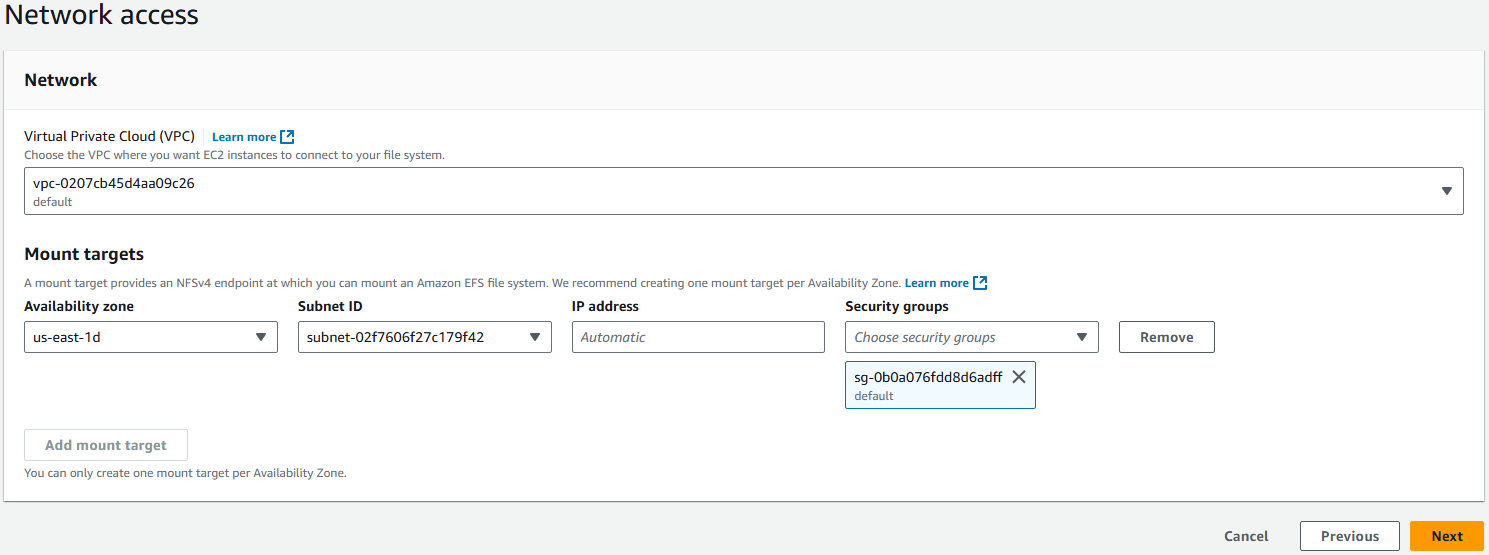
8. Under networking ensure that the AZ selected is where you have your Instance which will use this EFS device. Click the Next button
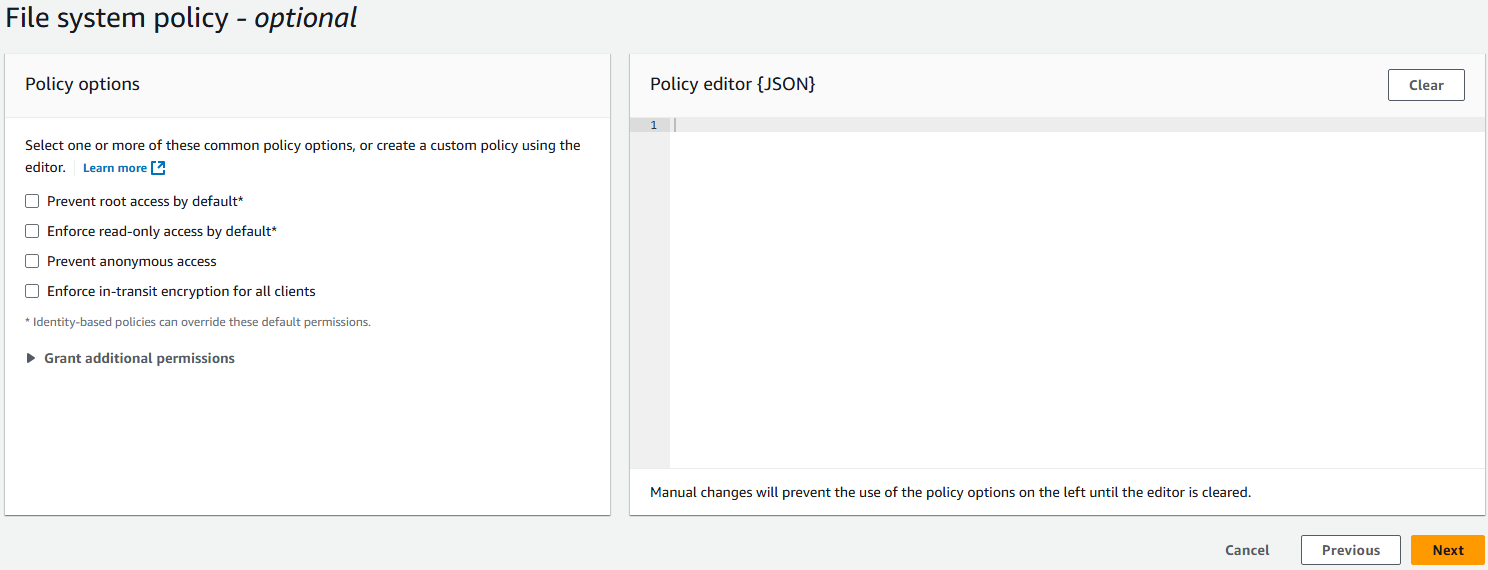
9. Under File system policy leave everything default and click the Next button.
10. You will be presented a review page, simple click the Create button to build your EFS device.
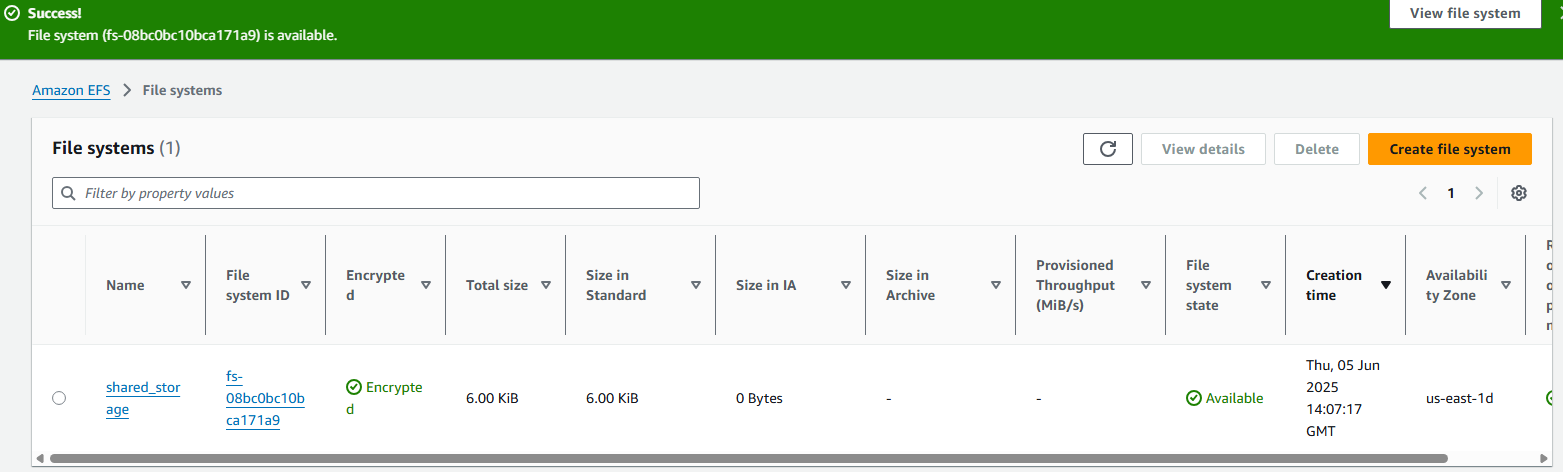
11. You will see your new EFS device with success confirmation on the EFS home page. NOTE: It is important to record your EFS ID for mounting to existing EC2 Instances: fs-08bc0bc10bca171a9
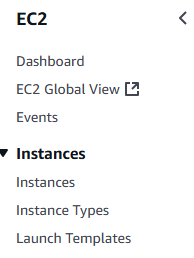
12. Now we will attach the EFS to currently existing EC2 Instance. Open you EC2 Instance console and scroll down the left hand side menu bar and select Instances.
13. Ensure that the instance you want the EFS attached to is started. Place a check box next to that instance you wish to change.
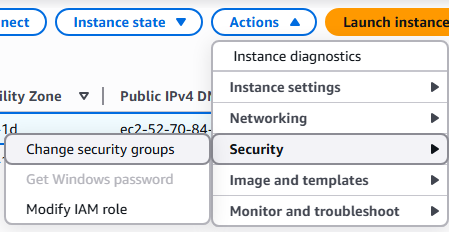
14. Select Actions ? Security ? Change security groups
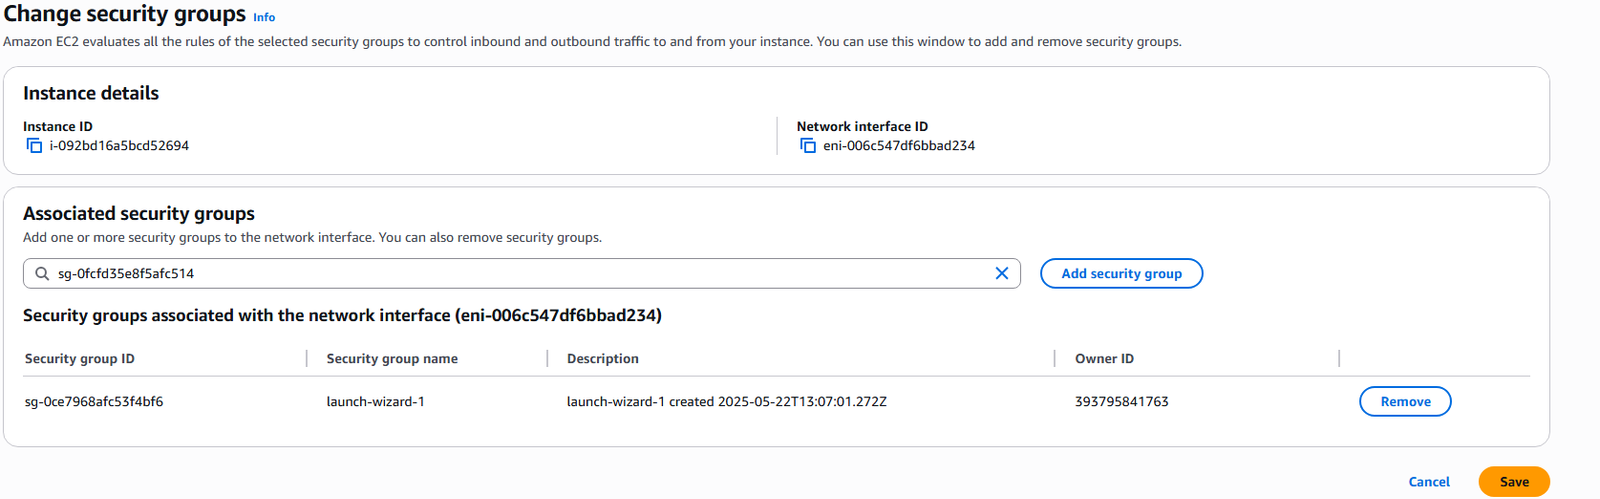
15. We must first add the security group made by the EFS before we can add the EFS device. Select the new security group from the drop down and click the Add security group button.
16. The new security group will appear in the list and click the Save button.
17. Now open CloudShell for your instance by clicking the icon on the top menu bar.
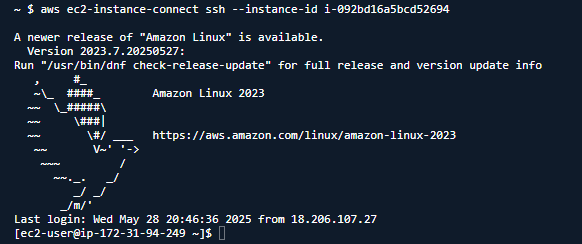
18. Once CloudShell opens, connect to the EC2 Instance with command: aws ec2-instance-connect ssh –instance-id i-092bd16a5bcd52694
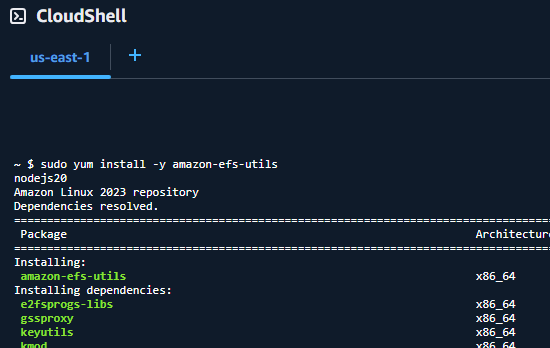
19. Ensure you have the EFS packages installed with the command: sudo yum install -y amazon-efs-utils
20. Make an EFS mount point on you EC2 Instance with command: sudo mkdir /mnt/shared_storage
21. Now we will mount the EFS instance under our new mount point with command: sudo mount -t efs -o tls fs-08bc0bc10bca171a9 /mnt/shared_storage
22. We currently have the EFS drive mounted to this instance, but only root user can use, so change the access permissions appropriately. Here we will allow access to all users with command: sudo chmod 777 /mnt/shared_storage
23. We will test the shared drive with the following.
Amazon EFS is AWS version of Managed NFS (network file system) and can be mounted on multiple EC2 instance to provide shared storage. Additionally EFS can work with EC2 Instance in multiple Availability Zones. It provides for high availability and is scalable but it is 3x more expensive than a gp2 storage. Characteristics of EFS are:
1. Use case: Content Management, Web Servers, Data Sharing, WordPress sites.
2. Uses NFSv4.1 protocol
3. Security group must be setup to control access to EFS
4. Only compatible with Linux AMI, no Windows.
5. Supports encryption with KMS.
6. POSIX file system (Linux) with standard API.
7. Scales automatically, no capacity planning required.
8. Only pay for storage you actually use.
——————————————
Three Types of EFS
1. Scale Mode
a. 1000s of concurrent NFS clients with 10GB+/s throughput.
b. Can grow to Petabyte-scale NFS, automatically.
2. Performance Mode
a. General purpose – for latency sensitive uses.
b. Max I/O – high latency, throughput, hight parallel
3. Throughput Mode
a. Bursting to 50MiB/s to 100MiB/s
b. Provisioned – set throughput regardless of overall size.
c. Elastic – automatically scales throughput up and down base on workload.
i. Max 3GiB/s read and 1GiB/s writes.
ii. Used for unpredictable workloads.
——————————————
EFS 3 Storage Tiers – Lifecycle policies govern moving between tiers
1. Standard – for frequently accessed data.
2. Infrequent Access (EFS-IA) – low storage cost, but cost to retrieve data.
4. Archive – data accessed a few times a year, 50% cheaper storage.
——————————————
EFS Availability
1. Standard – multiple Availability Zone
2. One Zone – restricted to single Availability Zone (Dev or Test system)