Amazon EFS is AWS version of Managed NFS (network file system) and can be mounted on multiple EC2 instance to provide shared storage. Additionally EFS can work with EC2 Instance in multiple Availability Zones. It provides for high availability and is scalable but it is 3x more expensive than a gp2 storage. We will show the process to create an EFS device.
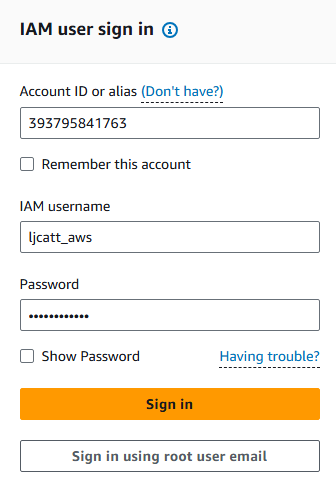
1. Logon to AWS as an IAM user at URL: https://signin.aws.amazon.com/
2. From the Home Console type EFS in the search bar, select the star next to EFS, and select EFS

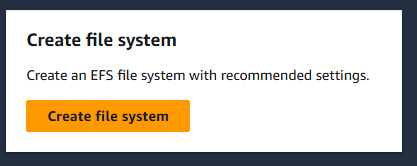
3. Click the Create file systems button to begin.
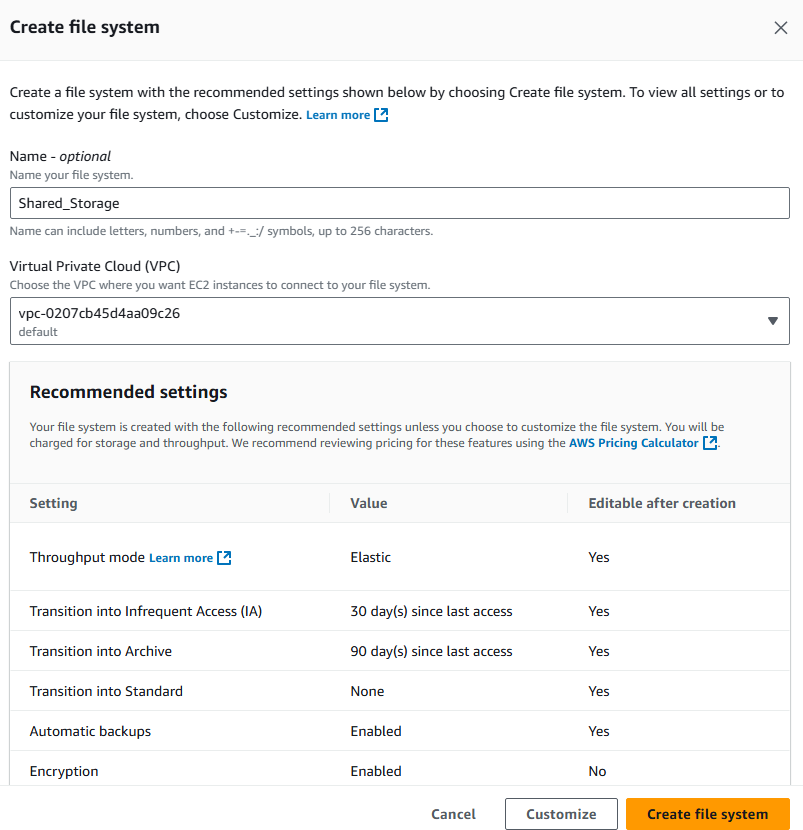
4. Give your EFS drive a name for easy reference and select your default VPC and click the customized button. NOTE: You can create an EFS by simply clicking the Create file system button, but this would result in a shared EFS with standard options.
5. On the next page select One Zone which will restrict the EFS to a single AZ, which is fine for us because our two instance both reside in AZ us-east-1d. Transition to Archive is not available in One Zone EFS. Ensure the automatic backup and encryption are enabled.

6. Notes on Regional EFS: we will have to define a security group to control access to the EFS if implementing Regional and you will have a separate disk created in each of the AZ which the EFS is accessible from.
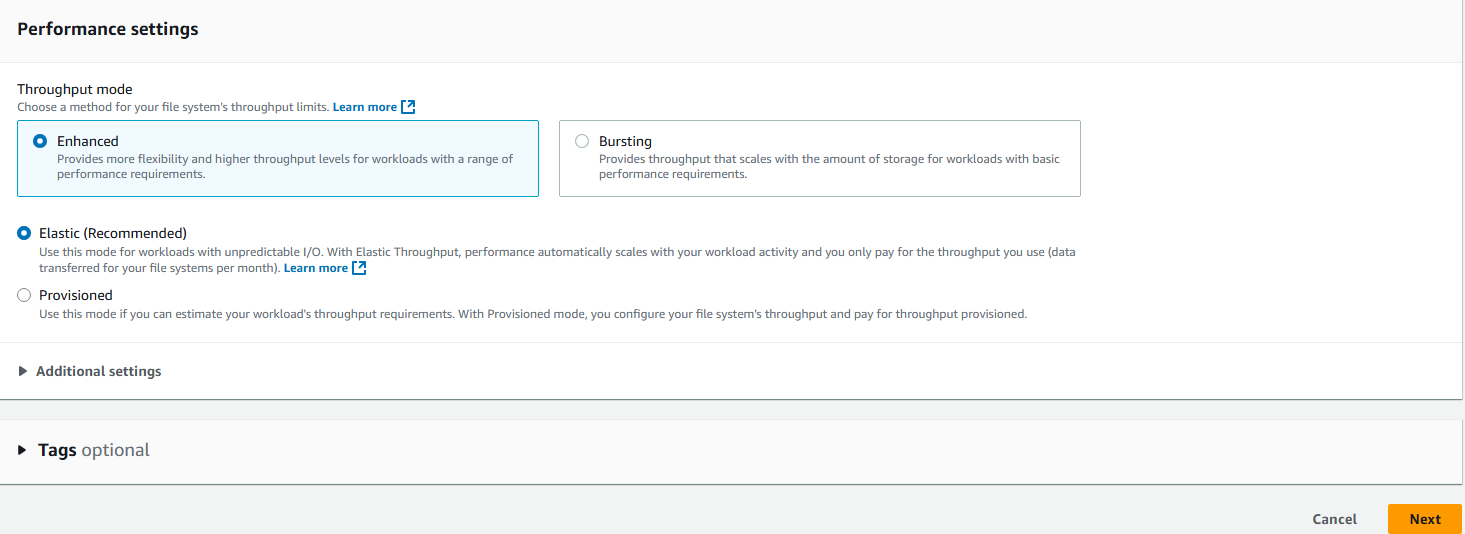
7. Under the Performance settings, Select Enhanced and Elastic. Click the Next button.
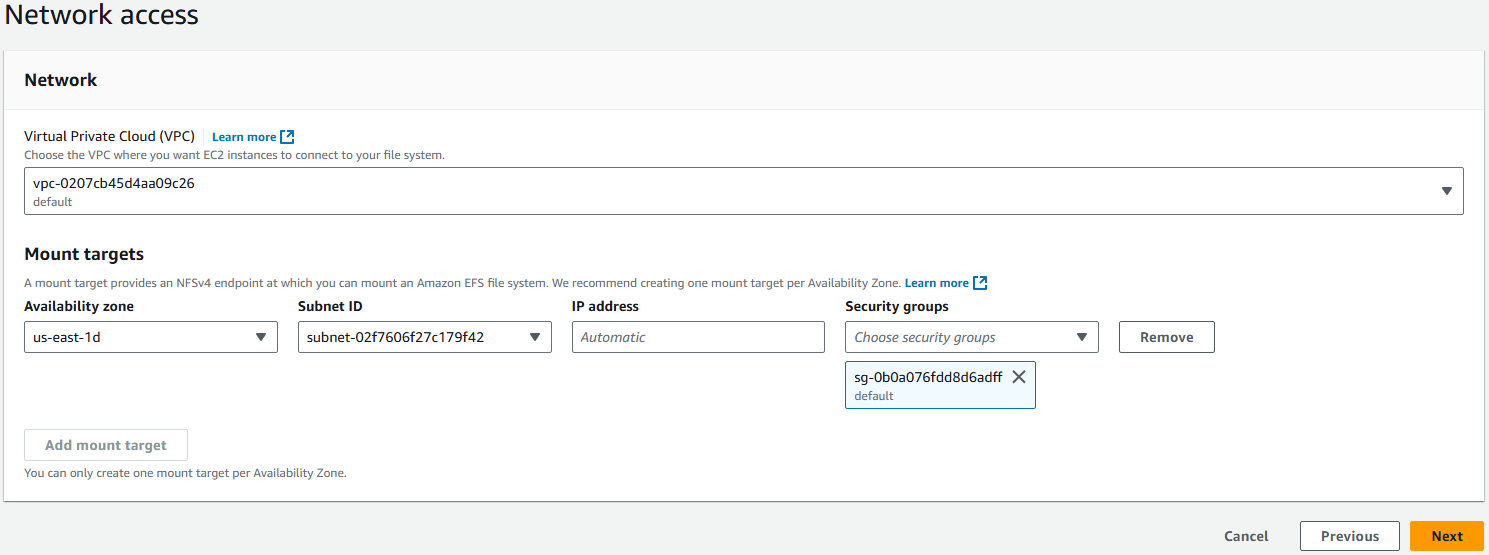
8. Under networking ensure that the AZ selected is where you have your Instance which will use this EFS device. Click the Next button
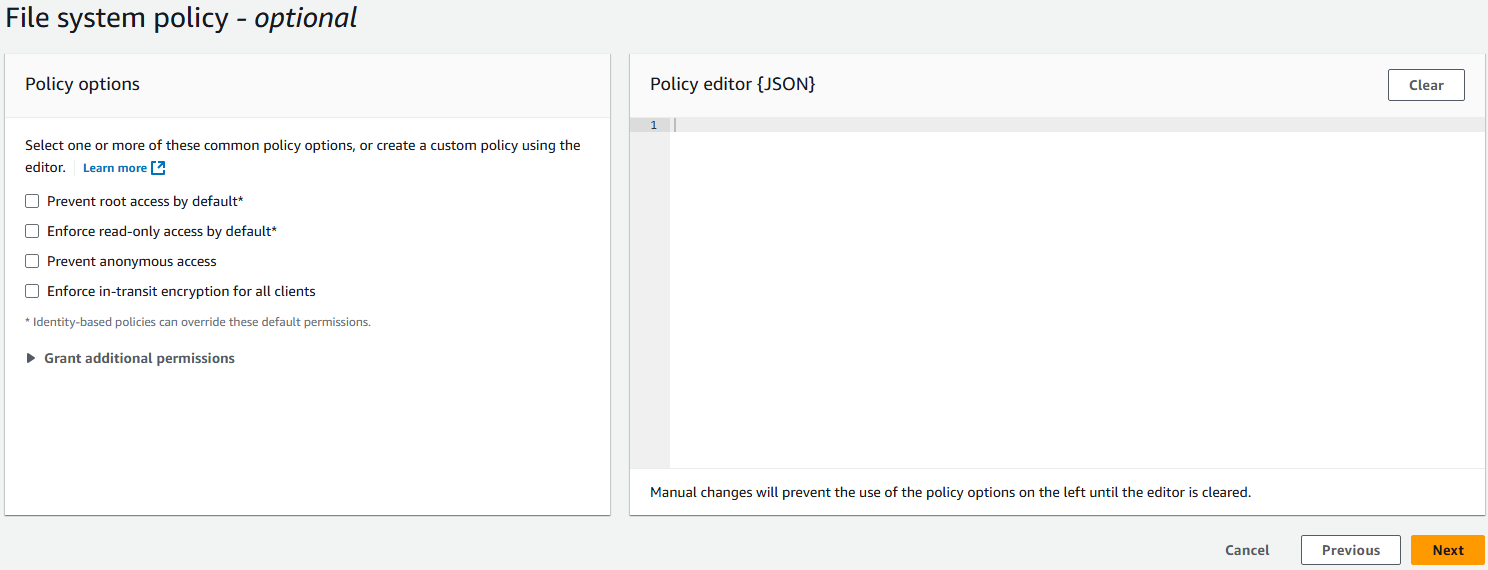
9. Under File system policy leave everything default and click the Next button.
10. You will be presented a review page, simple click the Create button to build your EFS device.
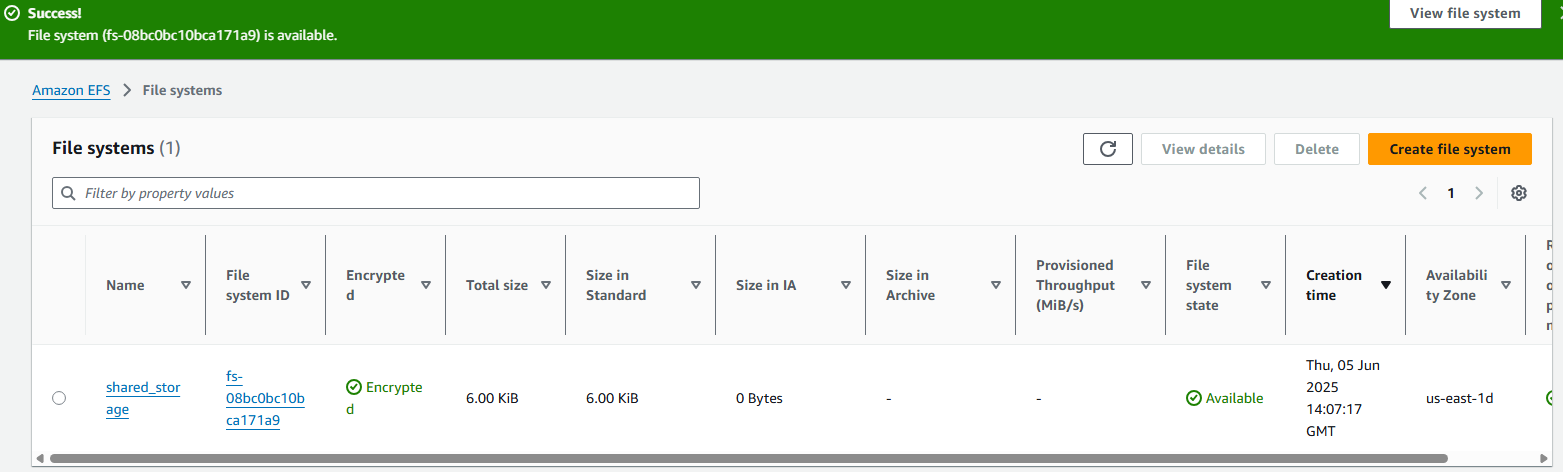
11. You will see your new EFS device with success confirmation on the EFS home page. NOTE: It is important to record your EFS ID for mounting to existing EC2 Instances: fs-08bc0bc10bca171a9
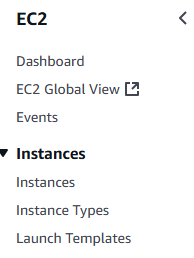
12. Now we will attach the EFS to currently existing EC2 Instance. Open you EC2 Instance console and scroll down the left hand side menu bar and select Instances.
13. Ensure that the instance you want the EFS attached to is started. Place a check box next to that instance you wish to change.

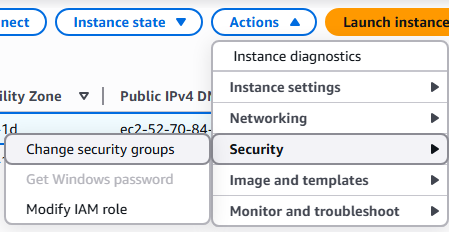
14. Select Actions ? Security ? Change security groups
15. We must first add the security group made by the EFS before we can add the EFS device. Select the new security group from the drop down and click the Add security group button.
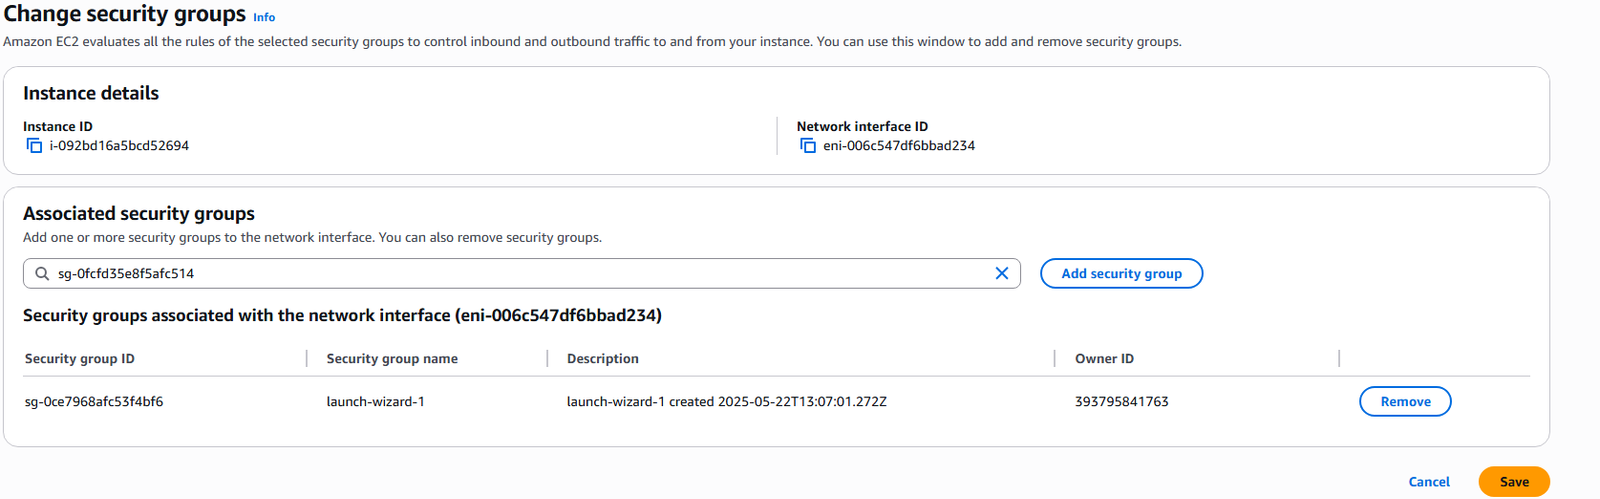
16. The new security group will appear in the list and click the Save button.
17. Now open CloudShell for your instance by clicking the icon on the top menu bar.

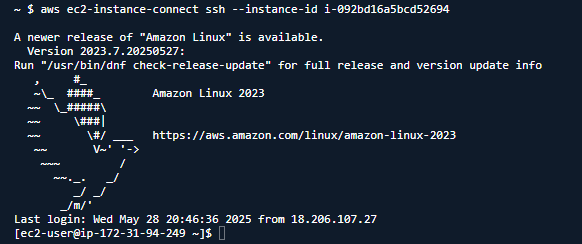
18. Once CloudShell opens, connect to the EC2 Instance with command: aws ec2-instance-connect ssh –instance-id i-092bd16a5bcd52694
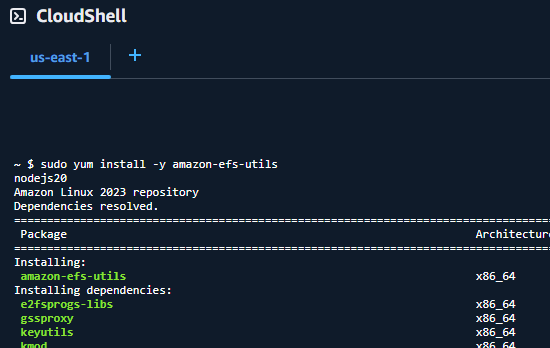
19. Ensure you have the EFS packages installed with the command: sudo yum install -y amazon-efs-utils
20. Make an EFS mount point on you EC2 Instance with command: sudo mkdir /mnt/shared_storage

21. Now we will mount the EFS instance under our new mount point with command: sudo mount -t efs -o tls fs-08bc0bc10bca171a9 /mnt/shared_storage

22. We currently have the EFS drive mounted to this instance, but only root user can use, so change the access permissions appropriately. Here we will allow access to all users with command: sudo chmod 777 /mnt/shared_storage

23. We will test the shared drive with the following.