AWS offers multiple balancers to address the needs of a client AWS environment and produce the necessary resources to accomplish their IT solution with minimal latency. This include: Elastic, Application, Network, and Gateway load balancers. In this article we will address the user and application of Network Load Balancing in an AWS environment.
A load balancer’s main purpose is spread the workload of a given task among many different resources, thus avoiding queue waits for process. In the IT realm, this is normally a server which forwards request to other servers in an attempt to spread the work evenly among them.
Characteristics of Network Load Balancer
1. NLB is a layer 4 load balancer.
2. Forwards TCP and UDP traffic to instances.
3. Very high performance and ultra-low latency, millions of requests per second.
4. NLB have one static IP per AZ and supports Elastic IP assignment.
5. NLB not included in AWS free tier offerings.
6. NLB can forward to EC2 Instances or Private IP on AWS.
7. NLB can forward to ALB, giving you fixed IP and rules around access.
8. NLB health checks are TCP, HTTP and HTTPS protocols
===================================================
1. Logon to AWS as an IAM user at URL: https://signin.aws.amazon.com/
2. From the Home Console type EC2 in the search bar, select the star next to EC2, and select EC2

3. On the left hand menu bar select Instances.
4. On the instance page you will see two instance we will be using web1 and web2, retrieve the public IP address and open two web browser or tables to verify that they resolve.

5. Web1 display.

6. Web2 display.

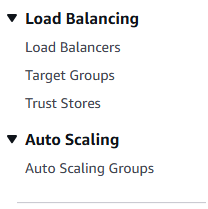
7. Scroll down the left hand side menu bar and select Load Balancers.
8. Select Create load balancer on the right hand side of the screen.

9. Select the create button at the bottom of Network Load Balancer.
10. Name the load balancer, select Internet-facing, and IP address type IPv4.
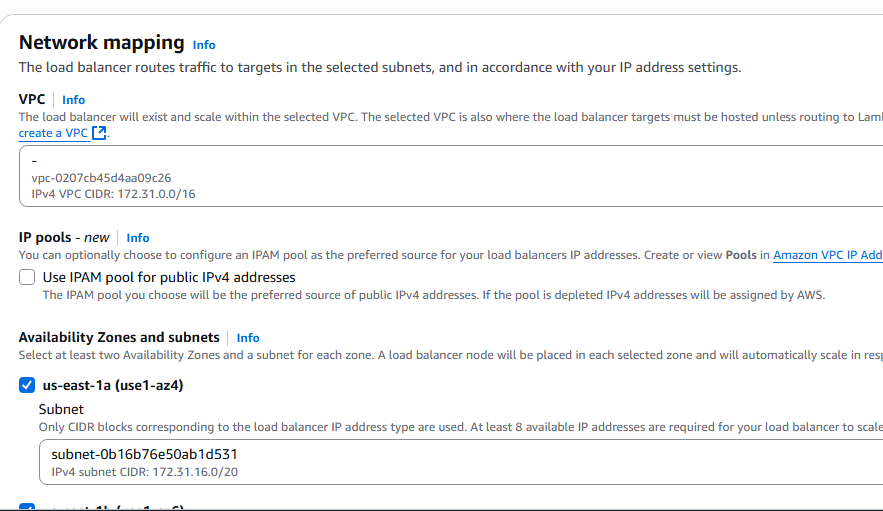
11. Under Network mapping, select all Availability Zones presented.
12. Under the Security groups section, click create a new security group.
13. Name the security group, add description and click the Add rules button under Inbound rules.

14. Add TCP inbound from any source and select create security group button.
15. Back on the Load Balancer create screen, select your new load balancer security group.
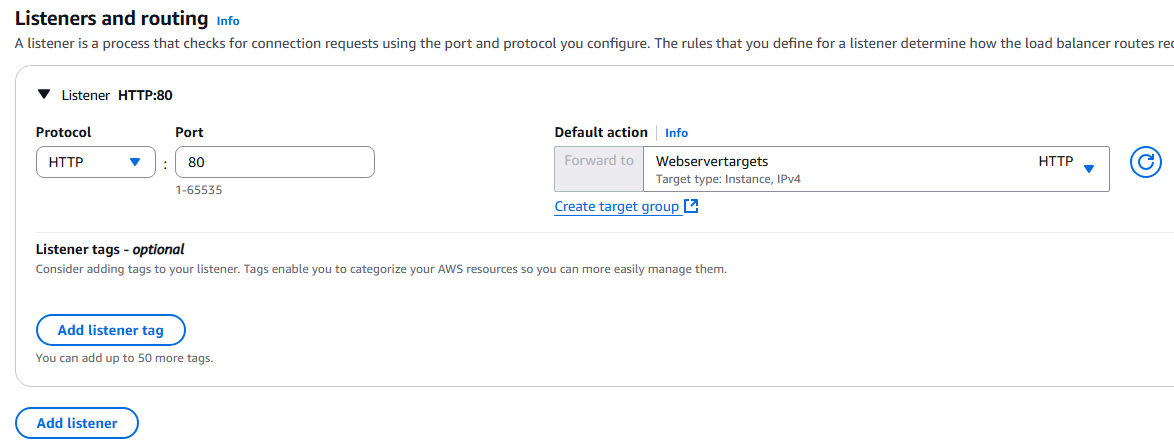
16. Under Listeners and routing, select Create target group. NOTE: You will choose TCP as the Listener not HTTP.
17. Ensure Instances is select under Basic configuration.
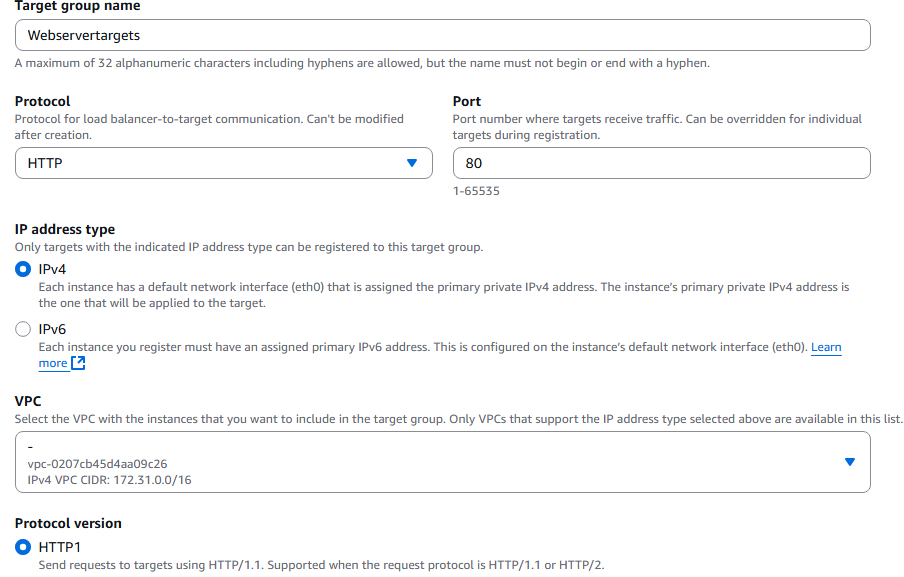
18. Enter a name for your target group, ensure the protocol is HTTP, and IPv4 is selected, protocol version is HTTP1, and health check is HTTP. Present the Next button at the bottom.
19. Select the target for the load balancer. Click the Include as pending below button. Click the Create target group button at the bottom.
20. Back on the load balancer page, select the target group you just created. You may have to refresh the list of target groups.
21. Next click the Create load balancer button.

22. Page will present with successful creation of your load balancer.
23. Copy the DNS given in the bottom of load balancer page. Open a separate browser tab and enter the DNS.
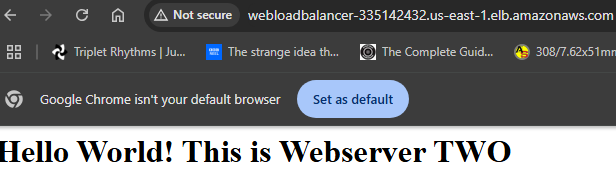
24. Keep refreshing you webpage until it switches to Webserver One. And you can see the load balancer is working.