AWS Relational Database Service (RDS) console is normally used to create RDS services, however they can be deployed via the CLI, CloudShell or even from an EC2 Instance. This article will cover the creation of an AWS RDS using the console.
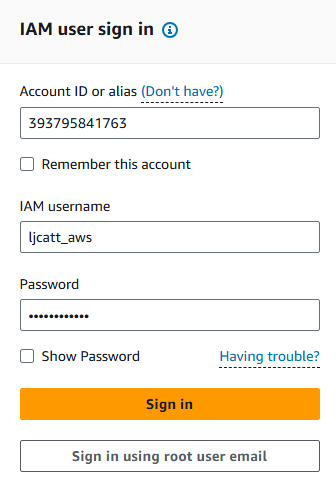
1. Logon to AWS as an IAM user at URL: https://signin.aws.amazon.com/
2. From the Home Console type RDS in the search bar, select the star next to RDS, and select RDS. NOTE: The name of the Console has changed over time, but the key wording is RDS.

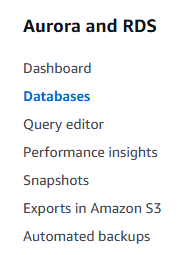
3. On the left hand menu bar select Databases.
4. Currently we have no RDS databases created and thus none are listed. Click Create database on the right hand side of the screen.

5. Select standard creation and for this example we will create a MySQL database.
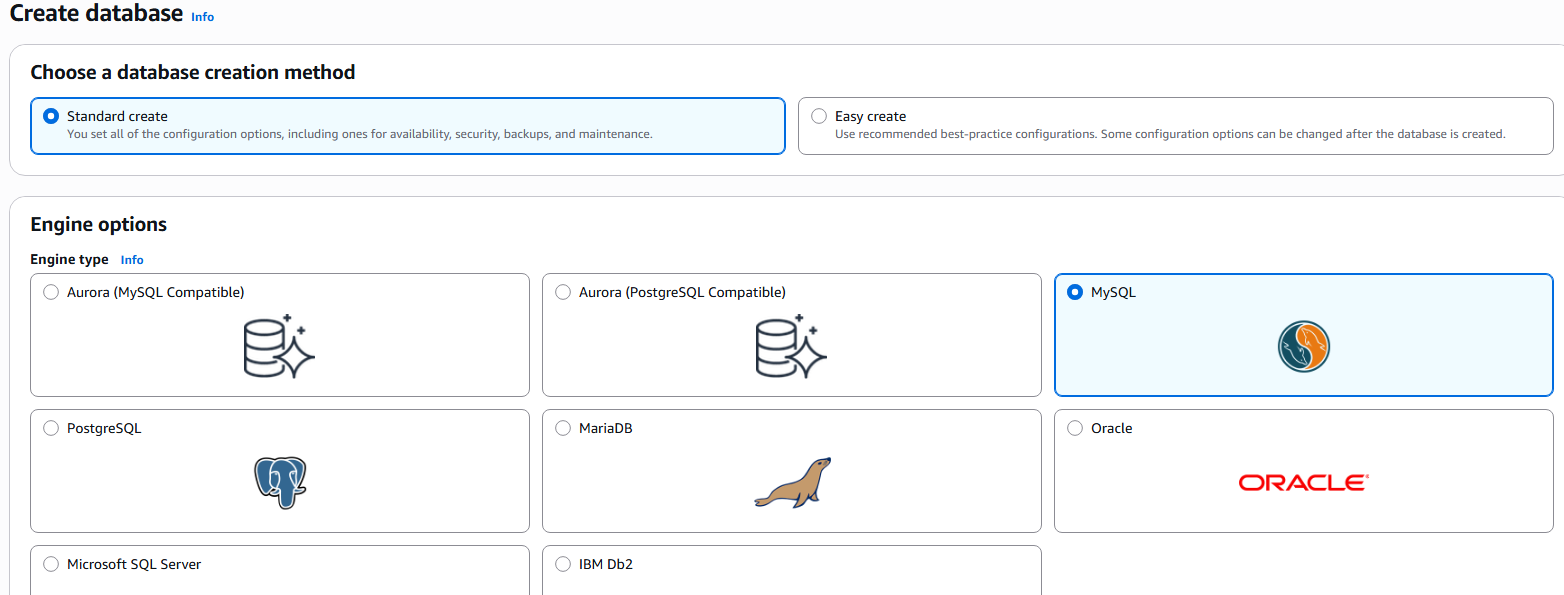
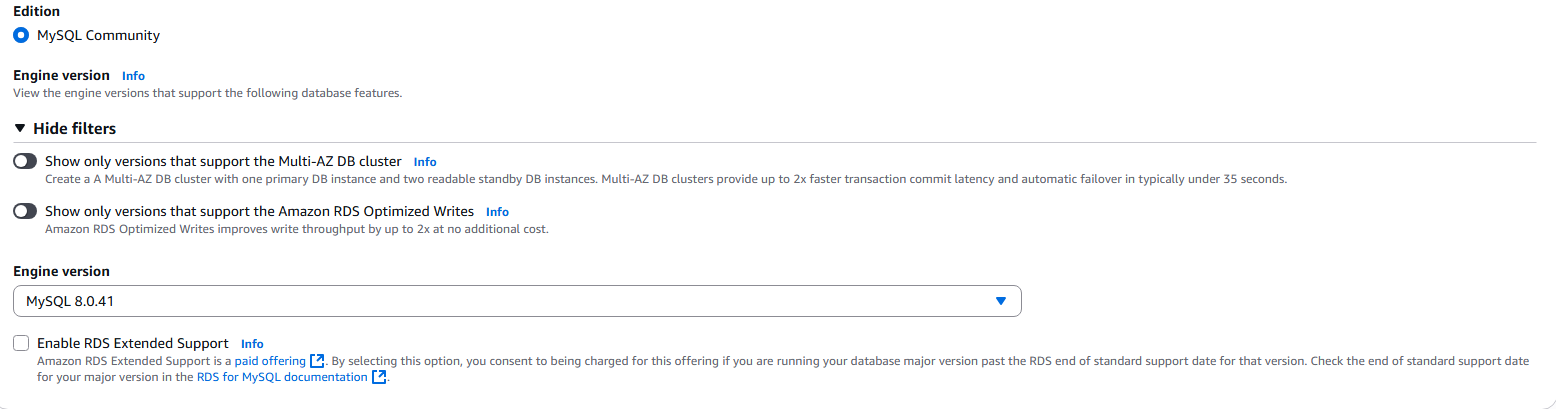
6. Select MySQL Community and the Engine Version you desire.
7. Under templates, select the Free tier option.

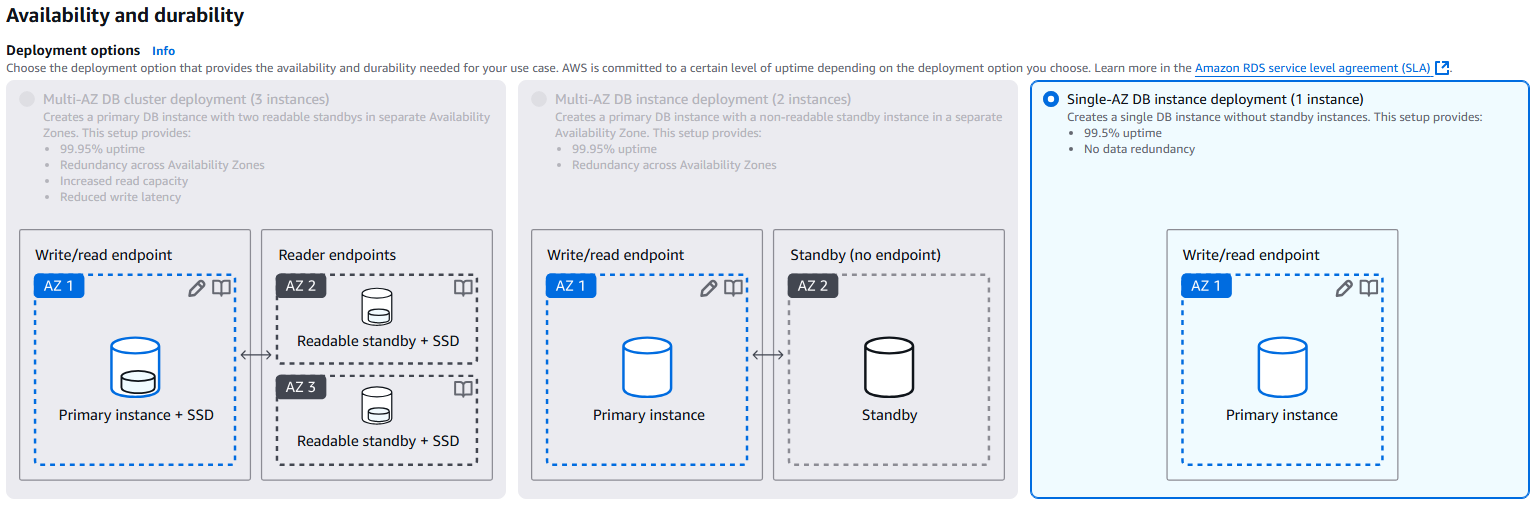
8. Under Availability and durability, we have only one option in free tier, but you can see the other options available would be for Multi-AZ and Read-Replicate.
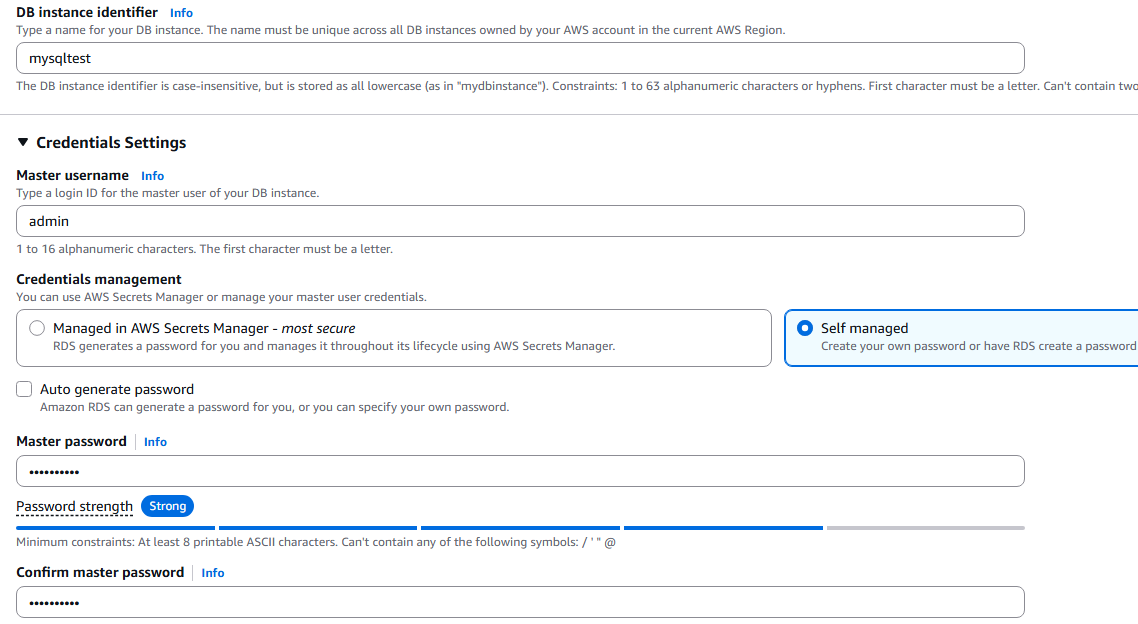
9. Under DB Instance Identifier place the name of you database, Name for the Master User, select Self Managed, and enter a password for the Master user.
10. Accept standard for Instance Configuration and Storage.
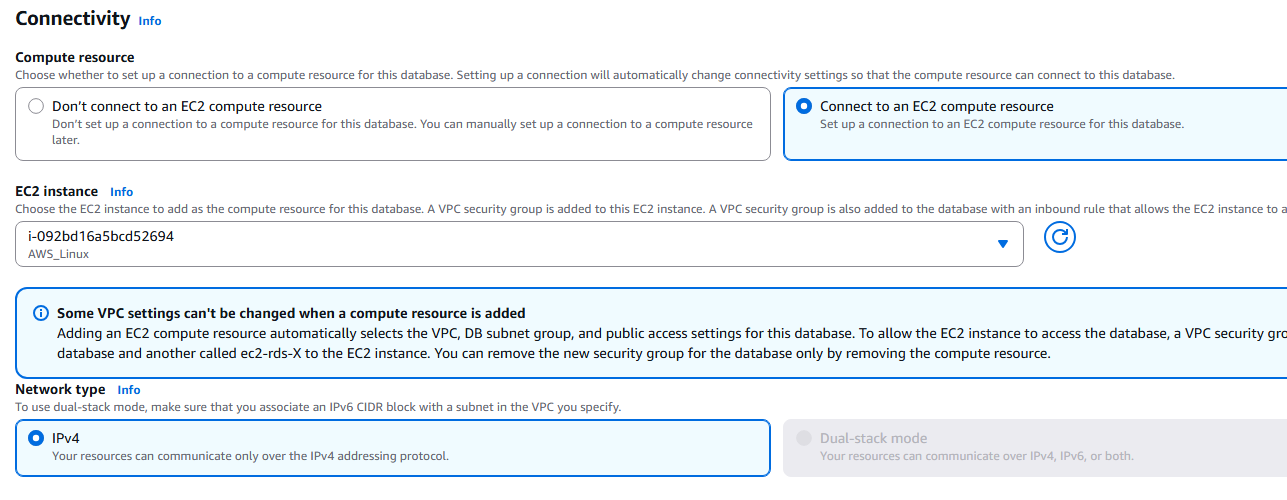
11. Under Connectivity, select EC2 compute resources and select one of your existing EC2 Instances. NOTE: We are doing this to provide a tunnel into the RDS system for administration via CLI or SSH. Accept the IPv4.
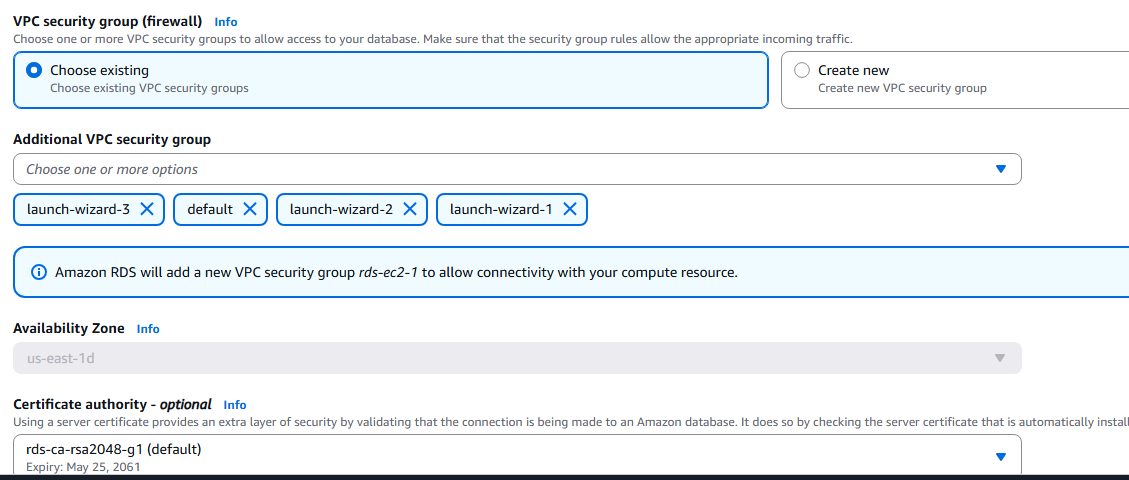
12. Under VPC security group, select the security groups for applications and EC2 Instances you desire to have access to the RDS Services.
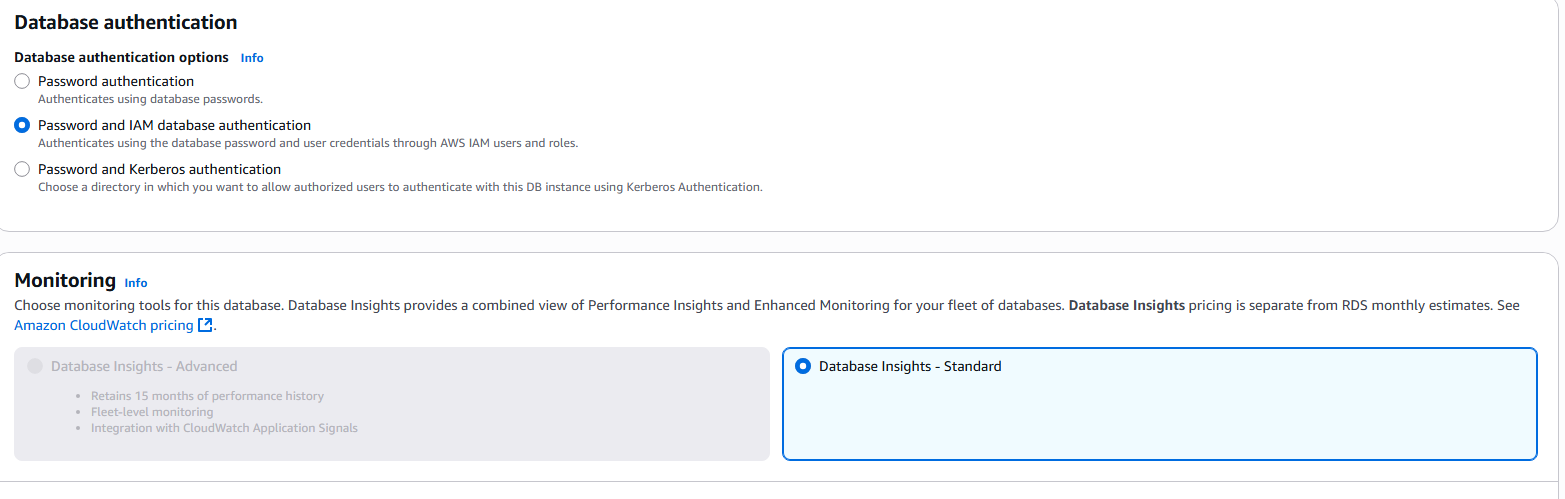
13. Under Database authentication select Password and IAM database authentication. Under Monitoring select Database Insights.
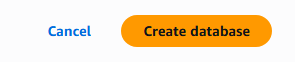
14. Select Create database, to build your RDS MySQL database.
15. Your new RDS database will appear in the database listing with configrmation.

16. This completes build of MySQL RDS database service on AWS.