Auto Scaling Groups (ASG) allow you to have more EC2 Instances during times of high demand and less EC2 Instance (reduced cost) during times of less demand. ASG scales up and down in real time as demand increases and decreases.
ASG Characteristics:
1. Scale out (add EC2 instances) as the workload increases.
2. Scale in (removes EC2 instances) as the workload decreases.
3. Can define minimum and maximum number of EC2 instances.
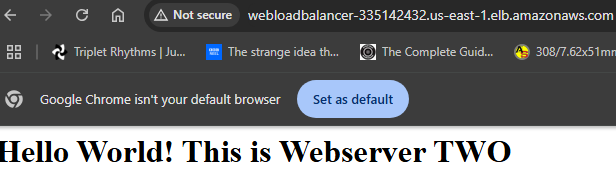
4. Automatically registers new instances with load balancer.
5. Starts new EC2 instance if original is unhealthy or terminated.
6. ASG are free, but you pay when EC2 instances are running.
7. ASG can terminate EC2 instances if ELB says they are unhealthy
Auto Scaling Group Attributes
1. Launch Template (formally Launch Configurations) gives initial parameters of ASG
1. AMI + Instance Type
2. EC2 User Data
3. EBS Volumes
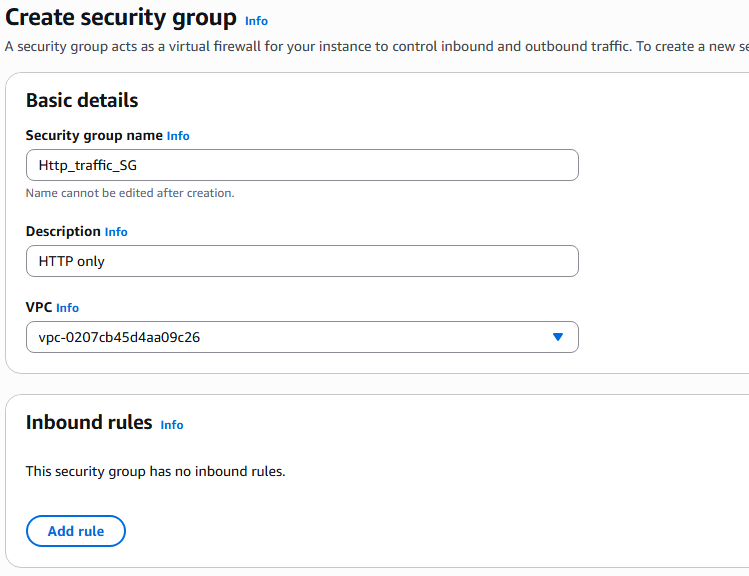
4. Security Groups
5. SSH Key pair
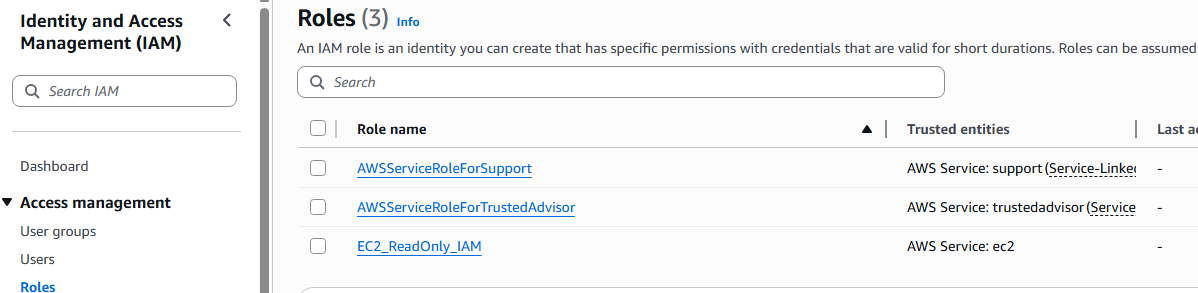
6. IAM Roles for EC2 Instances
7. Network and subnet information
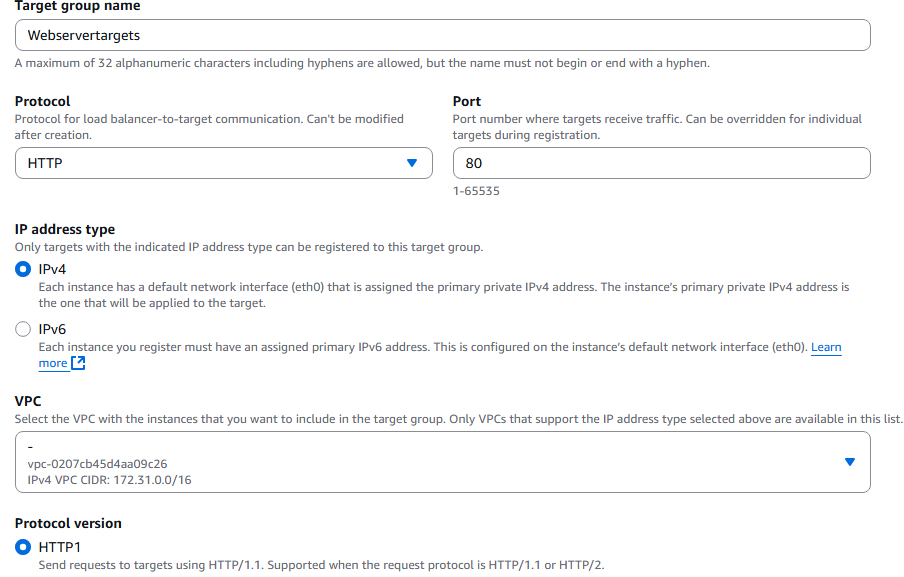
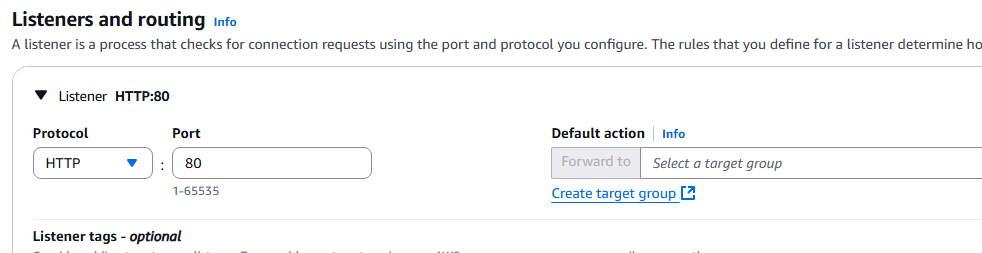
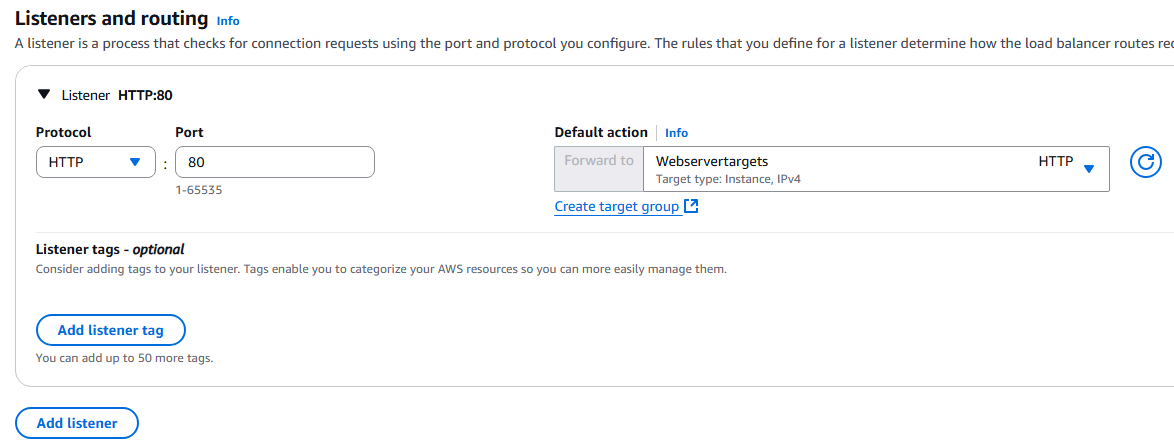
8. Load Balancer Information
2. Min Size, Max Size, and Initial Capacity
3. Scaling Policies
4. Scale ASG out/in based on CloudWatch alarms
========================================
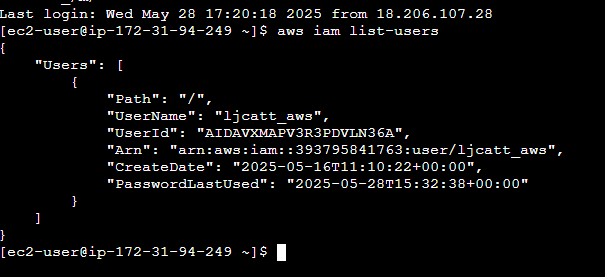
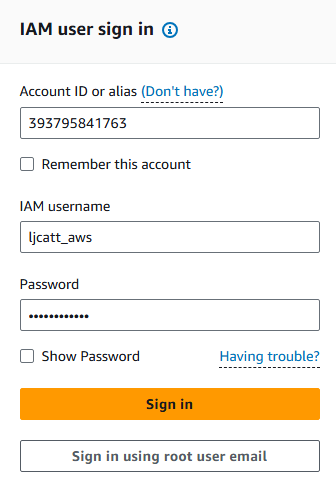
1. Logon to AWS as an IAM user at URL: https://signin.aws.amazon.com/
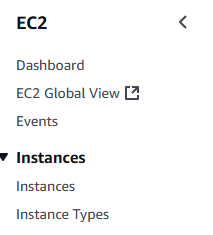
2. From the Home Console type EC2 in the search bar, select the star next to EC2, and select EC2
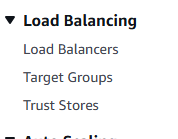
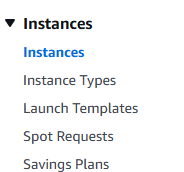
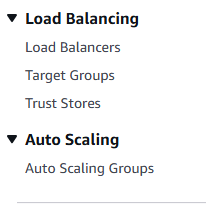
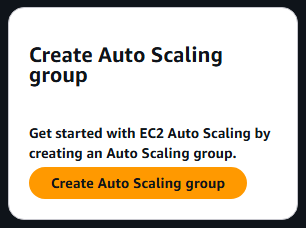
3. On the left hand menu bar select Auto Scaling Groups.
4. Click Create Auto Scaling group button.
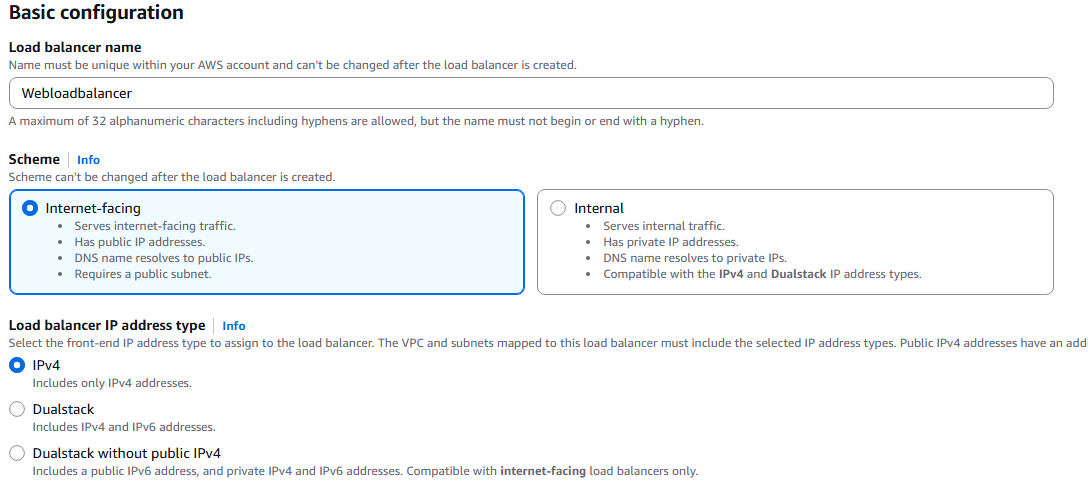
5. Enter a name for your ASG and click the Create a Launch template link
6. Enter a template name and description.

7. Under Application OS, select Quick Start, Amazon Linux.
8. Under Instance type select t2.micro and under Key pair select any already existing pair for which you have the pem.
9. Under Network settings select existing security group.
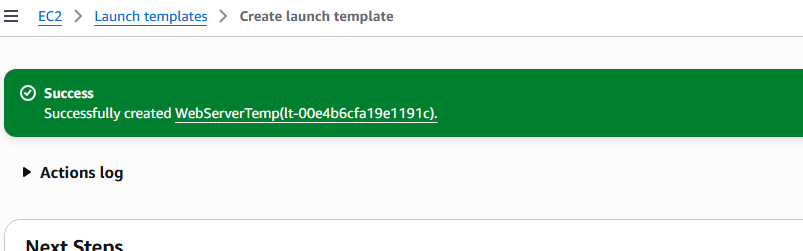
10. Leave storage at 8GB and expand advance section and in user data at bottom, place startup instructions and click the Create launch template button.
11. You will receive confirmation of success.
12. Back at the ASG Creation page, select the template you just built and press Next button Note: you may have to hit the reset button.
13. On the next page enter 1 for Maximum values and AZ where you want the new instances. And press Next.
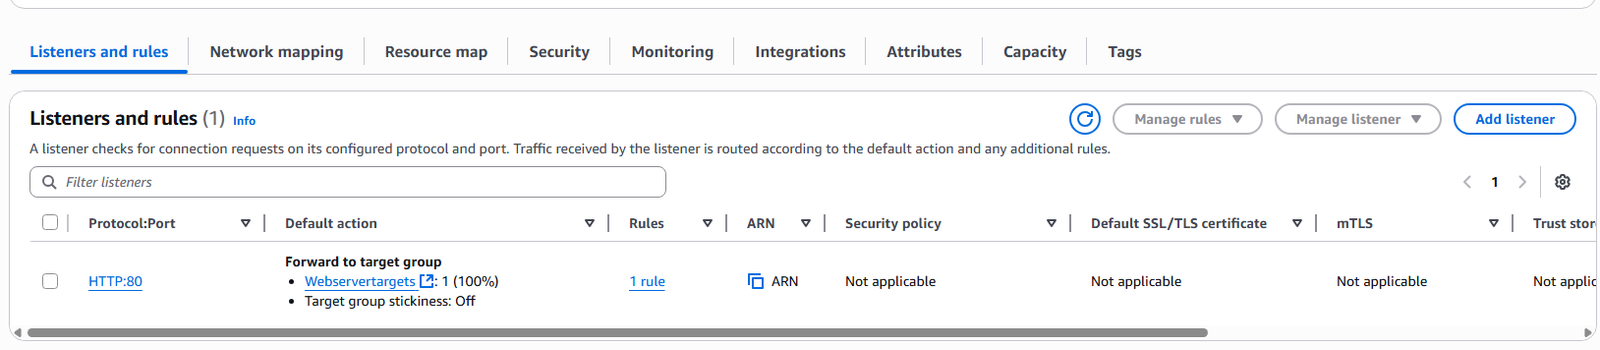
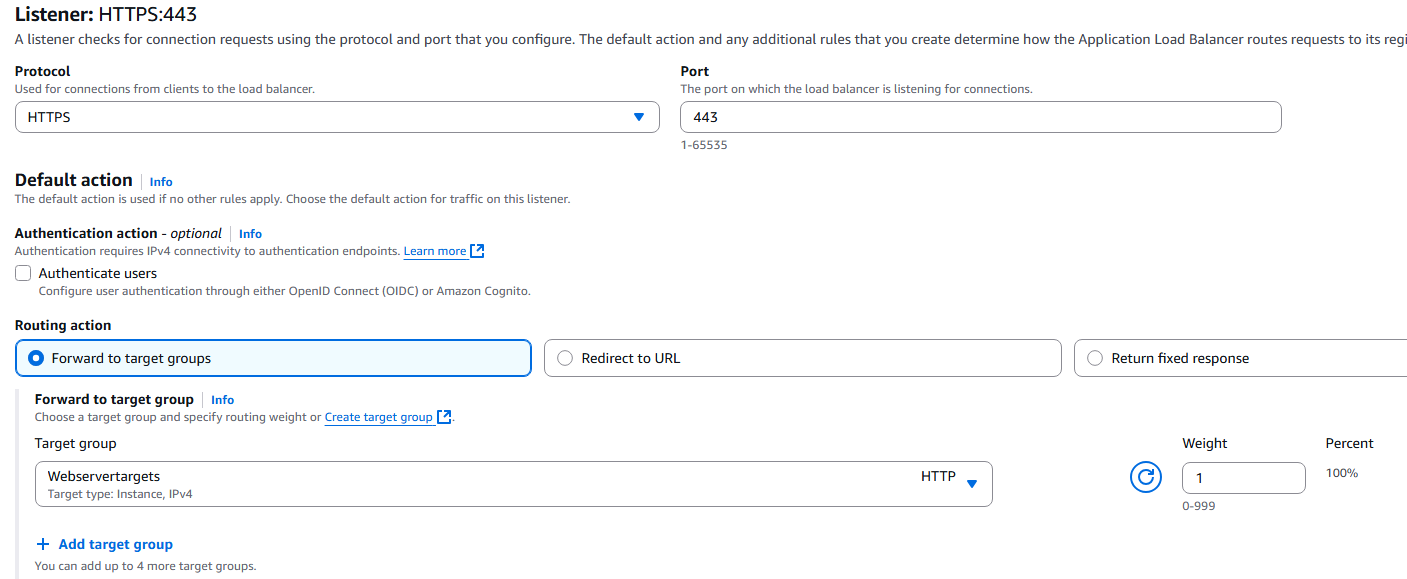
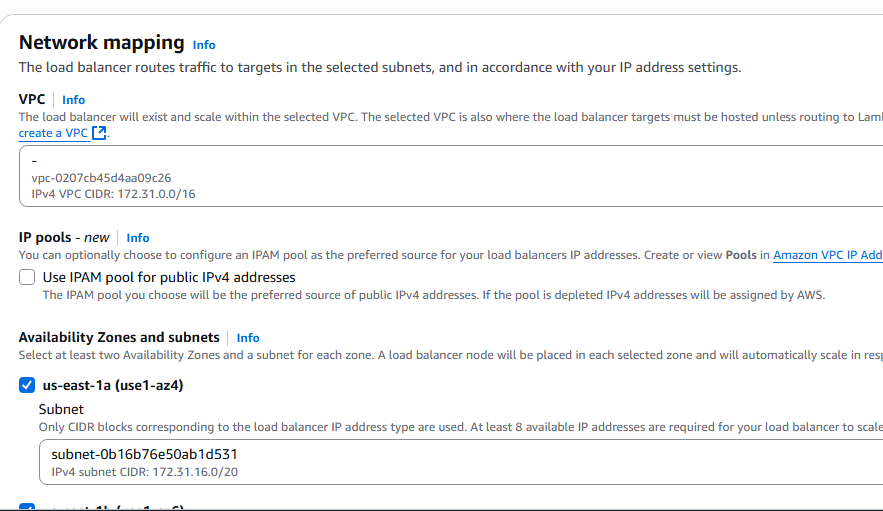
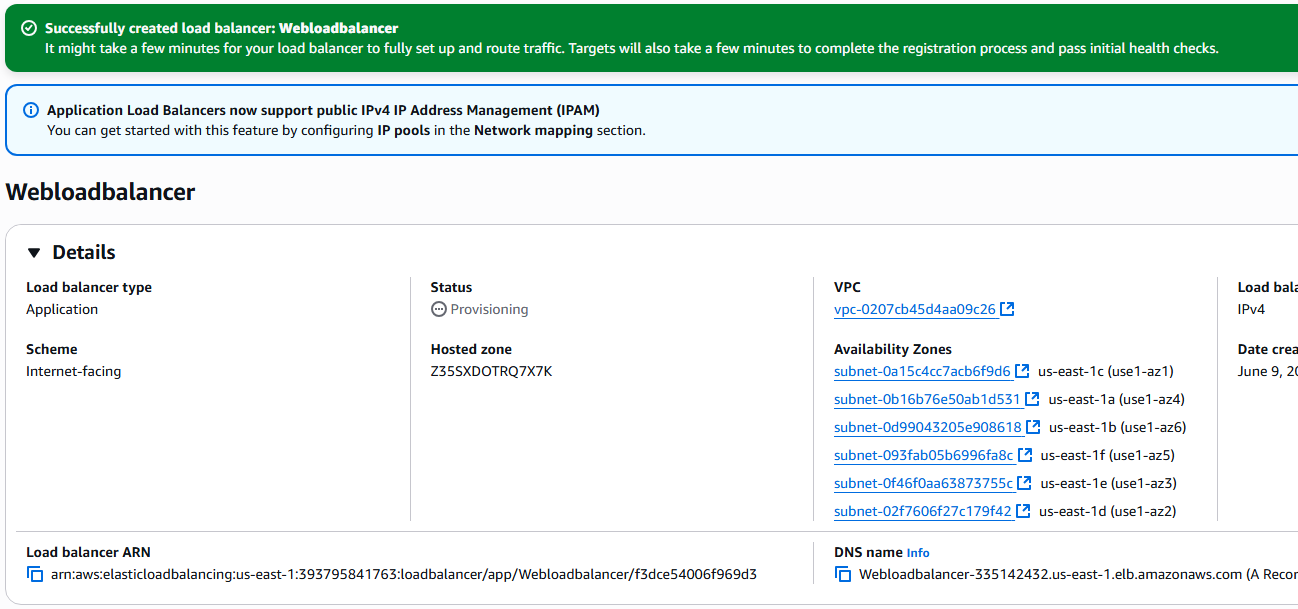
14, At the Integrate with other services page, choose Attach to an existing load balancer and choose your load balancer, click Next

15. At the next pages accept the defaults and press Next.
16. At the next pages accept the defaults and press Next.
17. At the next pages accept the defaults and press Next.
18. Review the configuration and press Create Auto Scaling group.