Firewalls are mandatory in any computer environment which you wish to call secure. AWS establishes the Firewall rules in the system via Security Groups and Ports. Basically Security Groups define where traffic is permitted to go via established network ports. Basic characteristics of security groups:
1. Security Groups are the Fundamental building block of network security (The Firewall) in AWS.
2. They define how traffic is allows into and out of all EC2 Instances.
3. Security groups only contain allowed rules.
4. Security groups reference IP or other security groups.
5. Security groups reference access Ports.
6. Security groups can reference both IPv4 and IPv6 networking
7. Security groups control both Inbound and Outbound traffic.
8. Security groups can be attached to multiple instances.
9. Security groups are dedicated to region/VPC
10. Security groups are independent of the EC2 Instances they support.
11. Best practice to have SSH access in its own security group.
12. If connections time out, this is a security group block.
13. If Connection refused error, this is the application error.
14. By default all inbound traffic is blocked.
15. By default all outbound traffic is allowed.
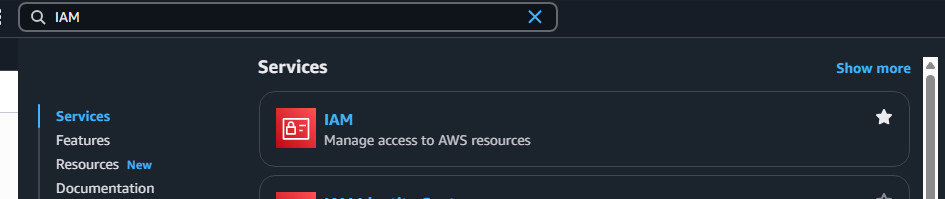
1. The following is required before you create IAM user for your AWS Free Tier Account.
- An Active AWS Account with admin level permissions.
- Already created EC2 Instance.
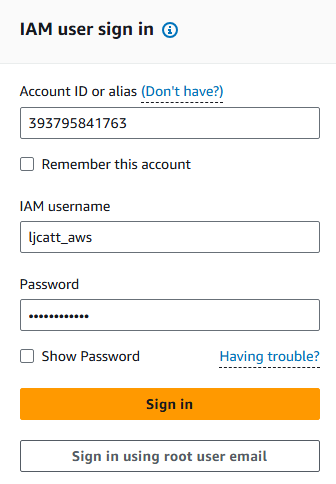
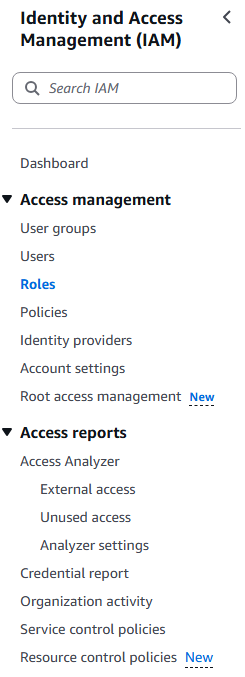
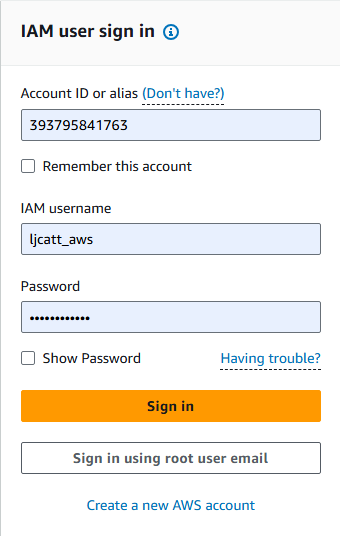
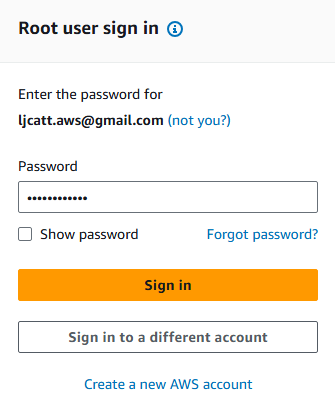
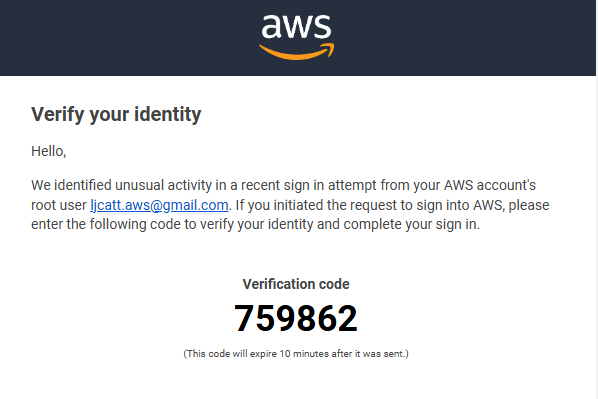
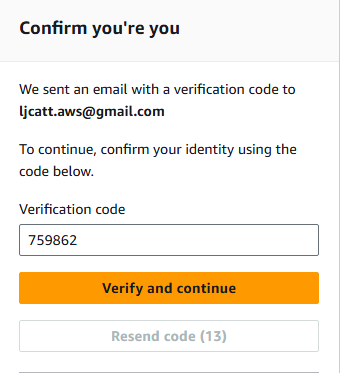
2. Logon to AWS as an IAM user at URL: https://signin.aws.amazon.com/

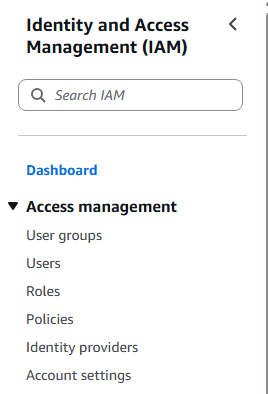
3. From the Home Console type EC2 in the search bar, select the star next to EC2, and select EC2

4. On the right hand menu bar select Instances.
5. We currently have one EC2 Instances built out, click on the Instance ID you want.
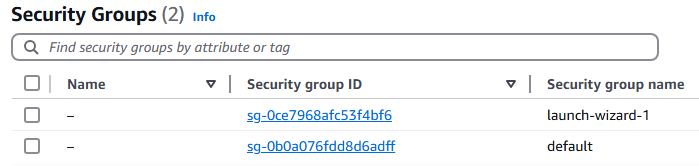
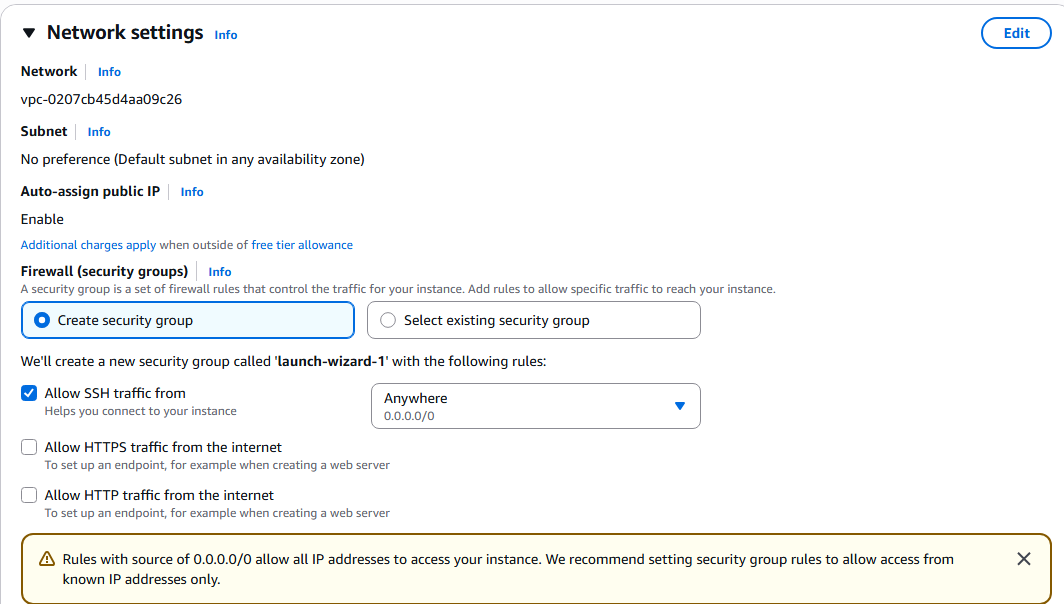
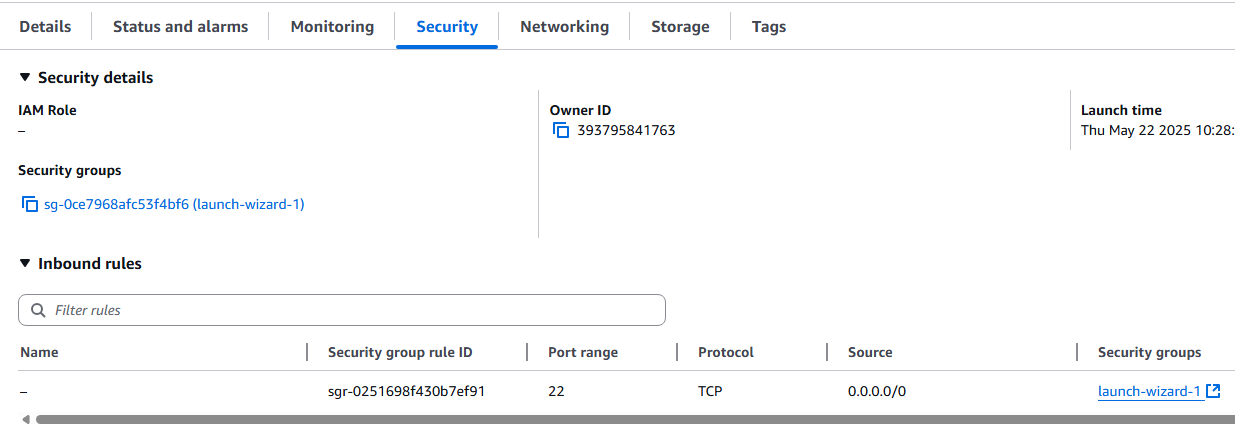
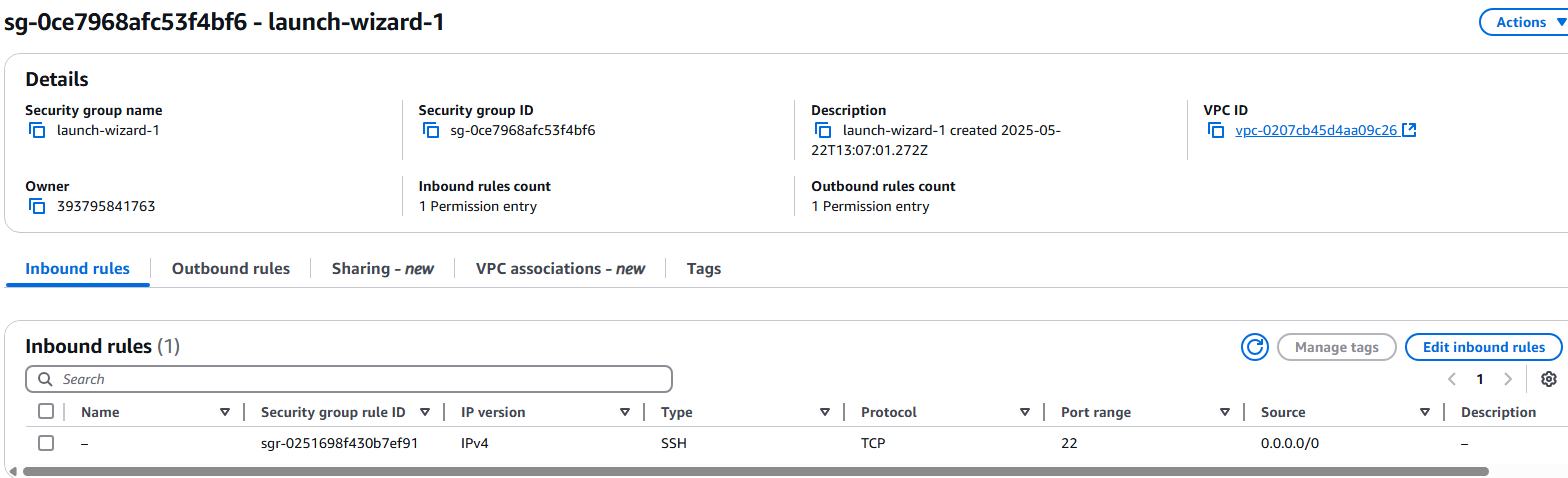
6. Select the Security tab and you will see the current security group for this session. Retrieve the name of the security group attached to this Instance. In this example the security group is sg-0ce7968afc53f4bf6 (launch-wizard-1)
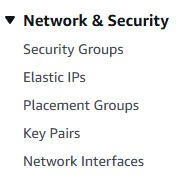
7. On the left hand menu bar, scroll down to Network & Security ? Security Group.
8. Click on the security group we found in the previous steps. sg-0ce7968afc53f4bf6 (launch-wizard-1)
9. On the Security group page we want to open the Inbound rules tab and select Edit inbound rules.
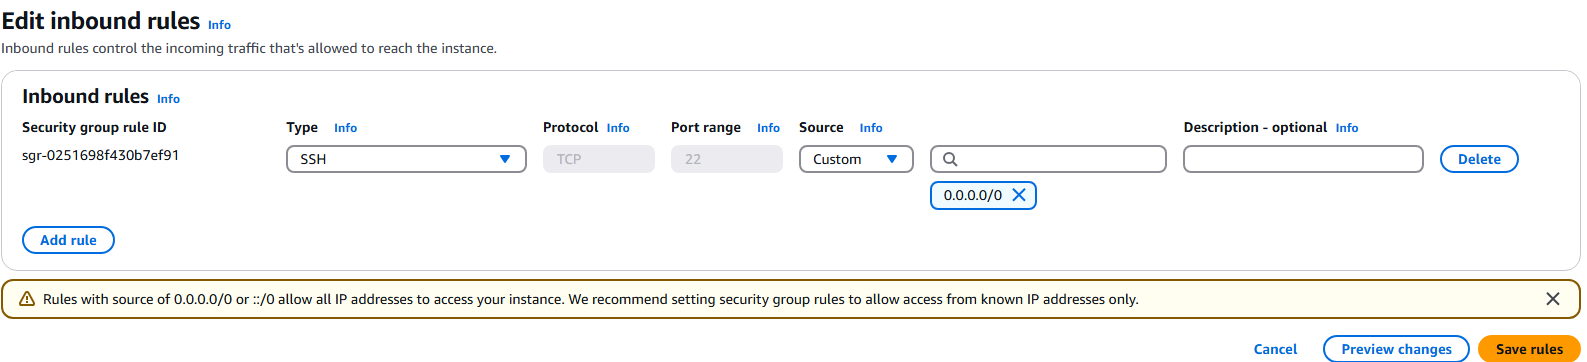
10. On the Edit inbound rules page, select Add Rule
11. We want to connect to this via HTTP and HTTPS, so we need to allow traffic on port 443 and 80 from any IP. Click Save rules.
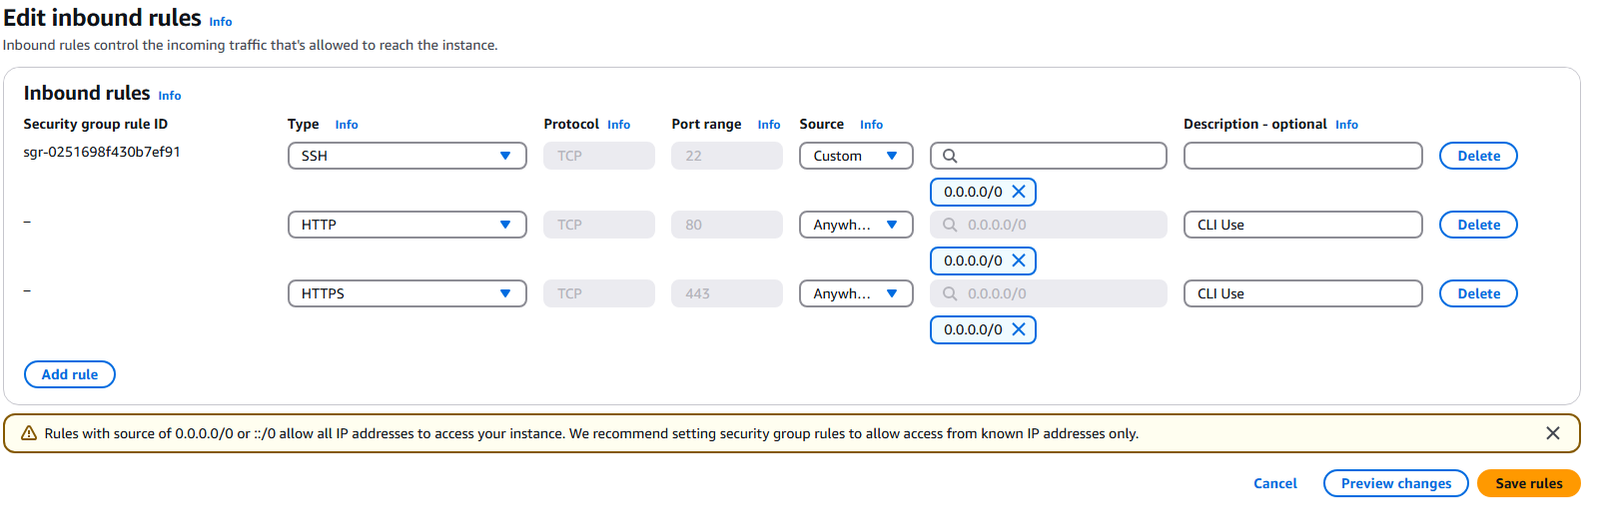
12. Back on the Security Group page you will see your new rules.
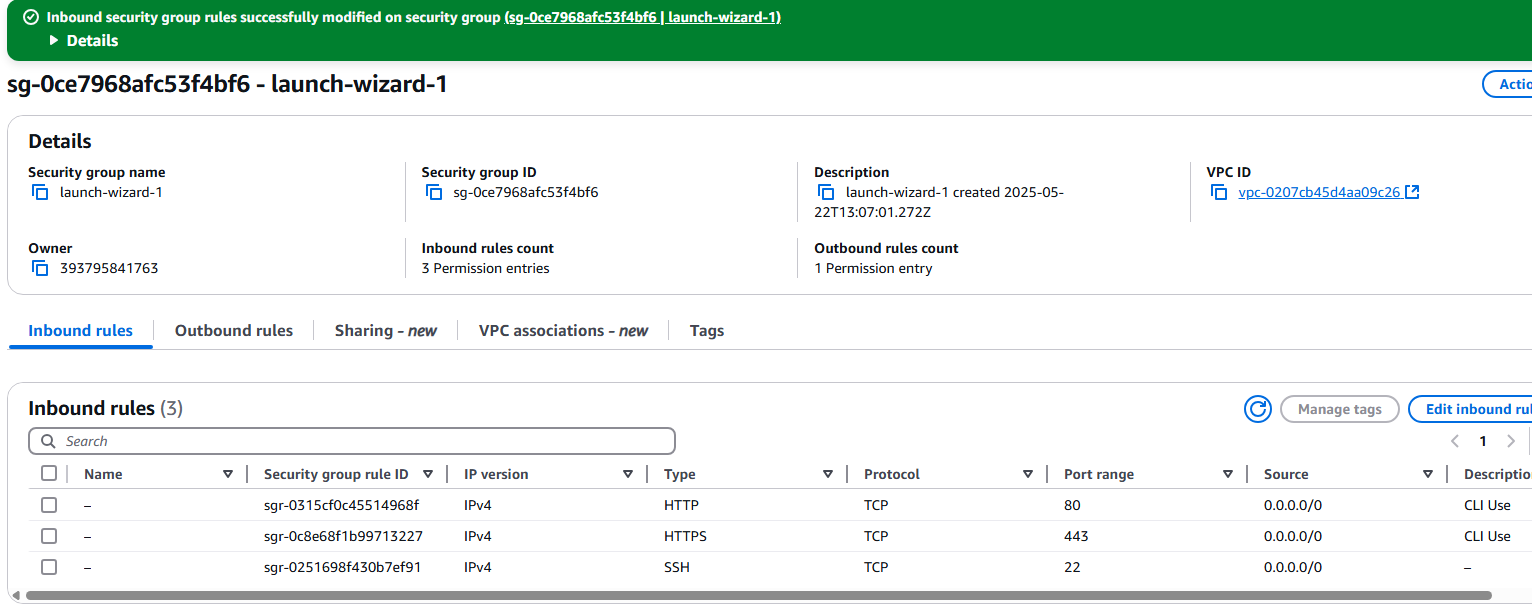
13. This completes adding rules to a security group.