AWS provides a Command Line Interface (CLI) to connect to your AWS environment instead of going through the AWS Management Console. In this article we will cover the installation of AWS CLI in a windows environment and connect the CLI to an exist AWS environment.
- The following is required:
- An Active AWS IAM Account.
- Access keys for your account.
2. Install the AWS CLI on your local machine. This can be retrieved at https://aws.amazon.com/cli/ additionally you can get a walk through of the installation process at https://docs.aws.amazon.com/cli/latest/userguide/cli-chap-getting-started.html
3. Open a command prompt on your local machine and execute the command: msiexec.exe /i https:/awscli.amazonaws.com/AWSCLIV2.msi

4. To confirm the installation once completed, close your command prompt and reopen. Execute command: aws –version

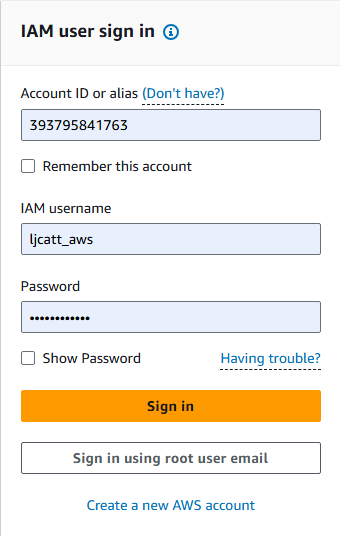
5. Logon to AWS as the root user at URL: https://signin.aws.amazon.com/
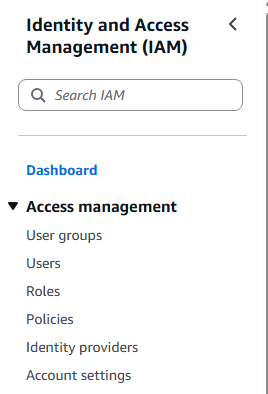
6. In the search bar type IAM and open the IAM console.

7. Select user from the left hand side menu bar.
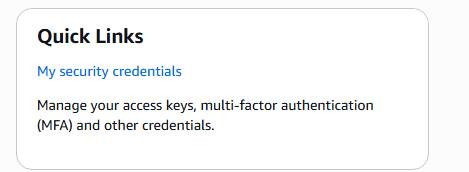
8. Select the My security credentials.
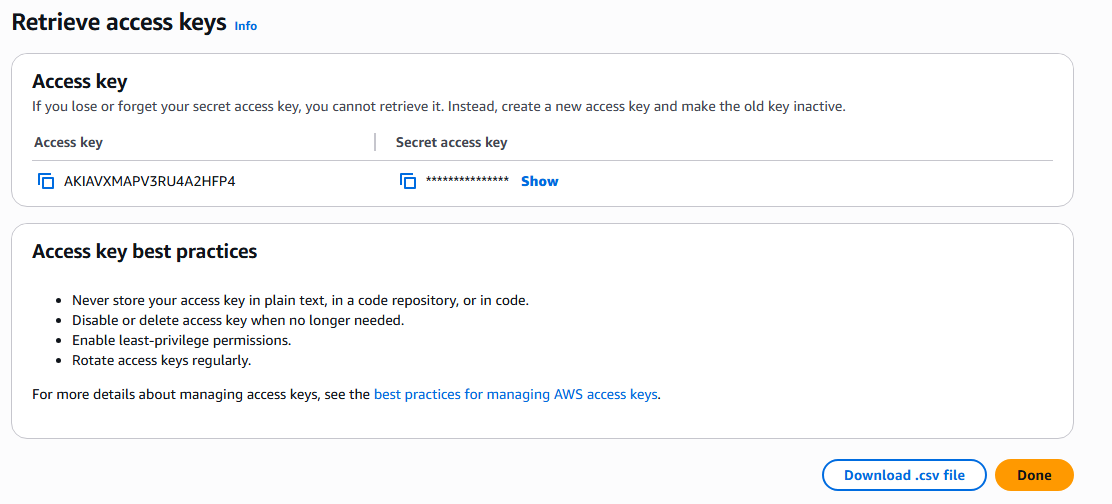
9. Go to Access keys and select Create access key

10. Select Command Line Interface (CLI), check mark the confirmation and select Next.

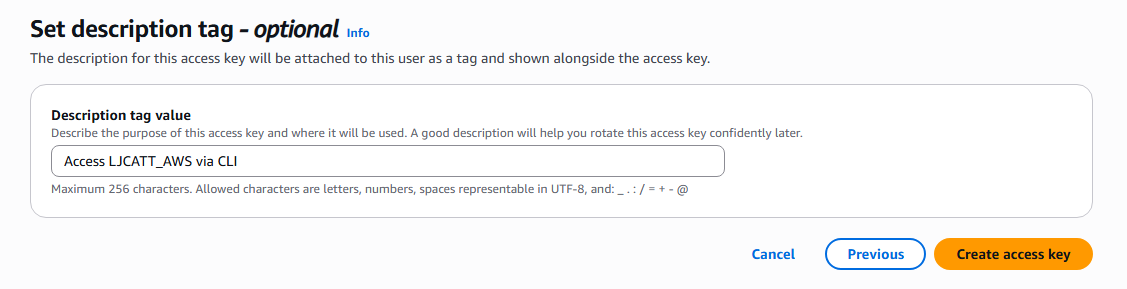
11. Enter a description tag and select Create access key.
12. Access key will be generated, download it as a csv and press done.
13. Now you have access key to enter your AWS environment via the CLI.
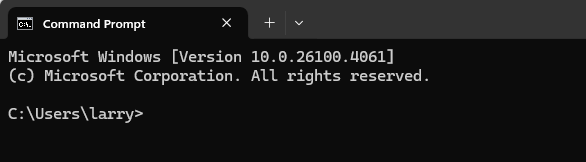
14. Open a command prompt
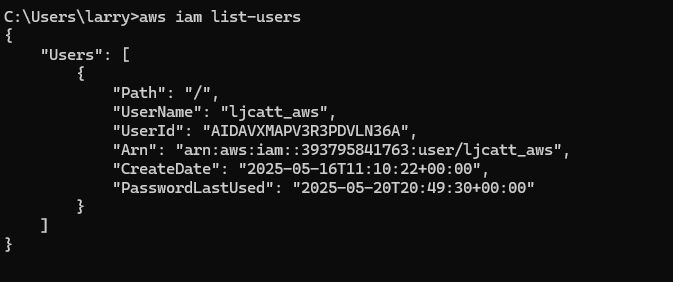
15. Type: aws configure

16. Enter the Access key and Secret Access Key provided from step 12 (this is located in the CSV file you download), default region name, default output format and hit enter.

17. Now you can test your CLI connection to your AWS environment, view list of users.
18. This completes setup of your CLI