AWS offers Elastic IP which are owned by the customer and can be assigned to any EC2 Instance the customer desires. A single Elastic IP can only be assigned to a single EC2 Instance at any given time, it will be owned by a single customer until deleted regardless of use. This instruction set will run through the creation of an Elastic IP in your AWS environment and assigning it to a single EC2 Instance.
1. The following is required before you create IAM user for your AWS Free Tier Account.
-An Active AWS Account with admin level permissions.
-Active EC2 Instance
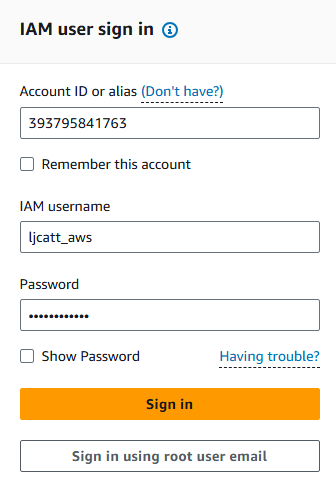
2. Logon to AWS as an IAM user at URL: https://signin.aws.amazon.com/
3. From the Home Console type EC2 in the search bar, select the star next to EC2, and select EC2

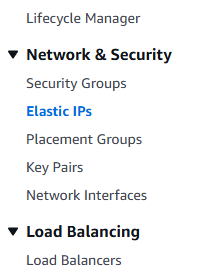
4. On the right hand menu bar select Elastic IPs.
5. Currently we have no Elastic IP address allocated to our AWS account, select Allocate Elastic IP address on the right hand side of the screen.

6. You have 4 choices for allocating a Elastic IP address in AWS.
- From a pool of AWS public IP (cost is approx. $0.005 per hour regardless of use).
- Public IP address you are bring to AWS.
- Pool of public IP addresses you have already brought to AWS
- IP address using IMAP (Normally disabled for EC2)
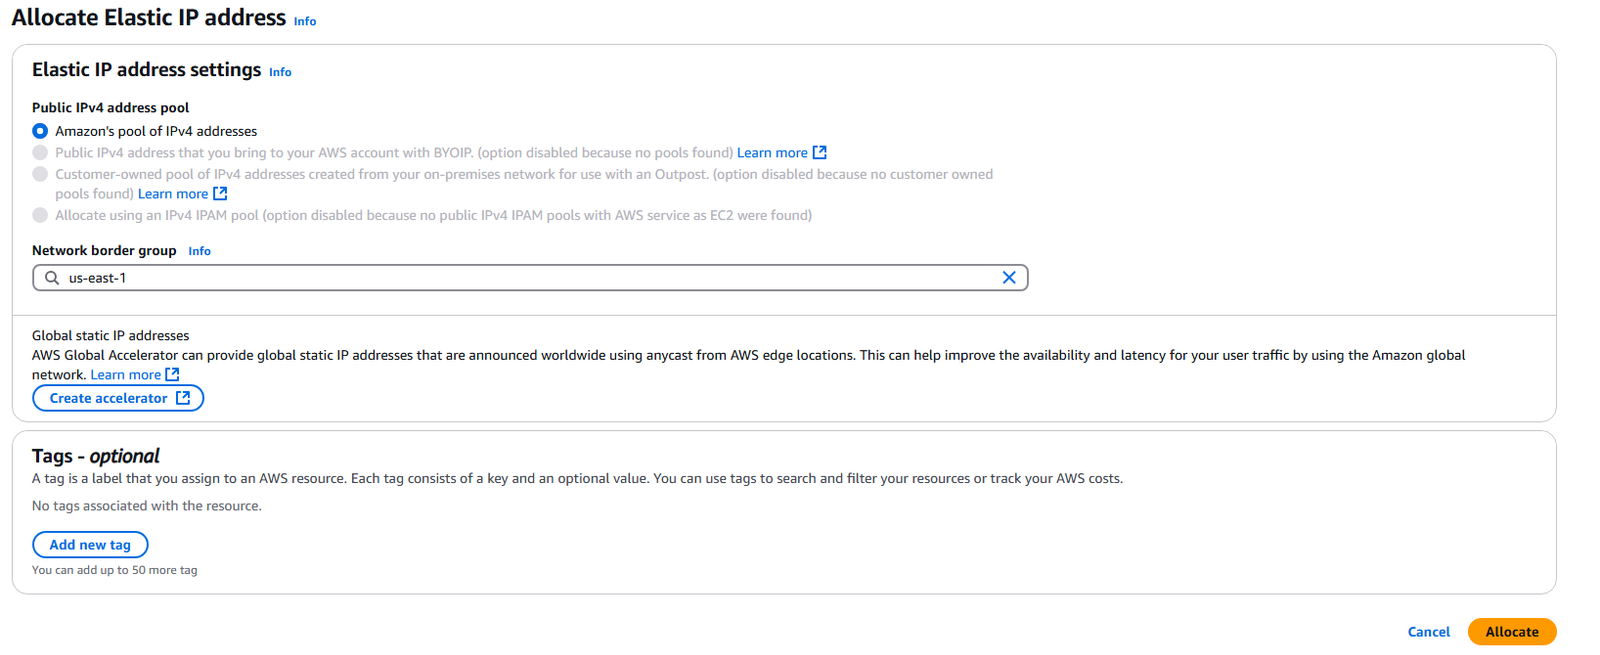
7. Select the Network border group closes to the EC2 Instance you desire to assign the IP to. In this example us-east-1. Leave Create accelerator alone and add optional tag to your Elastic IP. Next click Allocate.
8. You will see the new IP allocated to your AWS account.

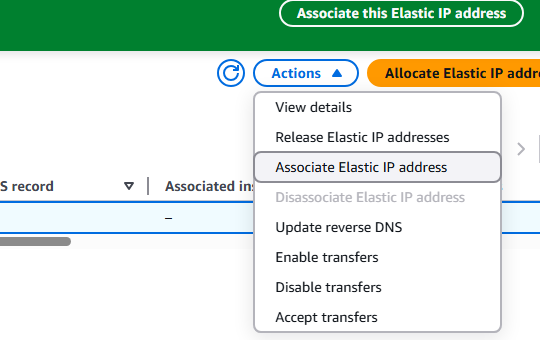
9. To assign your Elastic IP address to an EC2 Instance, Select the Elastic IP address with a checkmark on the far left hand side ? Click Actions ? Associate Elastic IP Address
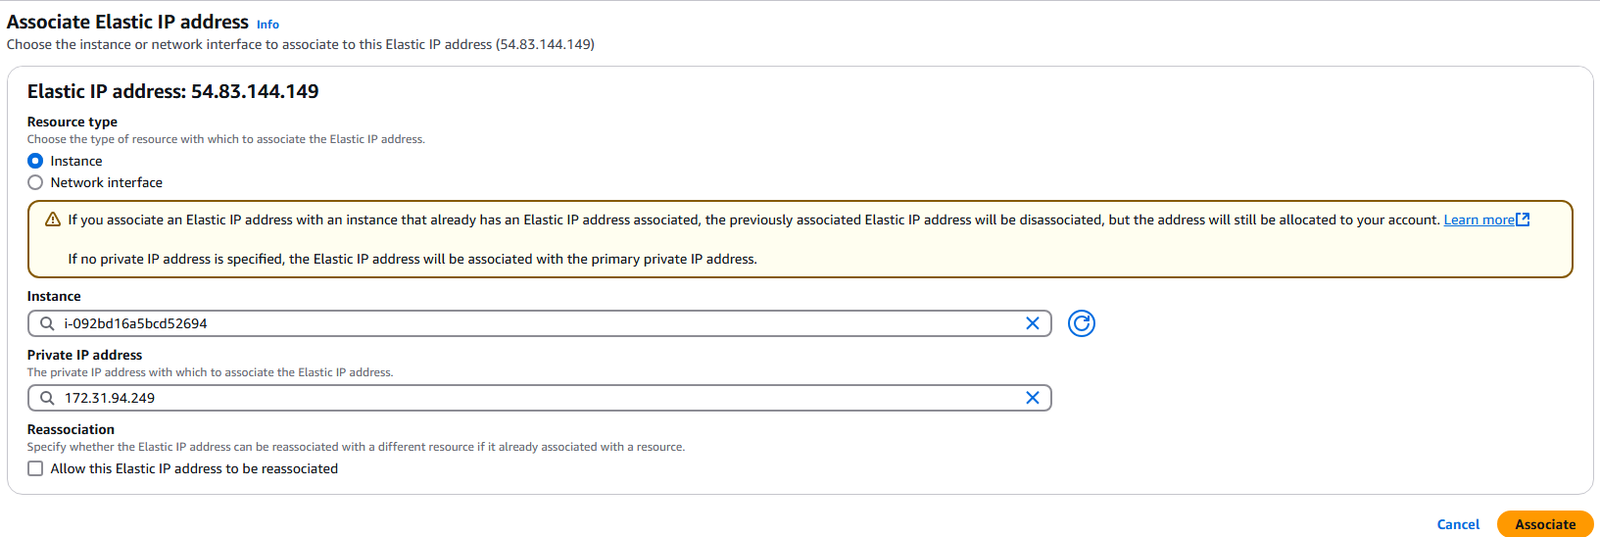
10. Select Instance for association, enter the Instance ID and Private IP for the Instance and select Associate.
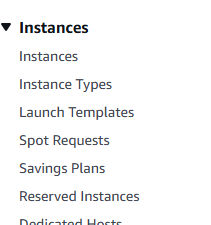
11. Now select Instances from your left hand menu bar.
12. Select the instance you choose above for the Elastic IP and you will see that it is allocated to the instance, even though the instance is currently stopped.

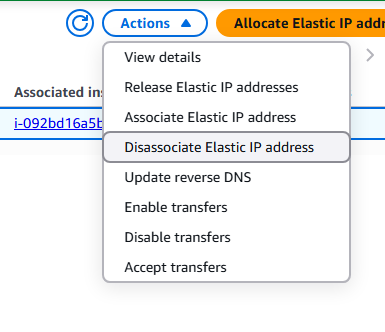
13. You can disassociate the Elastic IP by going back to Elastic Ips screen Selecting the IP ? Actions-? Disassociate Elastic IP address.
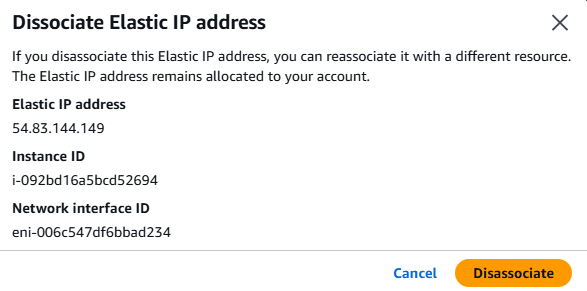
14. Confirm the Disassociation of the IP from the EC2 Instance by clicking Disassociate.
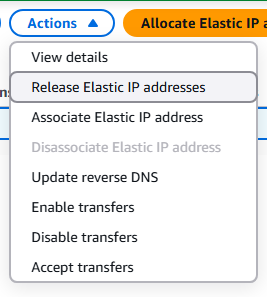
15. You can remove, delete or terminate an Elastic IP from your account by selecting the Elastic IP from the list with a check mark ? Actions ? Release Elastic IP Address.
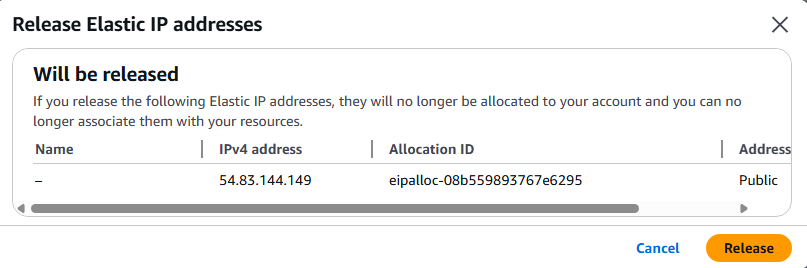
16. Confirm the Release, by selecting the Release button
17. You will see a confirmation of the released Elastic IP and it will be removed from the available list.

18. This completes the Creation, Allocation, Reallocation, and Deletion of Elastic IPs in AWS.