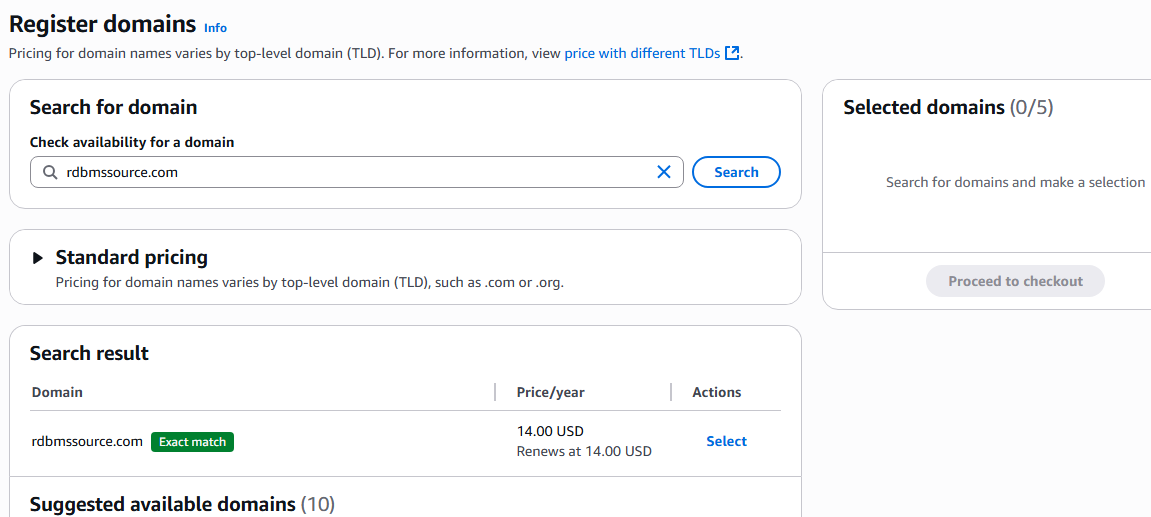
AWS Route 53 Registering a domain is requirement when you bring organizational domain(s) into the AWS Cloud. It allows your organization’s URLs to be resolved on the internet to your VPC within AWS. This article describe
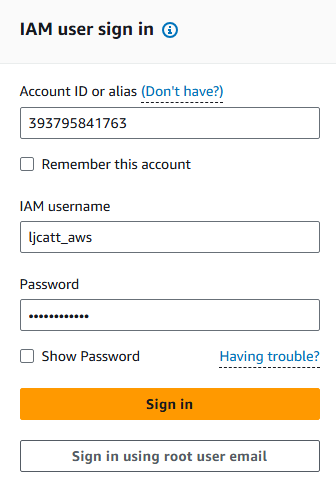
1. Logon to AWS as an IAM user at URL: https://signin.aws.amazon.com/
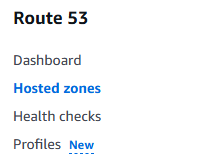
2. From the Home Console type Route 53 in the search bar, select the star next to Route53, and select Route 53.

3. On the left hand menu bar scroll down to Hosted zones and select Hosted zones.
4. Under Hosted zones page, select the Hosted zone name.

5. Click the create record button.

6. Enter a record name, Record Type , Value, TTL in seconds, select simple routing, and click the create records button.
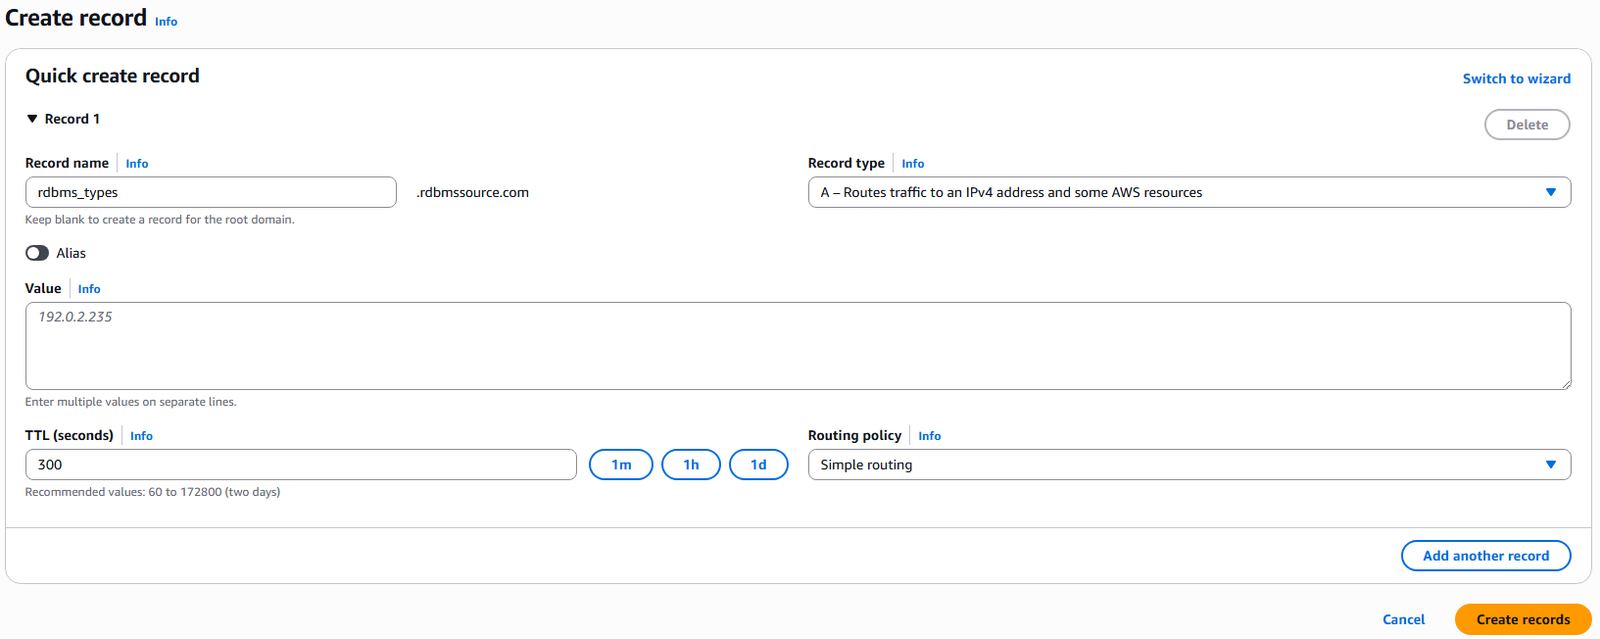
7. The record is created, but since we currently do not have an IP 192.0.2.235, it will not produce a result from a web browser. However, we can test the function through other methods below.

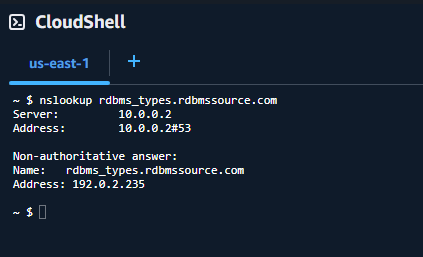
8. Open the CloudShell console by clicking the cCloudShell icon on the top banner.
9. Once CloudShell is open install the utilities so we can us nslookup command with the command “sudo yum install -y bind-utils”

10. Now if we do an nslookup of the route 53 record we just created you will see the value is in fact returned. Command: “nslookup rdbms_types.rdbmssource.com”
11. Using the dig command “dig rdbms_types.rdbmssource.com:

12. This completes making a simple Route 53 record.