Amazon EFS is AWS version of Managed NFS (network file system) and can be mounted on multiple EC2 instance to provide shared storage. Additionally EFS can work with EC2 Instance in multiple Availability Zones. It provides for high availability and is scalable but it is 3x more expensive than a gp2 storage. We will show the process to create an EFS device.
2. From the Home Console type EFS in the search bar, select the star next to EFS, and select EFS
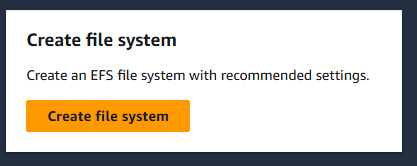
3. Click the Create file systems button to begin.
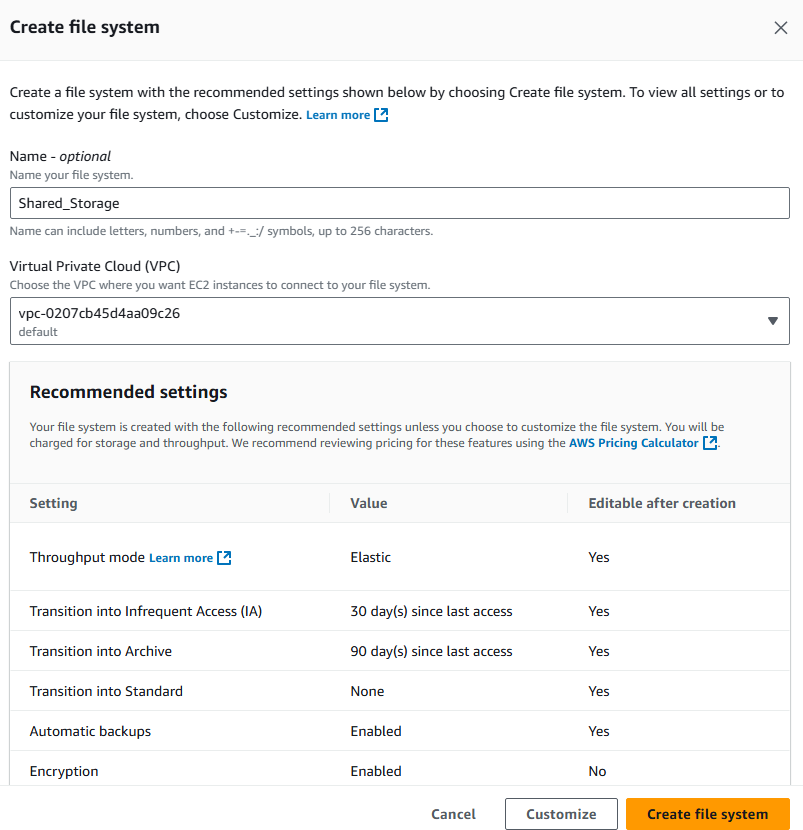
4. Give your EFS drive a name for easy reference and select your default VPC and click the customized button. NOTE: You can create an EFS by simply clicking the Create file system button, but this would result in a shared EFS with standard options.
5. On the next page select One Zone which will restrict the EFS to a single AZ, which is fine for us because our two instance both reside in AZ us-east-1d. Transition to Archive is not available in One Zone EFS. Ensure the automatic backup and encryption are enabled.
6. Notes on Regional EFS: we will have to define a security group to control access to the EFS if implementing Regional and you will have a separate disk created in each of the AZ which the EFS is accessible from.
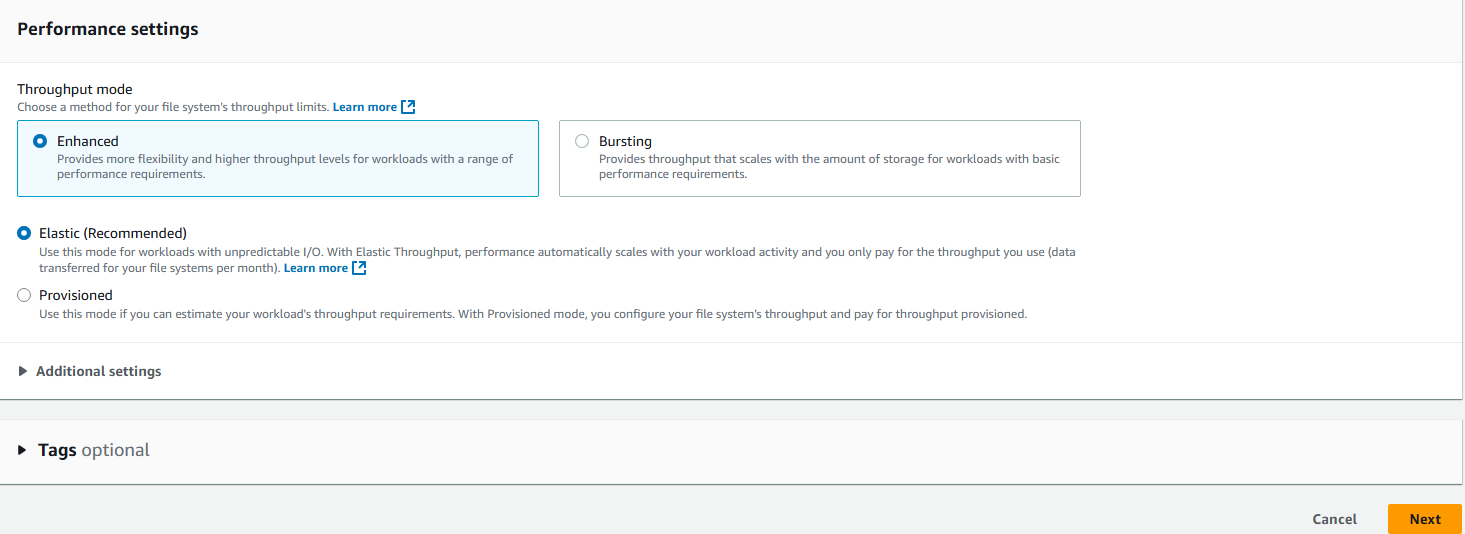
7. Under the Performance settings, Select Enhanced and Elastic. Click the Next button.
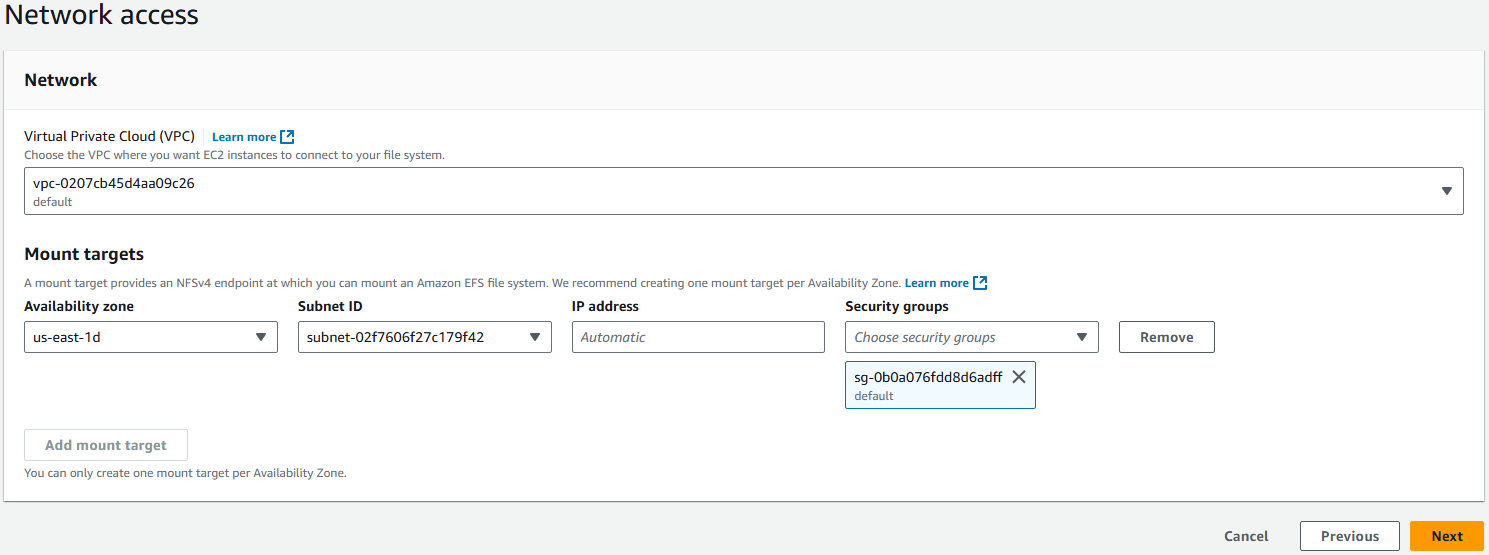
8. Under networking ensure that the AZ selected is where you have your Instance which will use this EFS device. Click the Next button
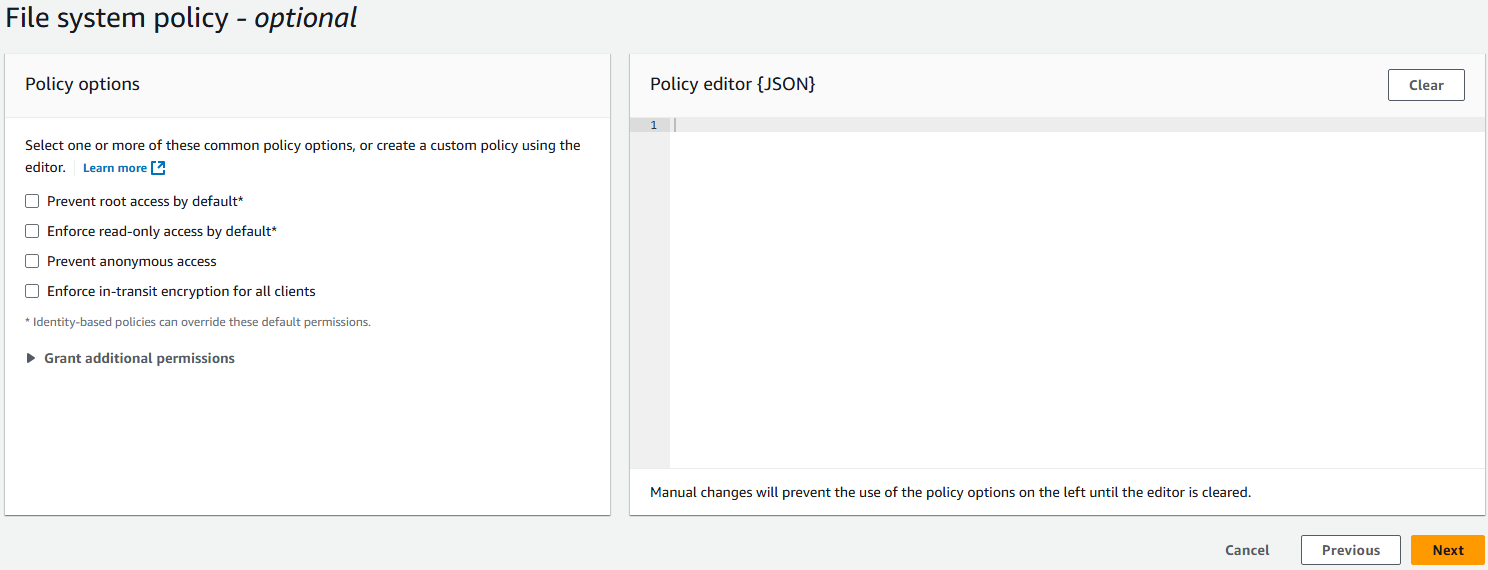
9. Under File system policy leave everything default and click the Next button.
10. You will be presented a review page, simple click the Create button to build your EFS device.
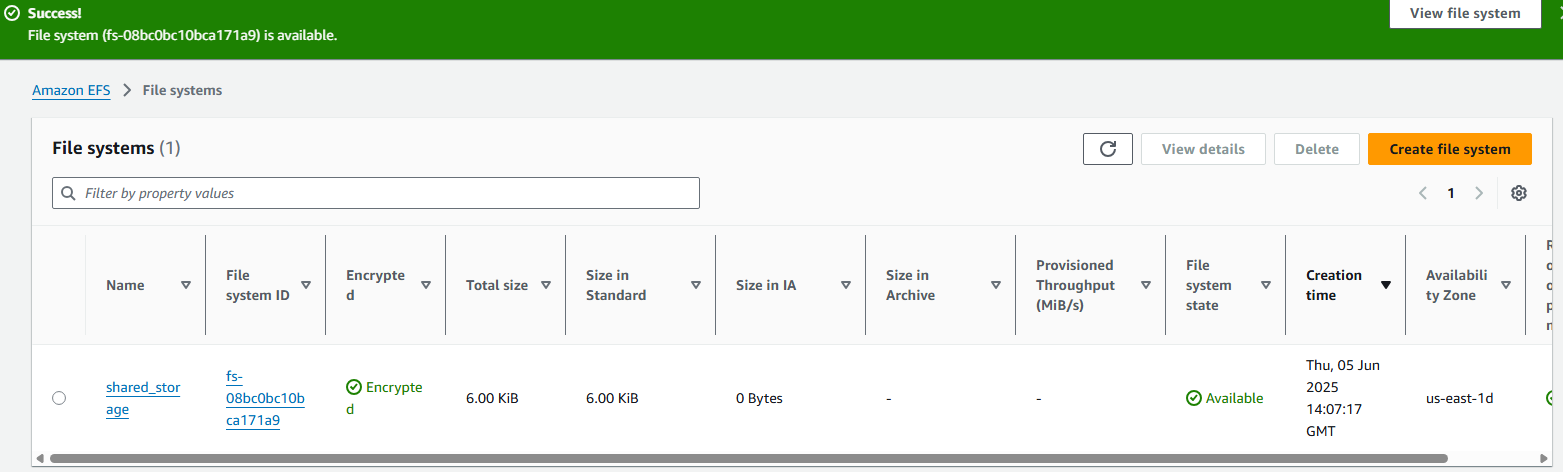
11. You will see your new EFS device with success confirmation on the EFS home page. NOTE: It is important to record your EFS ID for mounting to existing EC2 Instances: fs-08bc0bc10bca171a9
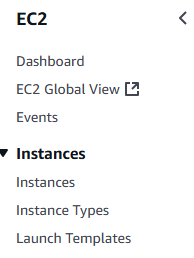
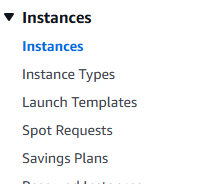
12. Now we will attach the EFS to currently existing EC2 Instance. Open you EC2 Instance console and scroll down the left hand side menu bar and select Instances.
13. Ensure that the instance you want the EFS attached to is started. Place a check box next to that instance you wish to change.
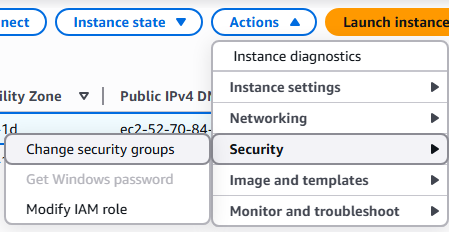
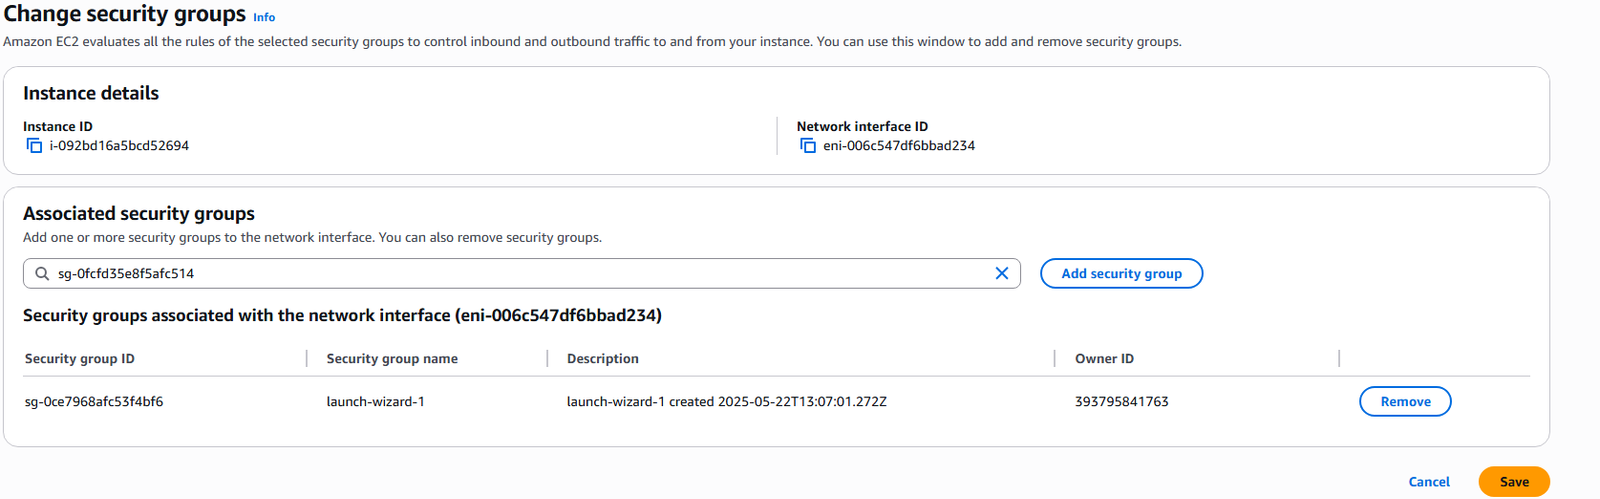
14. Select Actions ? Security ? Change security groups
15. We must first add the security group made by the EFS before we can add the EFS device. Select the new security group from the drop down and click the Add security group button.
16. The new security group will appear in the list and click the Save button.
17. Now open CloudShell for your instance by clicking the icon on the top menu bar.
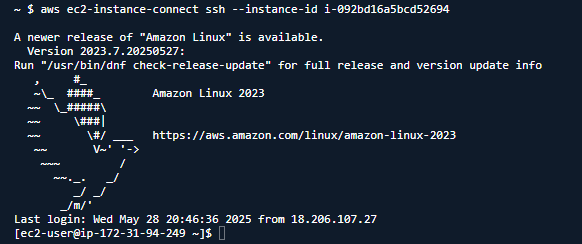
18. Once CloudShell opens, connect to the EC2 Instance with command: aws ec2-instance-connect ssh –instance-id i-092bd16a5bcd52694
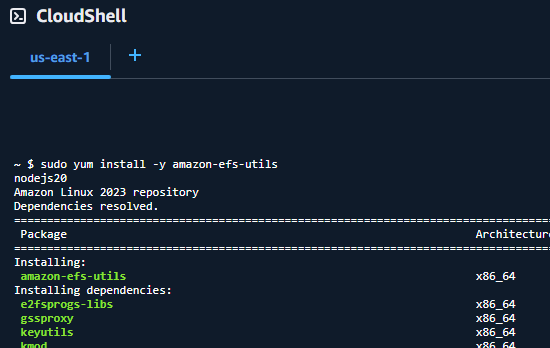
19. Ensure you have the EFS packages installed with the command: sudo yum install -y amazon-efs-utils
20. Make an EFS mount point on you EC2 Instance with command: sudo mkdir /mnt/shared_storage
21. Now we will mount the EFS instance under our new mount point with command: sudo mount -t efs -o tls fs-08bc0bc10bca171a9 /mnt/shared_storage
22. We currently have the EFS drive mounted to this instance, but only root user can use, so change the access permissions appropriately. Here we will allow access to all users with command: sudo chmod 777 /mnt/shared_storage
23. We will test the shared drive with the following.
Amazon EFS is AWS version of Managed NFS (network file system) and can be mounted on multiple EC2 instance to provide shared storage. Additionally EFS can work with EC2 Instance in multiple Availability Zones. It provides for high availability and is scalable but it is 3x more expensive than a gp2 storage. Characteristics of EFS are:
1. Use case: Content Management, Web Servers, Data Sharing, WordPress sites.
2. Uses NFSv4.1 protocol
3. Security group must be setup to control access to EFS
4. Only compatible with Linux AMI, no Windows.
5. Supports encryption with KMS.
6. POSIX file system (Linux) with standard API.
7. Scales automatically, no capacity planning required.
8. Only pay for storage you actually use.
——————————————
Three Types of EFS
1. Scale Mode
a. 1000s of concurrent NFS clients with 10GB+/s throughput.
b. Can grow to Petabyte-scale NFS, automatically.
2. Performance Mode
a. General purpose – for latency sensitive uses.
b. Max I/O – high latency, throughput, hight parallel
3. Throughput Mode
a. Bursting to 50MiB/s to 100MiB/s
b. Provisioned – set throughput regardless of overall size.
c. Elastic – automatically scales throughput up and down base on workload.
i. Max 3GiB/s read and 1GiB/s writes.
ii. Used for unpredictable workloads.
——————————————
EFS 3 Storage Tiers – Lifecycle policies govern moving between tiers
1. Standard – for frequently accessed data.
2. Infrequent Access (EFS-IA) – low storage cost, but cost to retrieve data.
4. Archive – data accessed a few times a year, 50% cheaper storage.
——————————————
EFS Availability
1. Standard – multiple Availability Zone
2. One Zone – restricted to single Availability Zone (Dev or Test system)
Allows you to attach a single EBS to multiple EC2 Instance within the same Availability Zone. This feature is only available in the io1 and io2 family of volume types. The characteristics include:
1. Attaches same EBS volume to multiple Instance in same Availability Zones.
2. Each Instance has full read write permissions.
3. Must use file system that is cluster-aware (XFS, EXT4, etc)
AWS CloudShell allows you to perform tasks in the AWS environment without use of the Console. Enabling you to execute scripts and other programmable objects. The disadvantage is you have to logon to the AWS console and it is not available in all regions. In this article we will show how to access the AWS CloudShell.
CloudShell Benefits:
Provides Linux like environment
Accepts standard Linux commands
Integrated with CLI
Provides various shell options
Persistent storage up to 1GB
File upload and download up to 1GB
1. The following is required before you create IAM user for your AWS Free Tier Account.
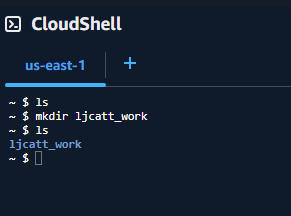
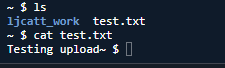
5. Here I will will create a directory ljcatt_work for storage of my files.
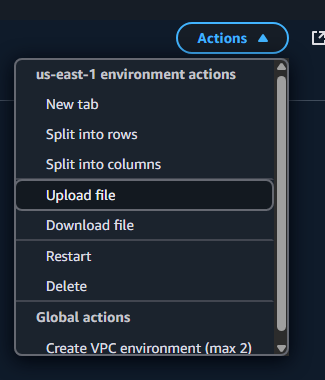
6. Now you can upload files from your local machine into CloudShell. Locate a file on your local machine you wish to upload. I have a file called c:/files/test.txt. On the right hand side of CloudShell select Actions ? Upload and select your file.
7. Now if you perform the ls command you will see your file.
8. You can use all the CLI aws commands in Cloudshell.
AWS provides a Command Line Interface (CLI) to connect to your AWS environment instead of going through the AWS Management Console. In this article we will cover the installation of AWS CLI in a windows environment and connect the CLI to an exist AWS environment.
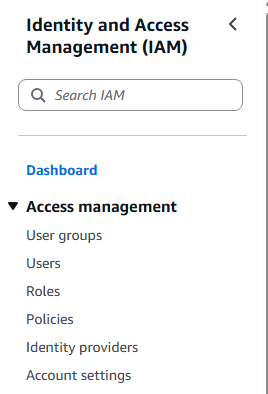
6. In the search bar type IAM and open the IAM console.
7. Select user from the left hand side menu bar.
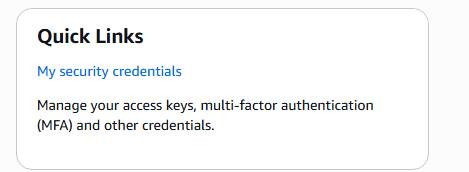
8. Select the My security credentials.
9. Go to Access keys and select Create access key
10. Select Command Line Interface (CLI), check mark the confirmation and select Next.
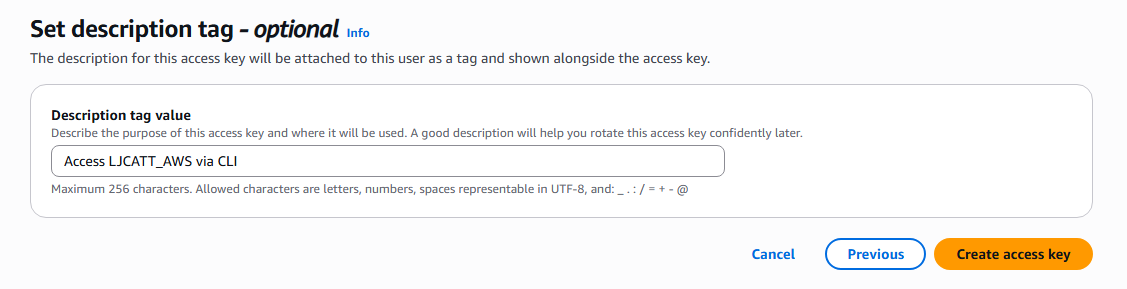
11. Enter a description tag and select Create access key.
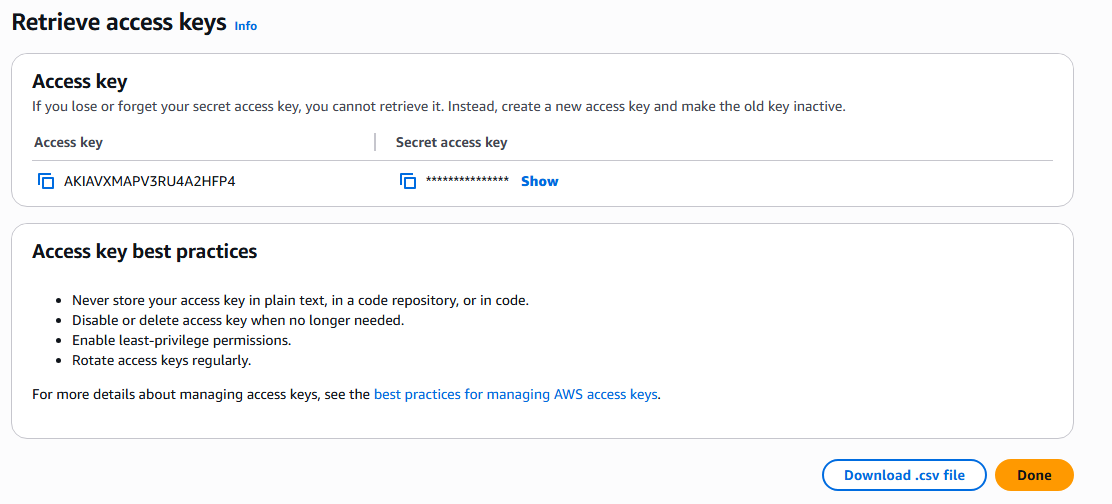
12. Access key will be generated, download it as a csv and press done.
13. Now you have access key to enter your AWS environment via the CLI.
14. Open a command prompt
15. Type: aws configure
16. Enter the Access key and Secret Access Key provided from step 12 (this is located in the CSV file you download), default region name, default output format and hit enter.
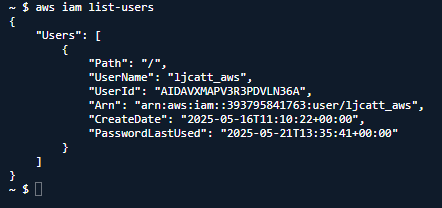
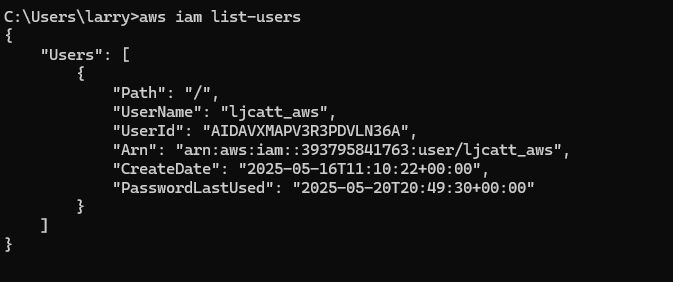
17. Now you can test your CLI connection to your AWS environment, view list of users.
AWS EBS are great and cheap option for storage, however it is network storage device so will not provide the same latency as storage directly connected to your physical hardware. An AWS EC2 Instance Store is actual storage directly connected to the hardware running your EC2 Instance and provide superior performance over the EBS. Instance Store is ephemeral storage type and if you stop the EC2 Instance you will lose the storage. Thus, Instance Store is not suitable for long term storage but excellent for buffer, cache, temporary storage solutions. Instance Store is also only physically connected to your single physical device and loss of the device would result in loss of data. Backup and replication of Instance Store is the AWS customers responsibility and not guaranteed by AWS.
AMI (Amazon Machine Image) is the starting point of OS Image provided by AWS and include various Linux releases, Windows, and Mac OS. You can customize an AMI with your own software, configurations, operating system kernel, and monitoring tools, but starting with an AWS AMI reduce the overall deployment time. AMIs are build for specific region and can be copied across different regions. An EC2 Instance have the option of:
1. Using a Public AMI provided by AWS.
2. Build your own AMI
3. Purchase an AMI on the AWS Marketplace by third party companies.
The process of AMI processing for EC2 Instances is as followes.
1. Start an EC2 Instance from standard AMI and customize it.
2. Stop the EC2 Instance – to insure data integrity
3. Build an AMI from your EC2 Instance which also creates EBS snapshot
4. Launch new EC2 Instance from your new AMI.
===============================================
Here we will walk though building an AMI from existing EC2 Instance.
2. From the Home Console type EC2 in the search bar, select the star next to EC2, and select EC2
3. On the left hand menu bar select Instances.
4. Select the instance you would like to create a custom AMI out of, we are duplicating our MySQL server image. NOTE: It is not required, but best practice to ensure the Instance is stopped.
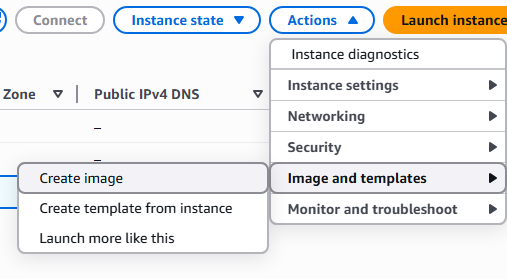
5. Click on Actions drop down and select Image and templates.
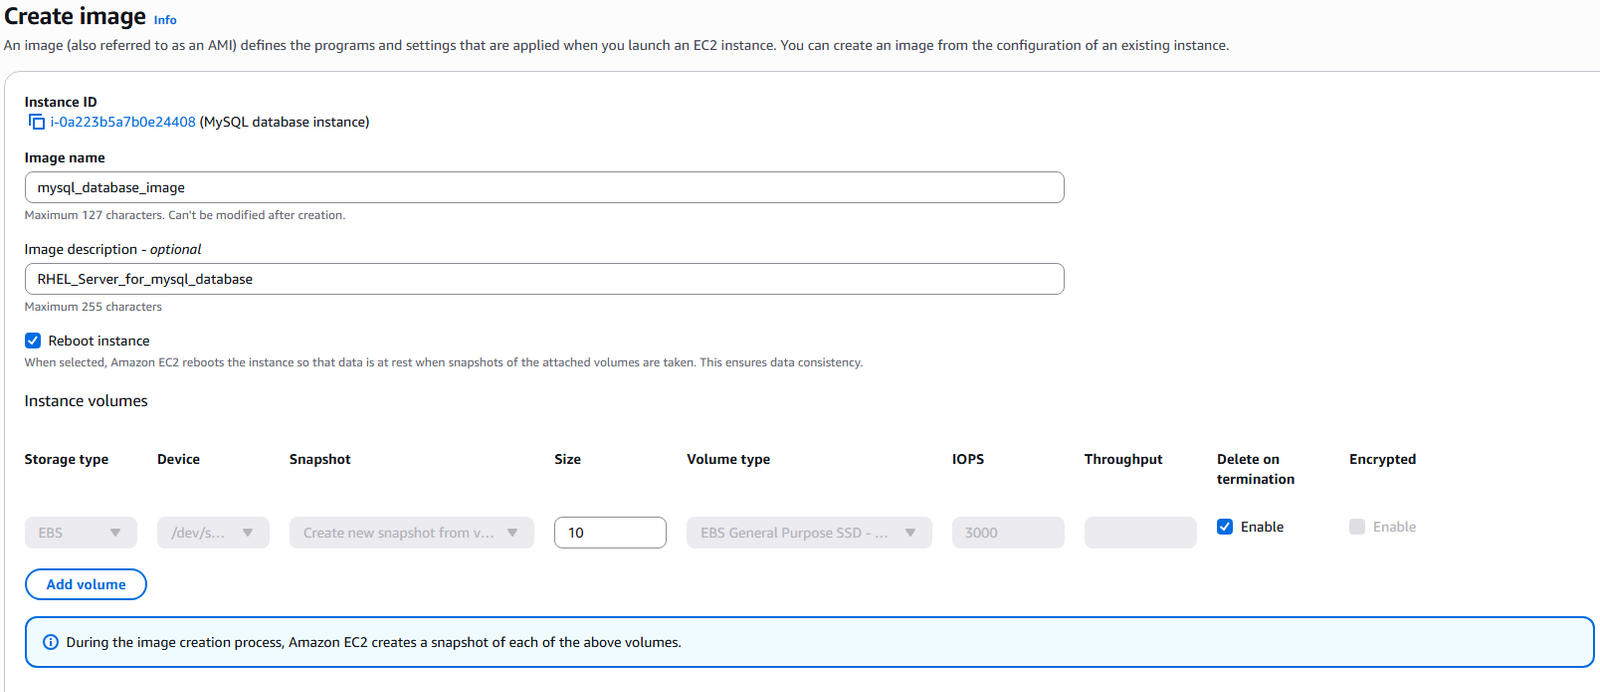
6. Enter the name and description of the AMI you are creating and click Create image.
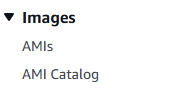
7. On the left hand menu bar you can select Images and AMIs to see your newly create image.
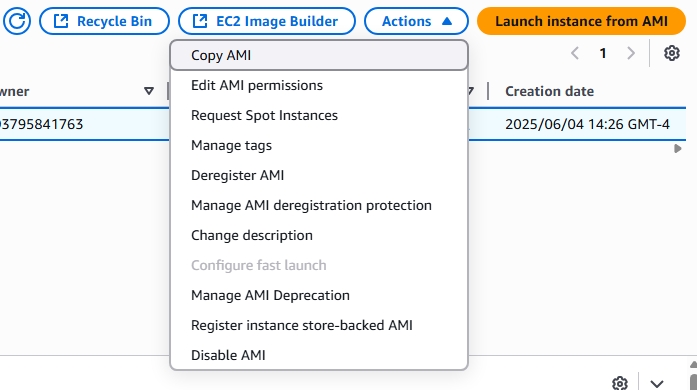
8. You will see you customized AMI listed
9. By selecting the AMI you wish to use you will be able to copy, edit, create EC2 Instances, disable, and delete the imaged.
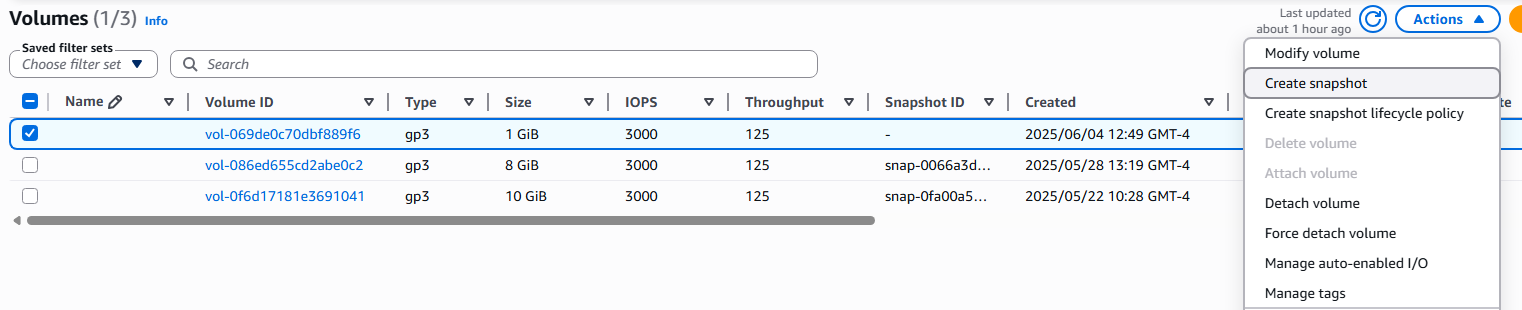
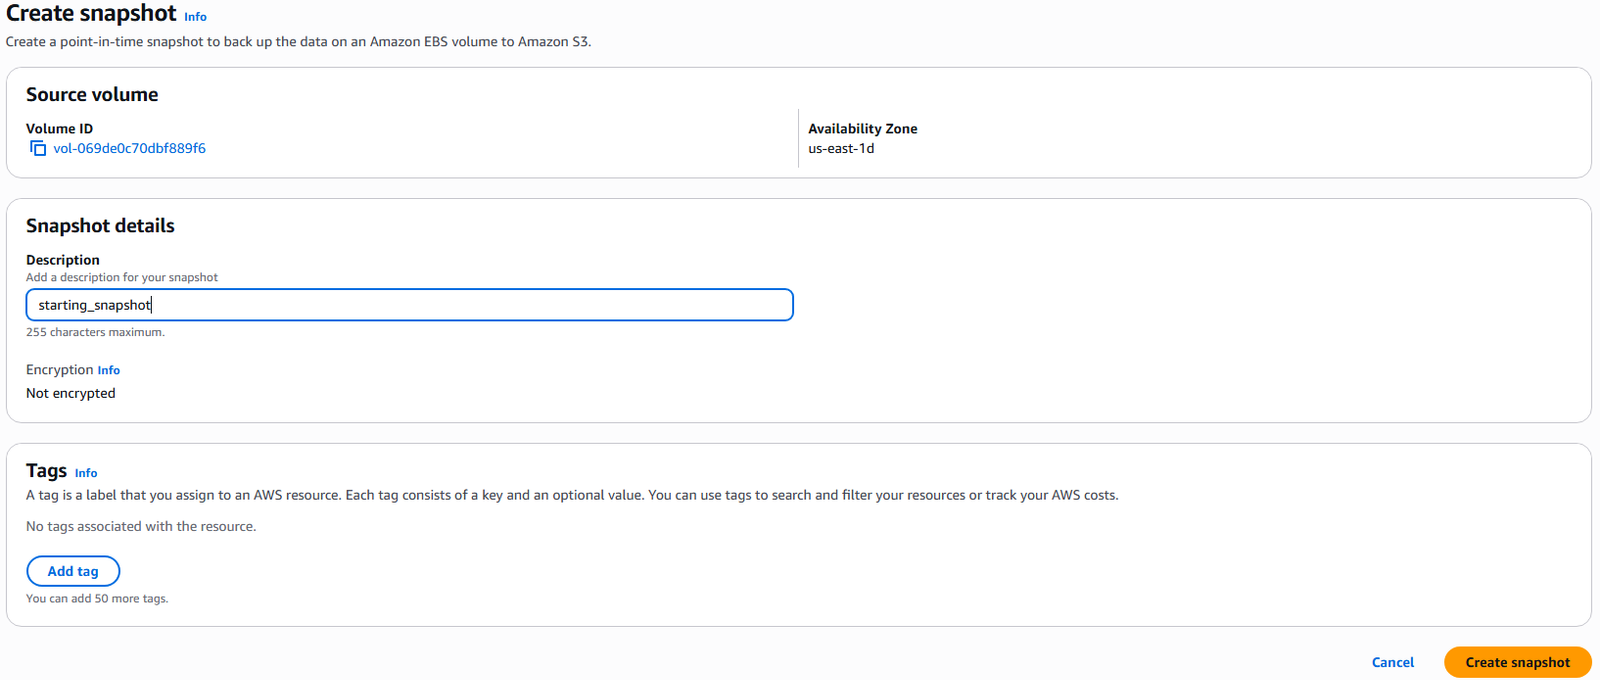
EBS Snapshots are backup of the network storage device of a given point in time and it is recommended that the EBS is detached from an instance but not required. Snapshots can be copied across AZ or Regions, allowing you to move your data around the AWS system. Key features of EBS Snapshots are:
1. Snapshot Archive tier allows you to save up to 75%
2. Snapshot movement between AZ and Regions can take 24 to 72 hours to complete.
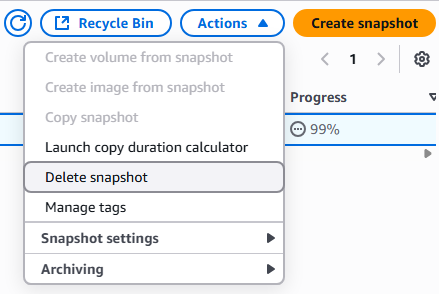
3. A Recycle bin can be setup to store deleted snapshots and allows retention from 1 day to 1 year.
4. FSR Fast Snapshot Restore to same AZ has extremely low latency but is expensive.